
Shooting Washi film – architecture, filters and portraits
For those that have followed my work over the last few years they would know I love film. Trying and experimenting with film like Washi has been a great experience, but not without issues. When you come across something new you have to learn how to use it with regards shooting but also developing and printing. I won’t go in too much detail here, for now let’s concentrate on shooting and some results.
Washi film
A little background about a small vendor like Washi is always useful, since you might not have heard of them. Washi is run by one person – the infamous Lomig Perrotin. He is a fascinating and family guy, so do watch out for him at photography shows! If you want to know more about the man then check out my interview from 2018 here.
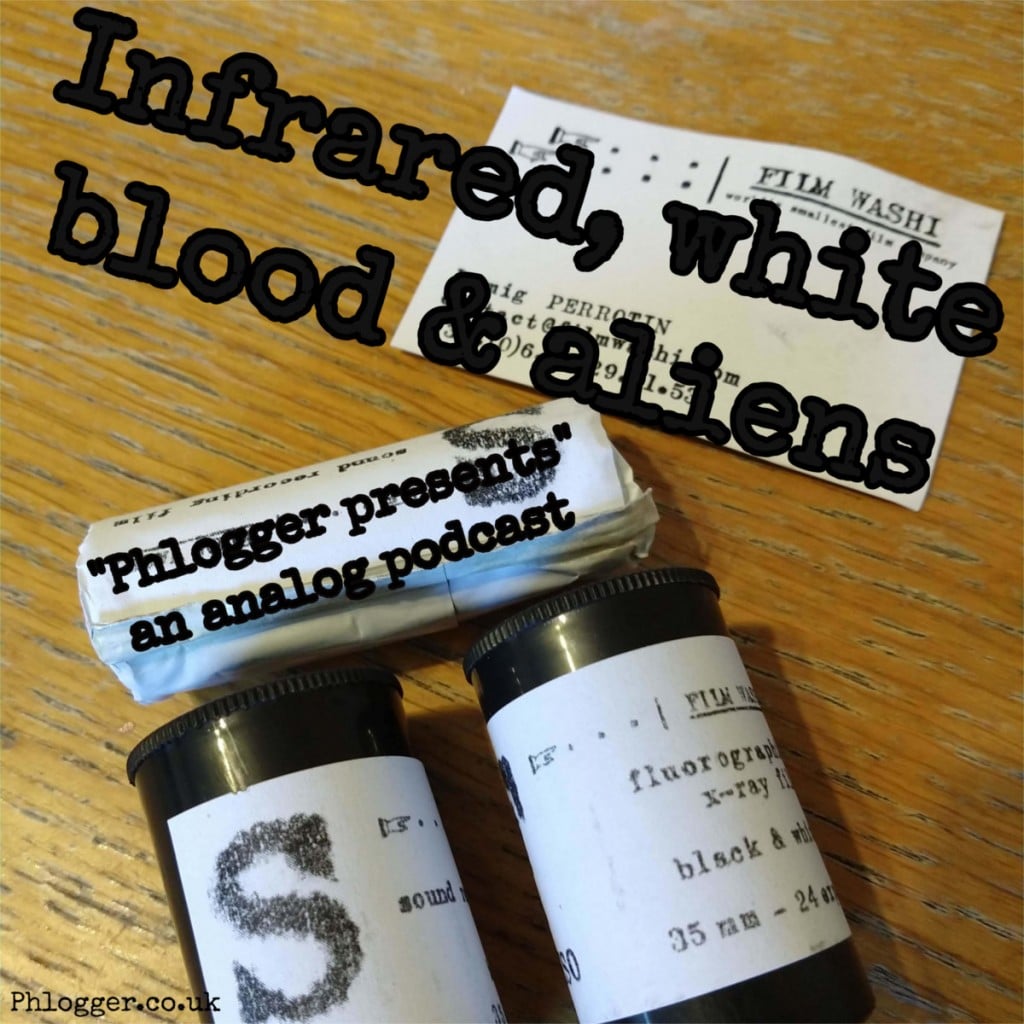
Lomig has an array of films to choose from, including paper film, sound recording film and x-ray to name a few. He is well known for the artistic Japanese paper film like his W and V range across 35mm, medium format and large format. Now I’ve never tried these as they are very different in every respect – loading, shooting and developing!
Washi also offer speciality films like those in the x-ray or near infrared spectrums and from different industries too! Each of these are very different and offer different levels of grain and contrast – but not available in all sizes (35mm/120/4×5 etc).
For each of his films there is usually a data sheet which helps you decide how to shoot and develop these (please read before you load the film too). It’s important to look at this before you buy to ensure you are happy with what you might shoot and process too.
Portraiture
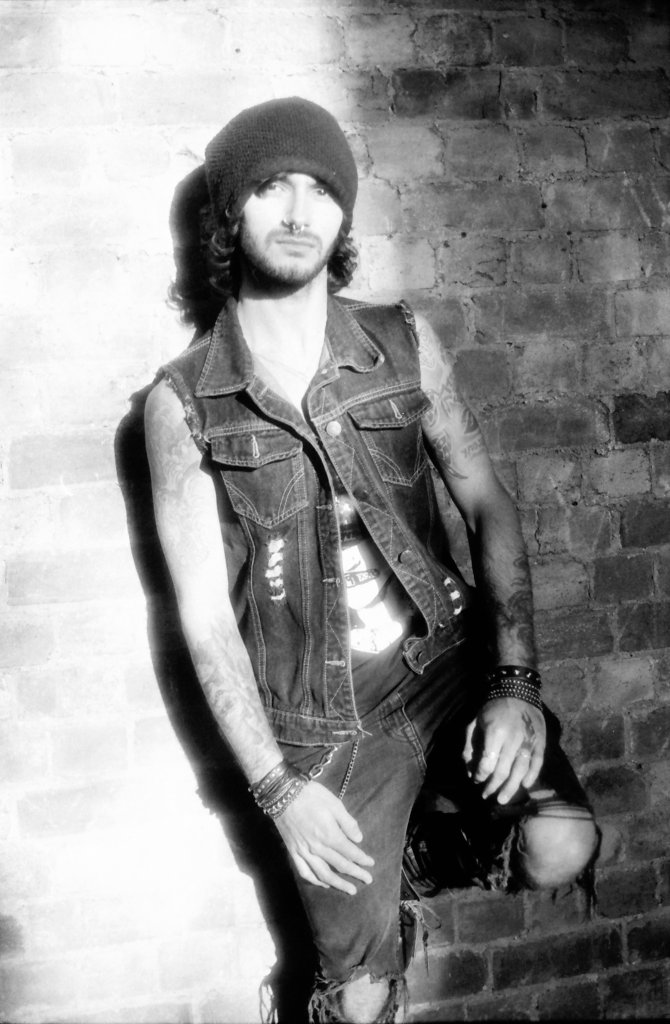
After interviewing Lomig he sent me a roll of “F” and “S” to get me started. At this time I had very little experience of shooting black and white film at all. Most of my work at this point was the colour AGFA Vista but nothing portraiture based.
I was really enjoying taking part in group shoots with my digital camera but wanted to improve my film work. So I started shooting a few shots with my Olympus 35mm in an attempt to improve. I would just use the hybrid approach of a test shot with digital and then replicate with film – but meter 1 stop differently (so adding 1 stop).
Because I was also learning darkroom printing my idea was to actually provide a real print to the model. With so many photographers around me were shooting TFP (trade for pictures) but this was purely digitally online. This allowed me to offer something different to the models and provide a handmade print as a thank you. Whilst it’s not the same as a master darkroom printer or digital enhanced perfected picture. It would be real and they knew I spent time doing something the old fashioned way.
You can see a gallery from shooting Dan below, I have tried to show you unedited scans. Just TIFF files opened and saved in a web sized format. The idea is to show you how the film behaves with harsh light – as these were taken inside a church (using daylight from the large windows). Can you believe this is x-ray film from the medical industry?


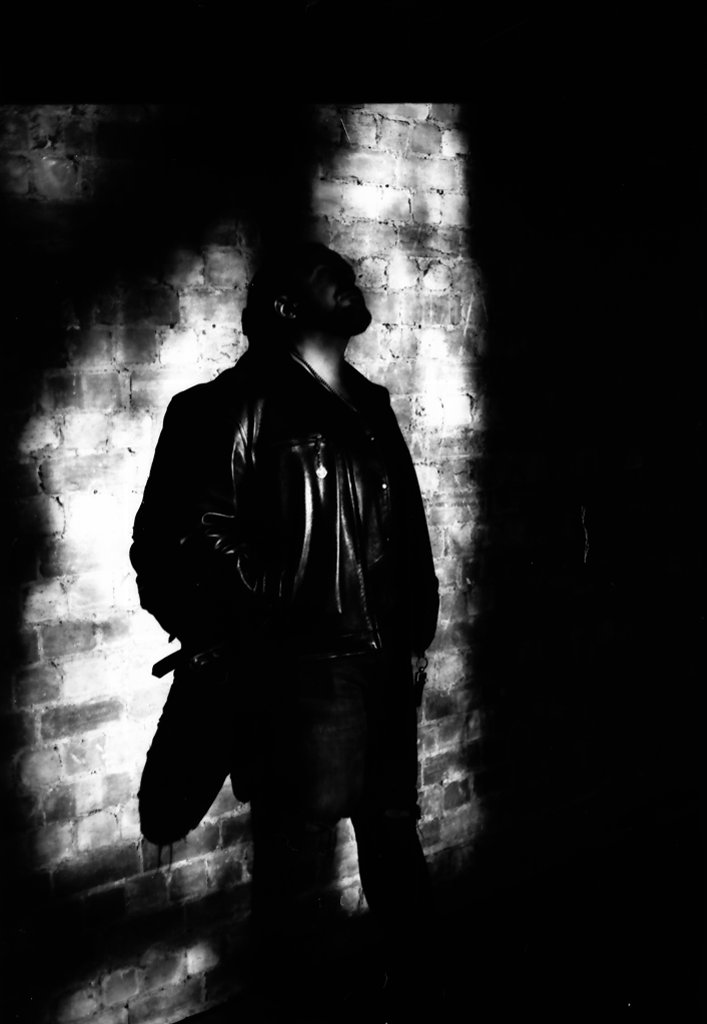
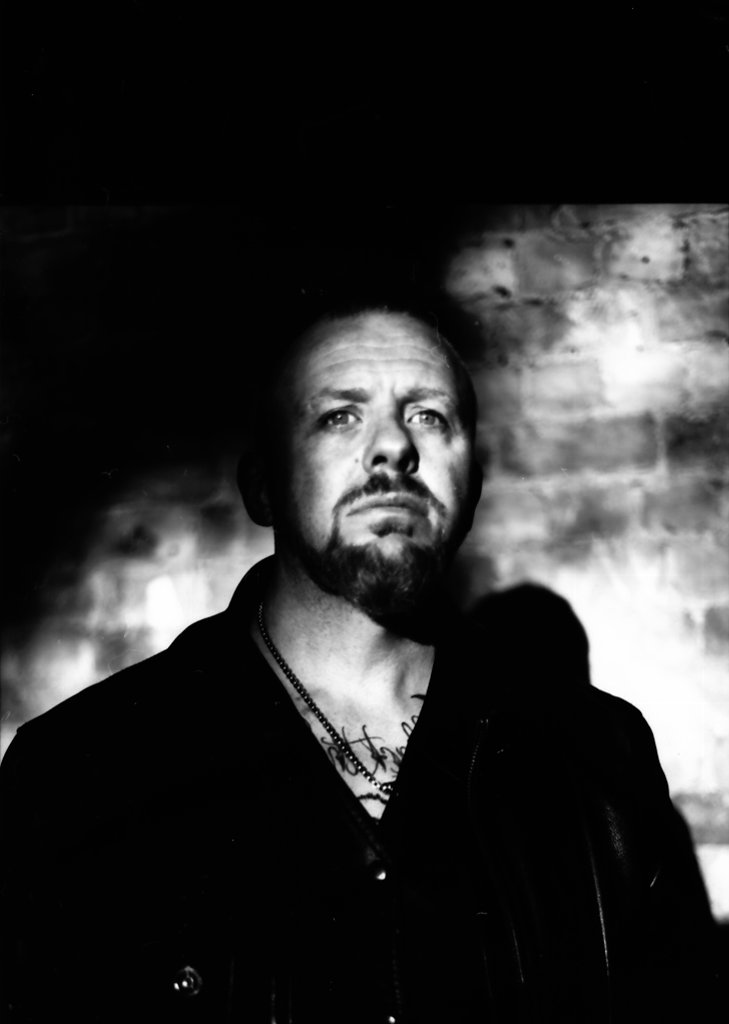
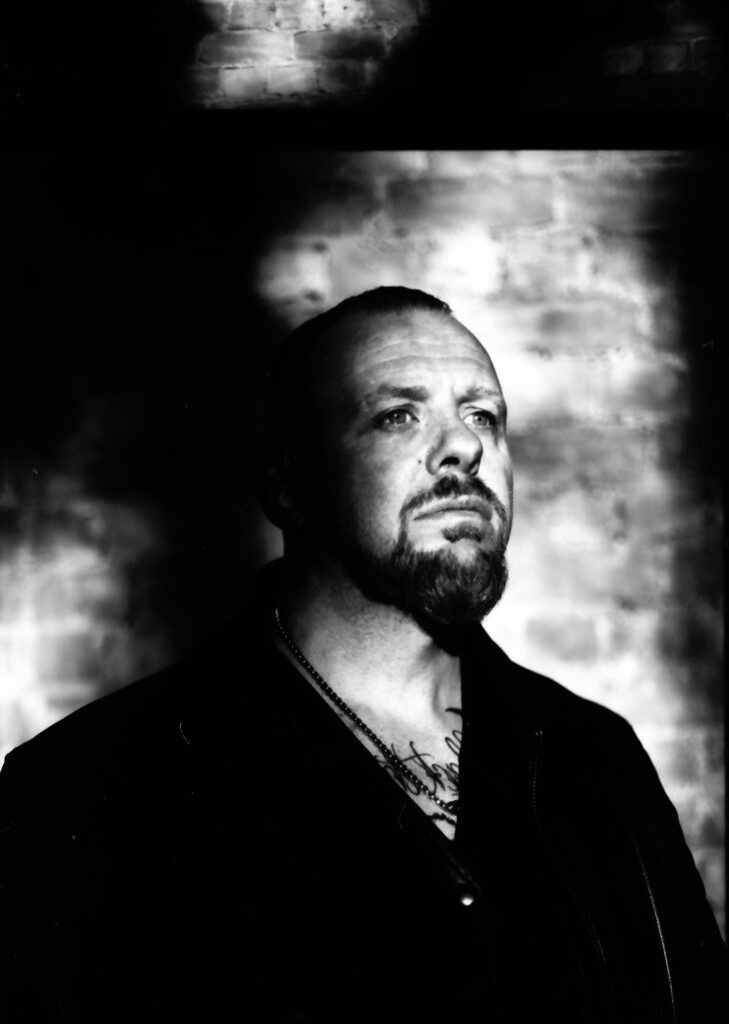
During this day I also shot the “S” film with the one and only Jay. The high contrast film really does show how hard it is to meter and control the highlights! In most of the images Jay is completely black as I was shooting in to harsh light (I don’t think I owned lights at this point). But having only achieved a single good negative I could see there is practically no grain, so you can make stunning prints (I sent one to Jay).
Like I said if you can control the tones of black and white you can create something lovely, just takes practise.
Architecture
I have never been the type of person to match a film to a genre of photography before. My work has just been around using what I have and seeing what happens. But when you practise different genres and start understanding films you do learn a lot. For a long time I had this idea of shooting Washi “S” film for architecture, as its one of my favourite genres of photography. Because Washi s is high contrast film I wanted to match this to a day with decent light.
Metering & filters
To further enhance my exposure to this film I also wanted test with different colour filters too. Since black and white responds well to using filters, you can use them dependant on the light on the day. On the day of shooting there were clouds, but strong daylight too. The idea was to use 4 different exposures and then see how they compared afterwards.
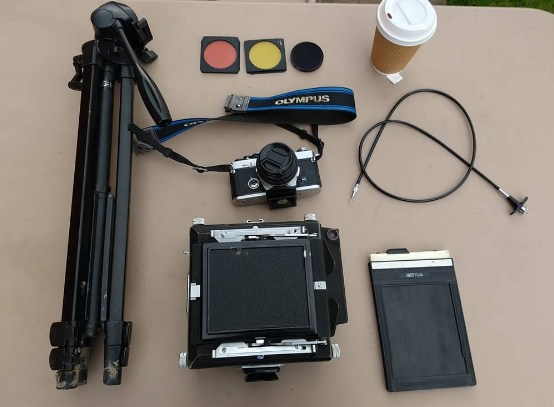
So I chose:
- Cokin A163 Yellow filter
- Cokin A161 Red filter
- Hoya ND8 filter
My methodology was just to meter using what the lens could see – which was a mistake! Not having the photography education of others I didn’t think about this enough. So you need to know how strong the filter is for start (hopefully manufacturer has information?) But you should not meter through the lens as it’s not a true reading. Your filter is blocking light hitting your meter. To find out more read Andrew Sanderson’s short article on this. He is an Ilford Master printer so definitely worth a quick look at!
The following shots of Lincoln university are normal exposure and then again with the ND filter. I like the way the film handles the light without a filter to be honest.
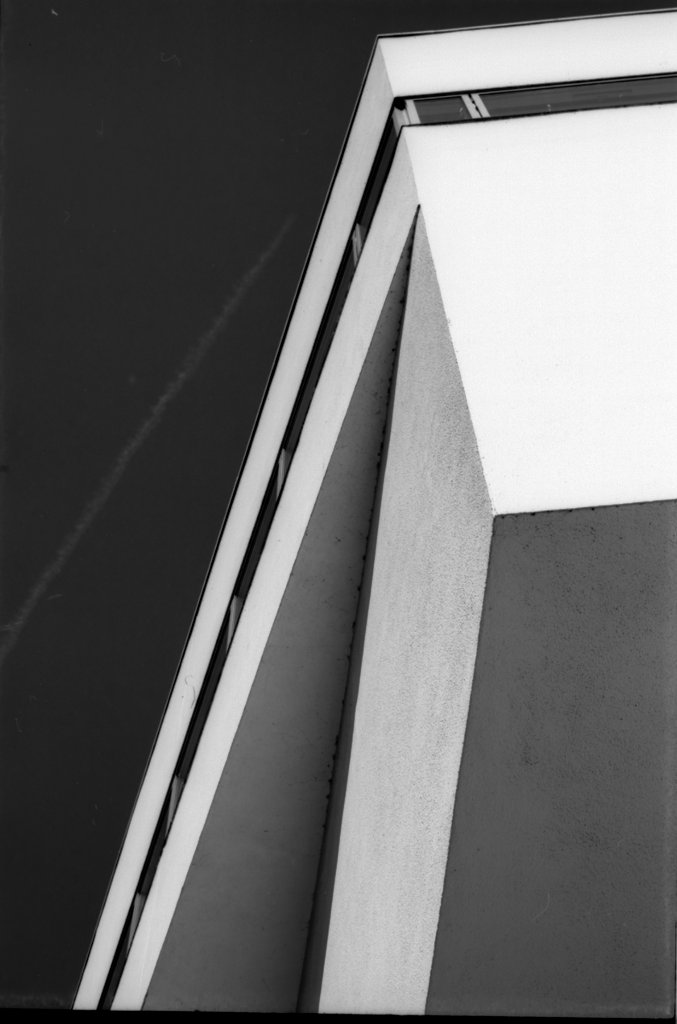
In the below example I have taken a picture of the underside of a railway bridge as i like the pattern. The first is a normal exposure, then a yellow, red and ND filter.
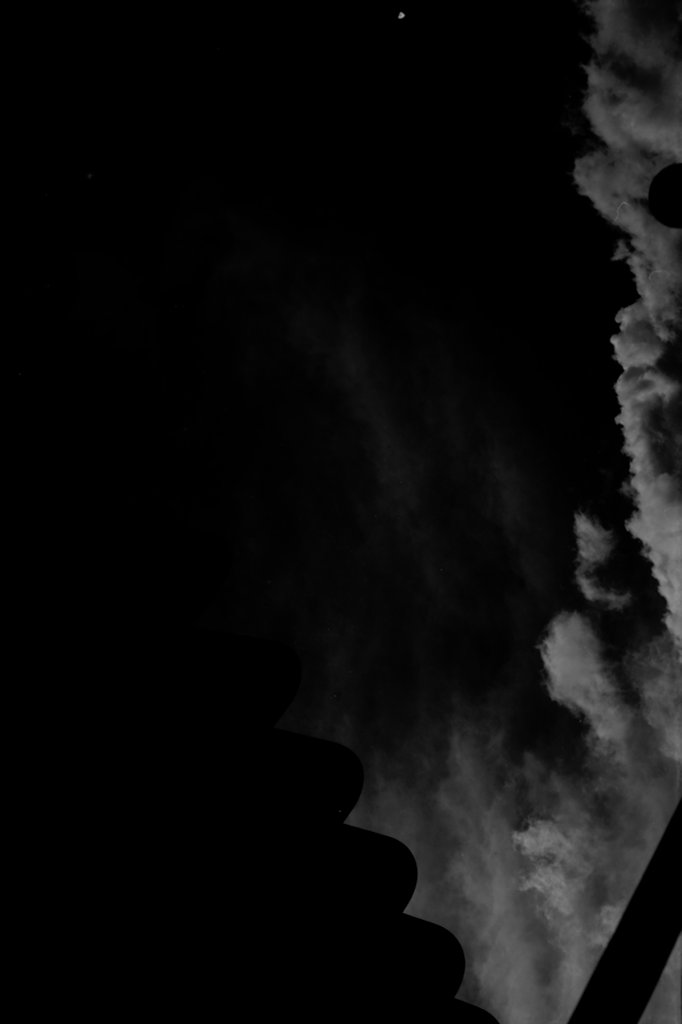
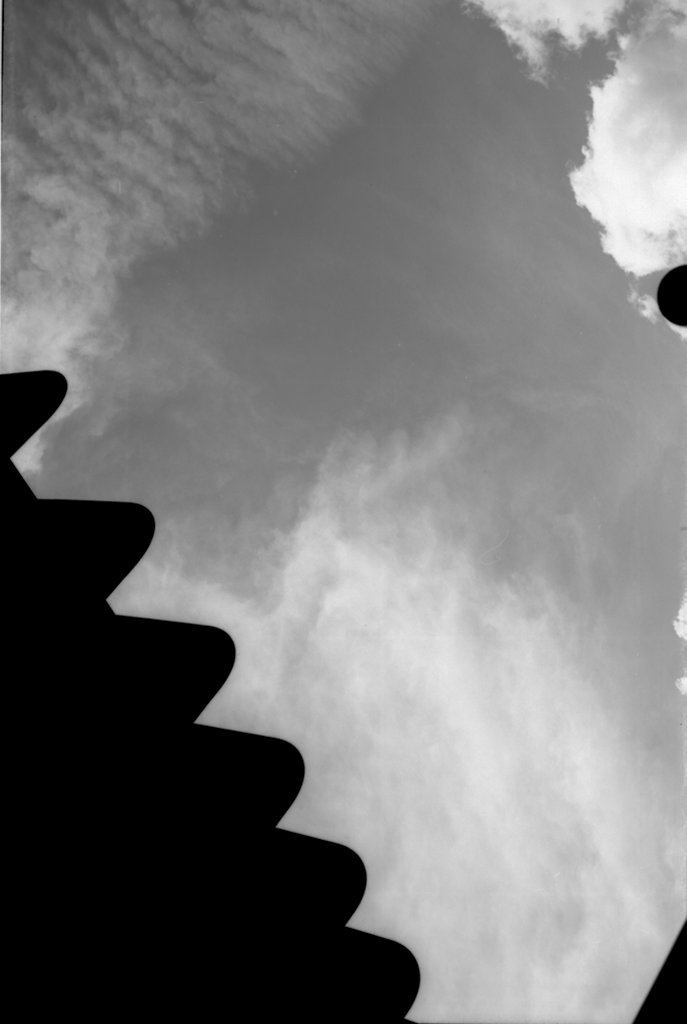
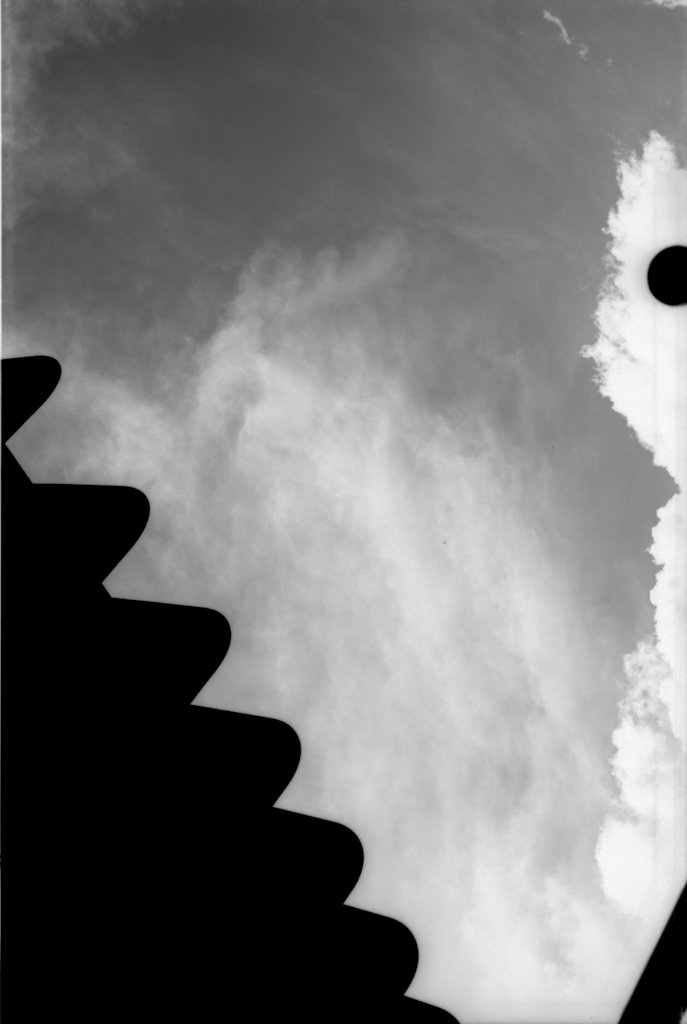
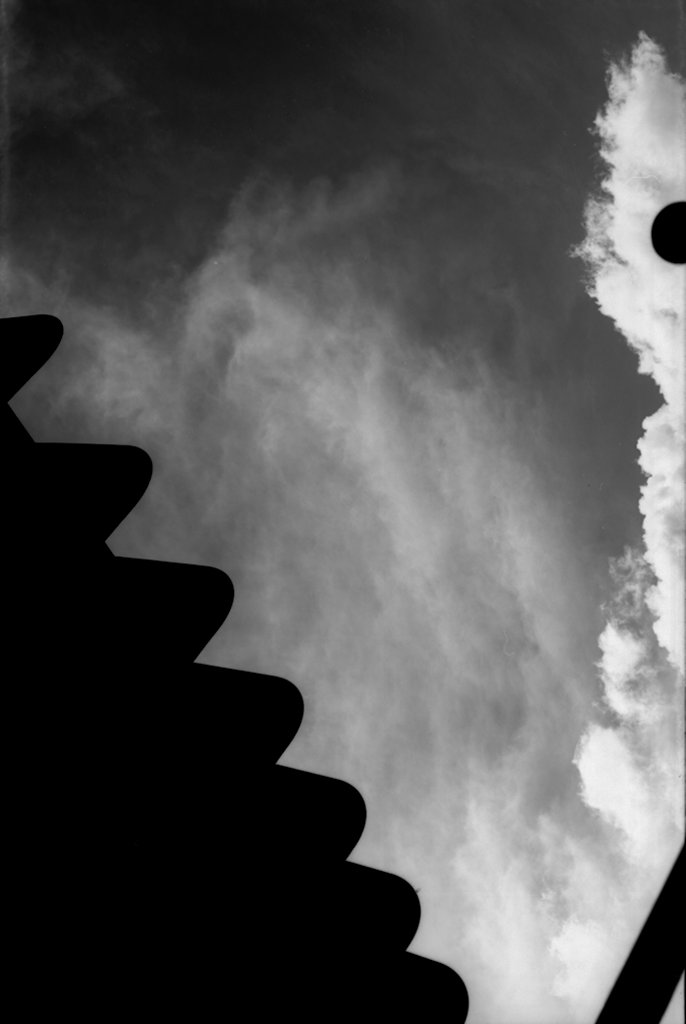
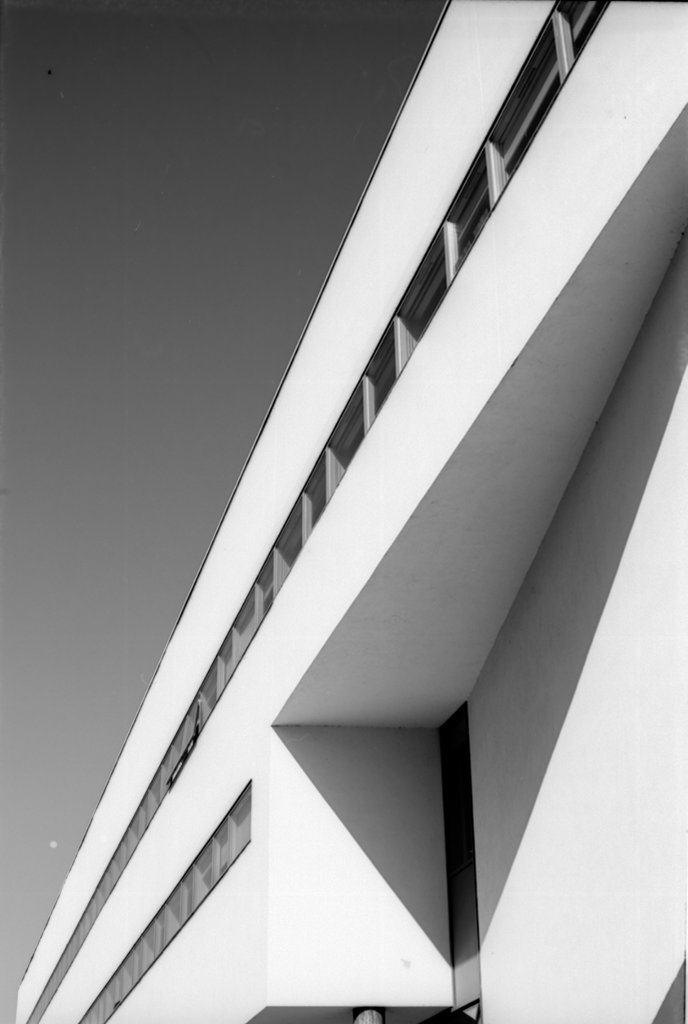
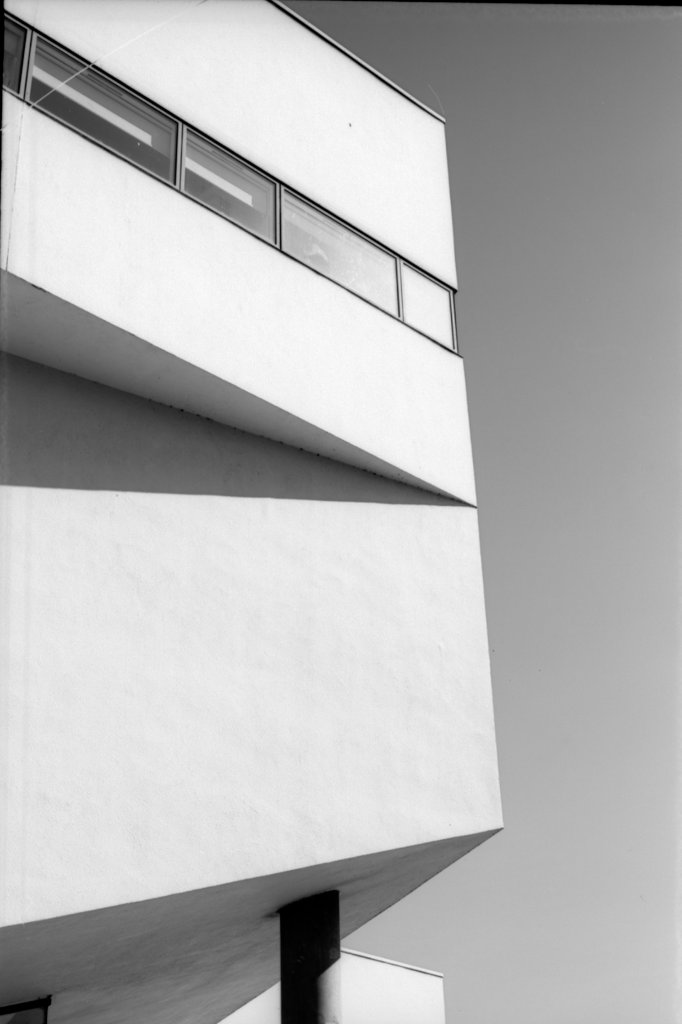
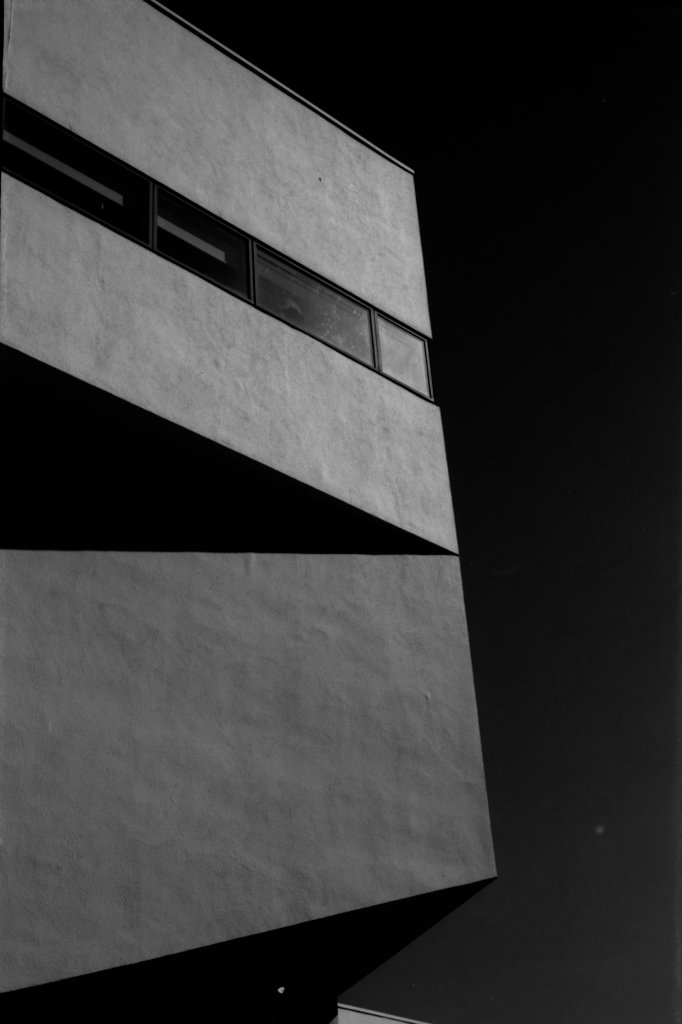
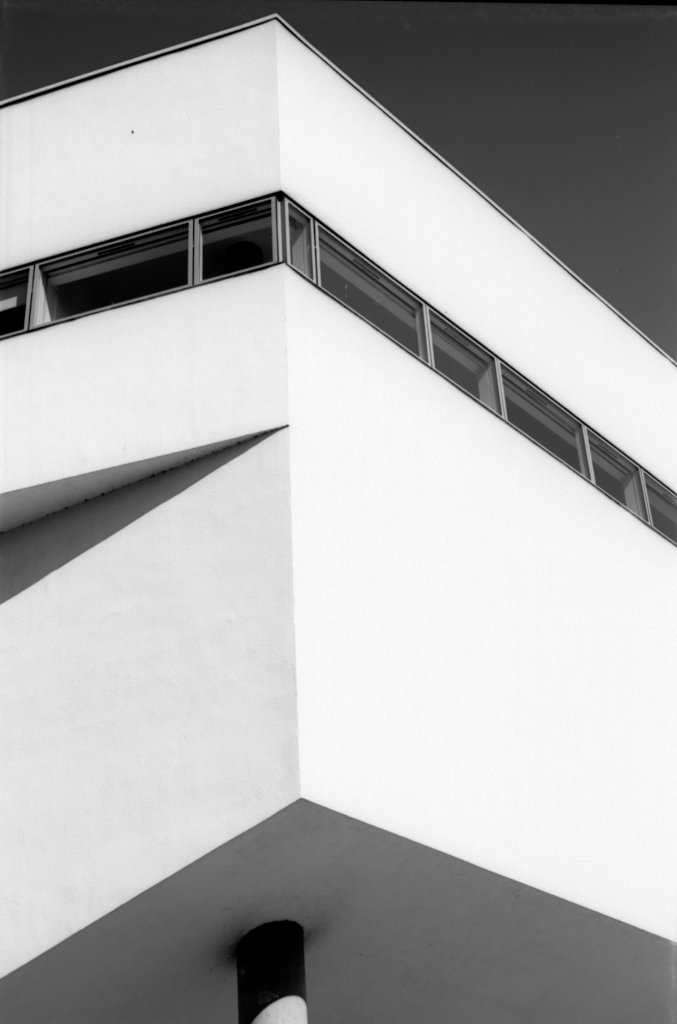
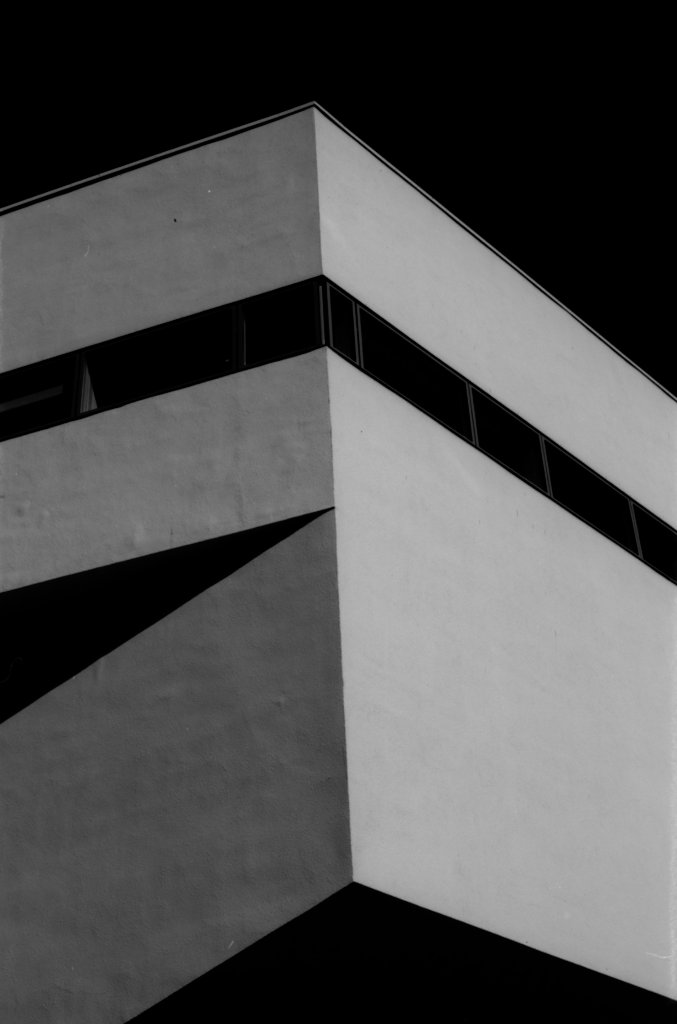
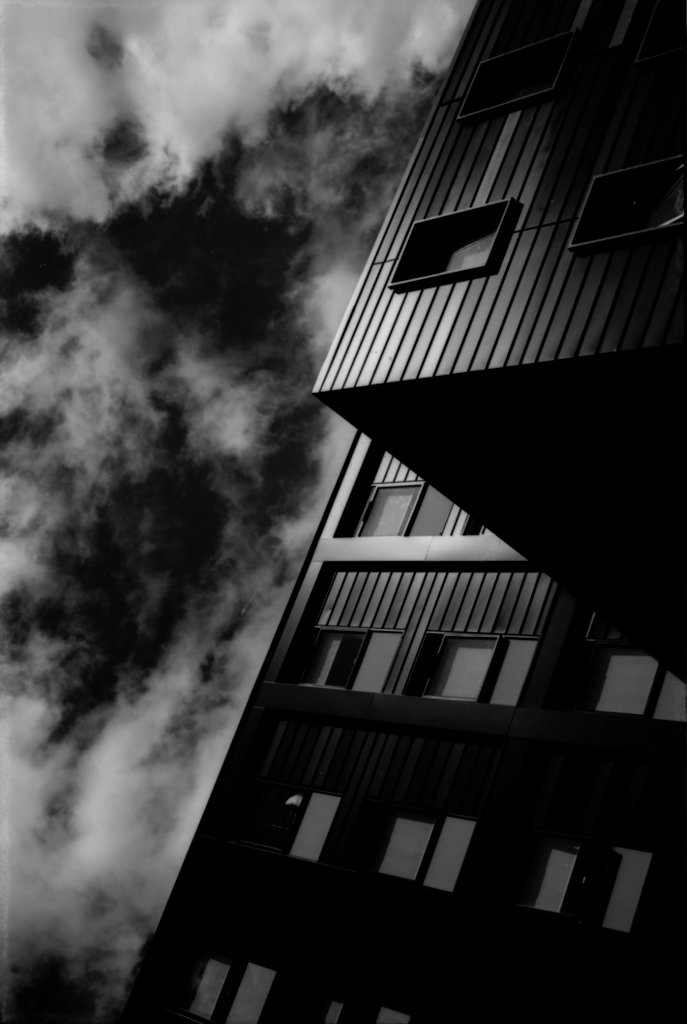
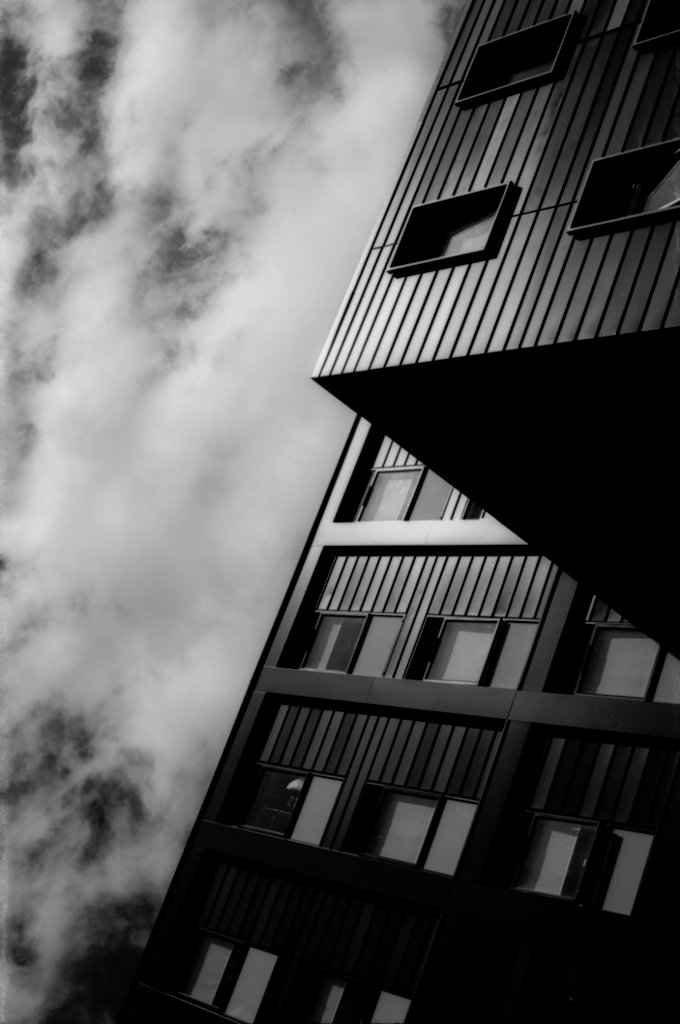
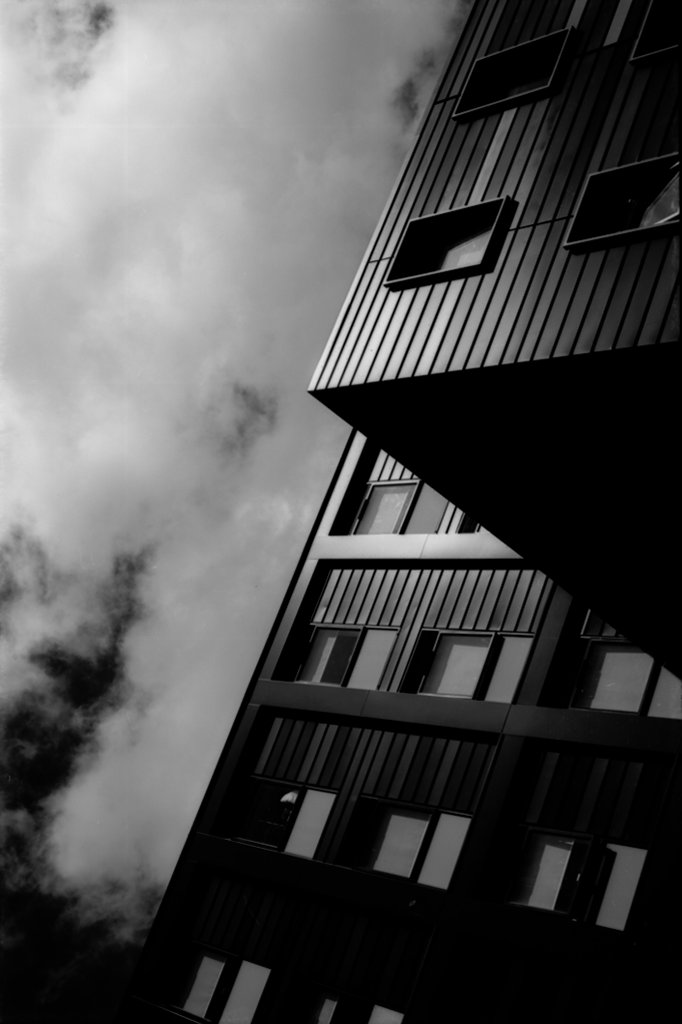
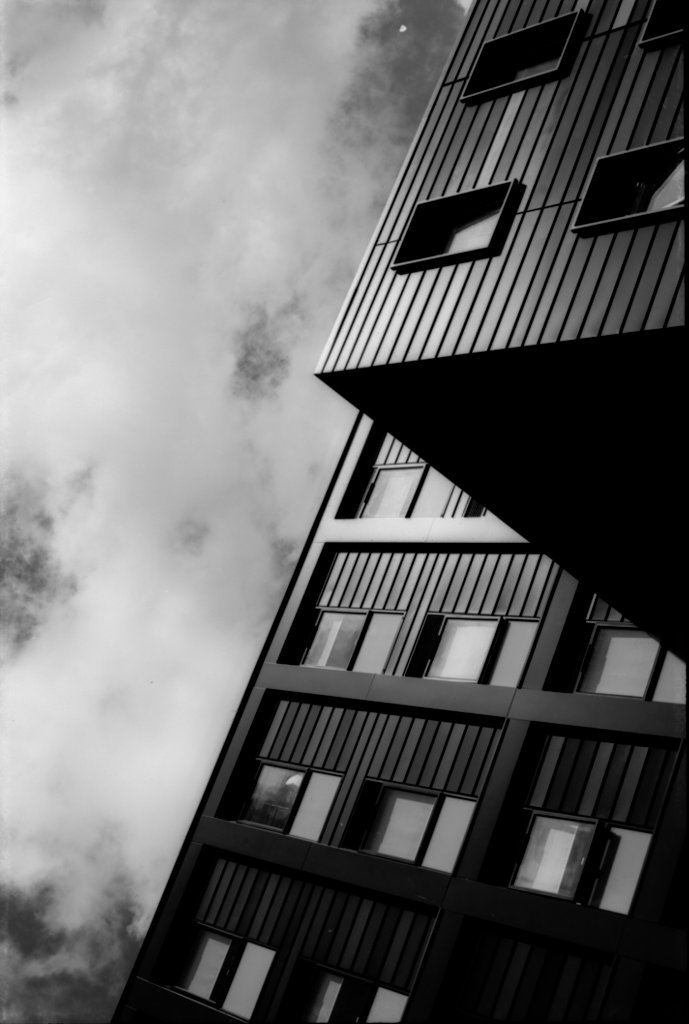
I walked the city centre to try and catch the light on this building, although it was still cloudy there was areas that were well lit. The idea is to show you how different it behaves, so again the exposures are normal, yellow, red and ND. Which is your favourite?
Other examples
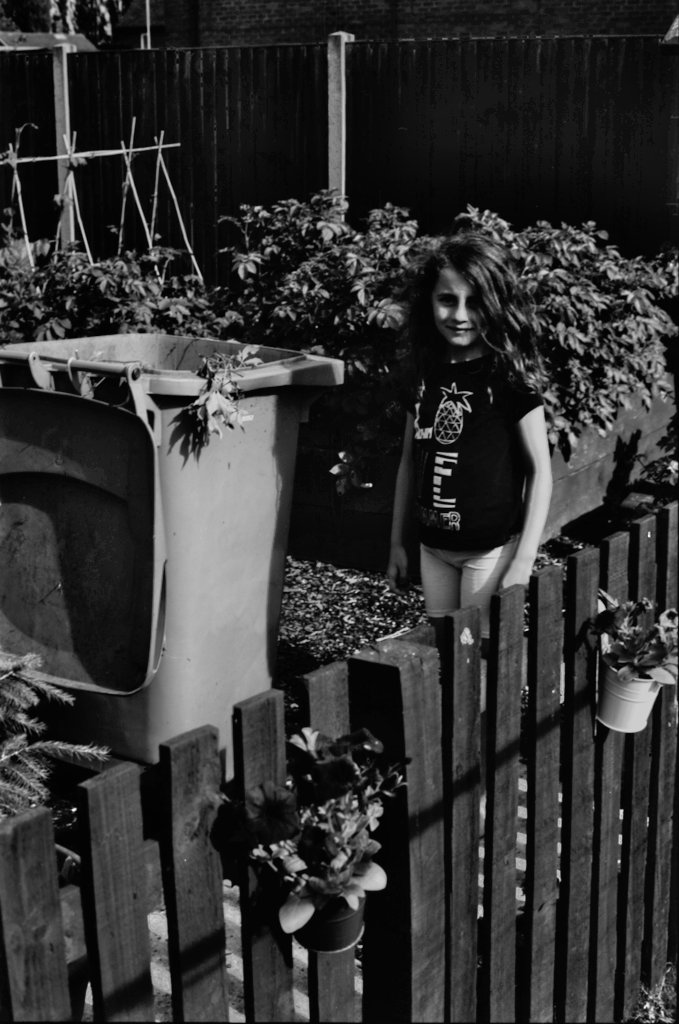
Because I love trying different films and developers, I have used washi “s” for general shooting too. Some of this happened during the covid lockdowns, whilst stuck in the garden. So I used this time to document my life using whatever film I had.
You can see different lighting conditions in this work and if you meter correctly you can get smoother tones (note the picture of my daughter).

Developing
With regards developers there is a complete mixture here. Because some of this is my early work I have no idea who developed the negatives or what was used. It’s only recently during 2021 have I started making notes to improve my skill and workflow.
The “other” work was developed and scanned (Canon 8800f) at home using Adox Atomal 49 and you can purchase here.
The latest architecture work above (with the different filters) was developed in XTOL by Zone Imaging. This lab is run by James Lane, a great chemist and knowledgeable film guy. Find out more about James during our interview here and his website here.
Conclusion
I have to say I’m a massive fan of Lomig, I love his attitude and hard work. Using his film is a pleasure and also why I approached him about running a collaborative project together. We setup a project called “retro 72” involving a one shot camera, lots of photographers and a tape recorder. The project is at the final destination and just awaiting Lomig to develop, so watch this space (link here)!
Practising with the different colour filters has made me want to keep going. I’m thinking of shooting some of the cities I have walked around again purely in Washi s. Like they say the more you shoot and experiment the more you learn, but notes really do help. So next time I will meter according to the filter and write details of every shot down.
I hope this incentives you to try one of Lomig’s Washi films. Give it a try and support a small business.
Support
if you like this article and want to support my work. Please use my link to purchase film from Analogue Wonderland – it rewards me with points.
Please consider leaving a review on Facebook too,they are really appreciated.