
Shooting slide film for the first time – a look at Ektachrome
It’s funny how many people I know have talked about slide film. Since I’ve only been in photography since approx 2015 I have now fond memories of film from children nor through any of my family. I was lucky enough to see film shots from our holidays and Polaroid too, but I was pretty young and only interested in being a child.
Jump forward to 2019/2020 and Kodak brought back this slide film, i was naturally curious to find out more about it. So let’s go through a little about this, what I shot and some results.
The film
It’s hard for me to say too much, like I say I wouldn’t know a slide films if it slapped me in the face. My philosophy is use what you have in front of you so that is what I did. Fortunately Kodak has sent me some E100 Ektachrome (technical info here) to try so thought it would be interesting to see what the fuss was all about.

There were 4 things I knew about the film:
- it’s a positive film
- metering is essential
- its expensive
- has different development process
So let’s consider these points for some clarity starting with it being a positive. Initially I thought why does this matter, just means you don’t need to scan and invert really as it’s already a regular image. I don’t know the correct terminology here, but hey ho.
Positives
Because I had the 35mm developed by a lab (thanks to Kirklees for excellent service) I received the scans before the slides back. So naturally you look through and think yes regular images – some good, some crap like always.
However, when you get the “slide” in your hands its like a little picture in front of you and its such a beautiful thing. Honestly if you have never seen one just hold it up to a window or light bulb and you can see your image. Man I won’t ever get over how amazing the colours were (obviously depends on your subject matter). Here are a couple examples I shot on my mobile using my laptop as a light source just to give you an idea.

Mobile picture of E100 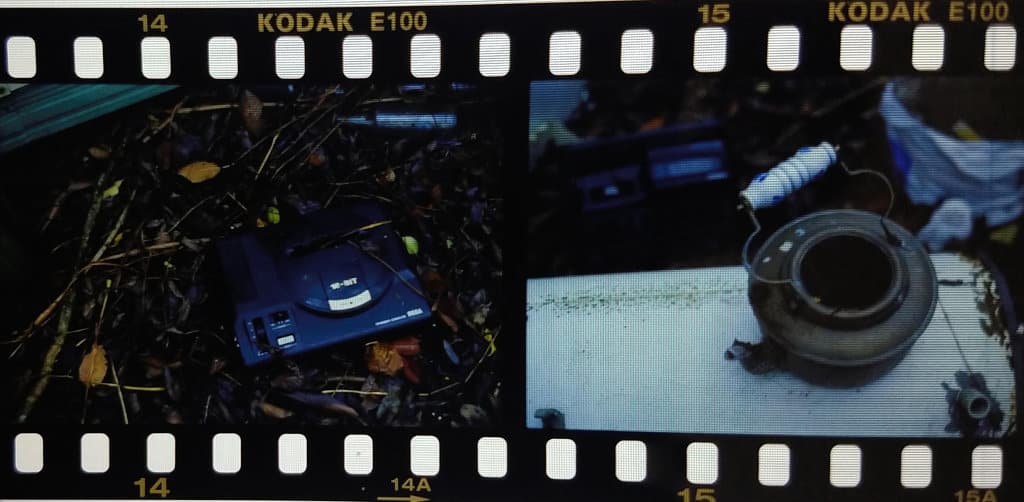

Mobile picture of E100
This reminded me of why in the decades past people had projectors and screens, you don’t need a computer just a large light source behind the negative. It’s made me think about getting hold of a projector with slide feeder thing too.
Metering
See I haven’t forgot to discuss this, so here goes. Nearly everybody talks about this element with slide film and for good reason, but please don’t fret about this stuff. If film is a hobby to you, DON’T treat it any differently, just bloody shoot it. Adjust your ISO setting on your camera (if you have one) for the speed of the film just as normal.
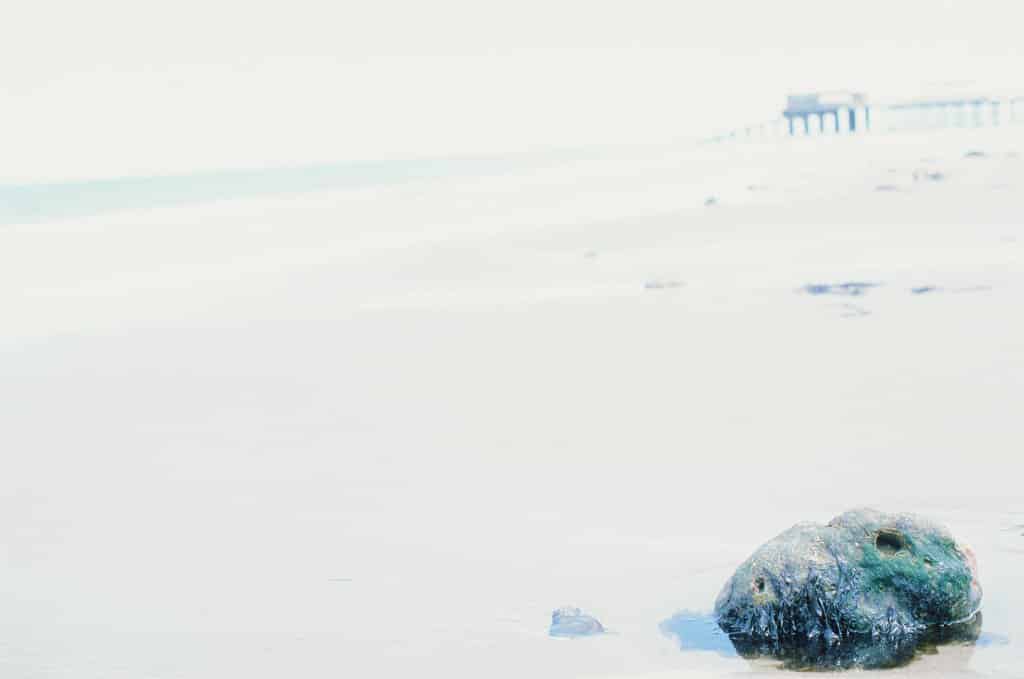
The only advice I would give, all film loves light, but slide really loves it! So if its really bright you WILL overexpose if you don’t adjust your settings – this is an example from Blackpool beach on a bright day.
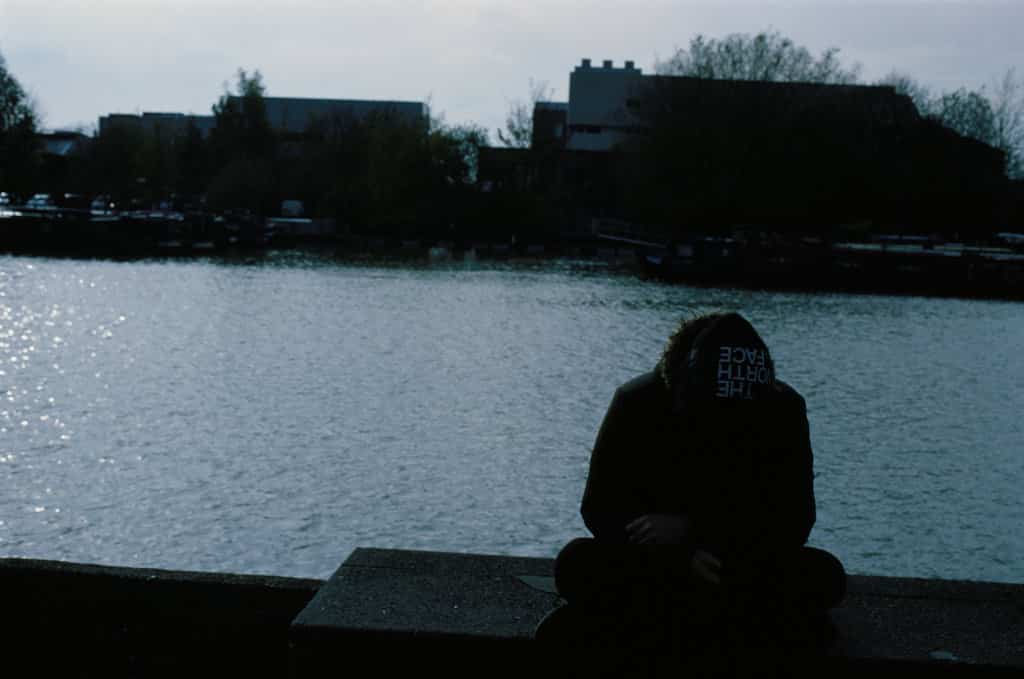
Nearly every film I’ve shot does not like under exposure, so don’t do it either here, simple. In this example I was walking along the waterfront in Lincoln and wanted to capture the irony of the message on cap (because I couldn’t see their face)
the Price
So it’s 2021 and film has had a few price hikes in the last year or so. Slide film doesn’t have the same level of choice as negative films. There are a handful of main suppliers available like Fuji Velvia and Provia or Kodak Ektachrome. There are a few other options included a b&w slide film by Fomapan and Crossbird by Rollei and don’t forget FPP always have their own variant too.
| Film | Format | Price |
| Rollei Crossbird | 120 | £7 |
| Fomapan R | 35mm | £6 |
| FPP Super positive | 35mm | £12 |
| Fuji Velvia/Provia | 120/35mm | £12.50/£20-£22 |
| Kodak Ektachrome | 120/35mm | £12.50/£19 |
As you can see the market leaders Fuji and Kodak seem to carry a large premium over the other options.
Development
Of course like any film there are always different chemicals involved and this uses a method called colour reversal. There are a couple of options which will ultimately work according to your artist takes.
For purist’s who want the natural colours then use the E6 process. Now the problem here is that because its not C41, many film labs are not setup to use this process. Therefore, it’s more specialised and a little more costly, so you need to think about the practical side of this.
The other option is “cross-process” which means use the same chemicals you would normally use with colour negatives (C41). What will happen is different colour shifts and effects since you are using different chemicals. Unfortunately I have never tried this and can’t provide you with any information on this so consult your usual friend and alchemist – we all know one!
To give you an idea of what it will cost, i’ve put prices together a comparison of C41 and E6. The labs chosen are well known to the film community, and I’ve included my personal choice too (Kirklees).
| Format | Process | AG | Silverpan | Kirklees |
| 35mm/120 | C41 | £3.49 | £6 | £5 (inc scan) |
| 35mm/120 | E6 | £5.49 | £8 | £8 (inc scan) |
The images
Most of the time when I’m not shooting for a purpose I will use any cheap film, whether its colour or black and white. So my family photos are a complete mixture of my terrible developing, mistakes and expired film too. Like I said above I have used the ektachrome for the exact same purpose and treated it like any other film.
The first time I used it was a family holiday to Cromer during 2019, some too personal to show but here are a few examples.

The second roll are from my desolation and perception project work. It was all about testing how the film compared to my other Kodak films. I have included a few examples for you but most of these will contribute to the zine and hopefully prints available in due course. To provide an example of what is possible these are edited (I normally perform white balance/exposure adjustments).
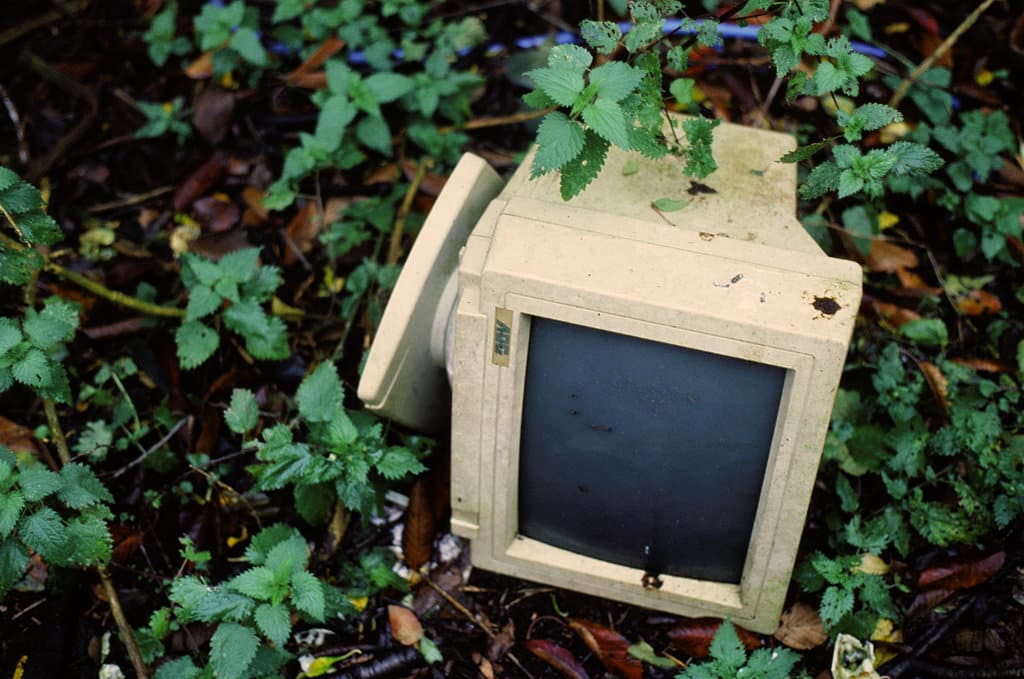

Abandoned monitor in field 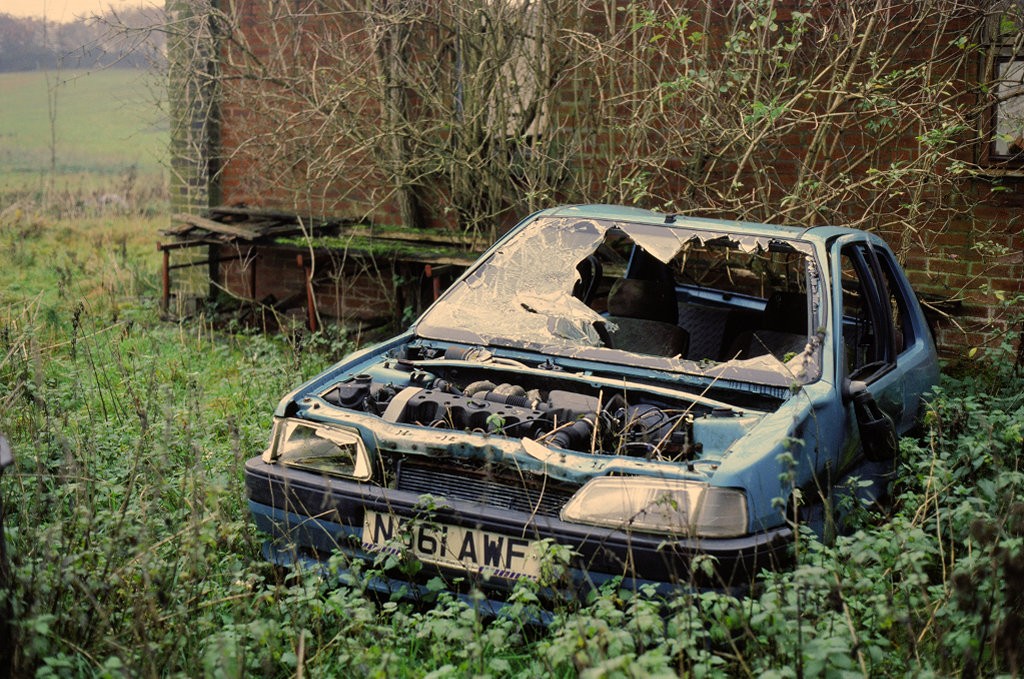
Abandoned car in field
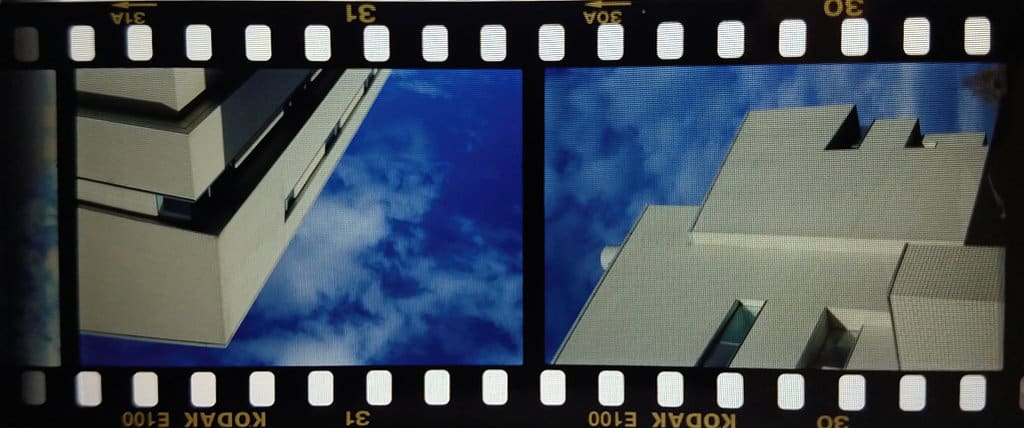
These are architecture examples that may included in my “perception” project. For me the strong sun just embraced the buildings and made them shine.
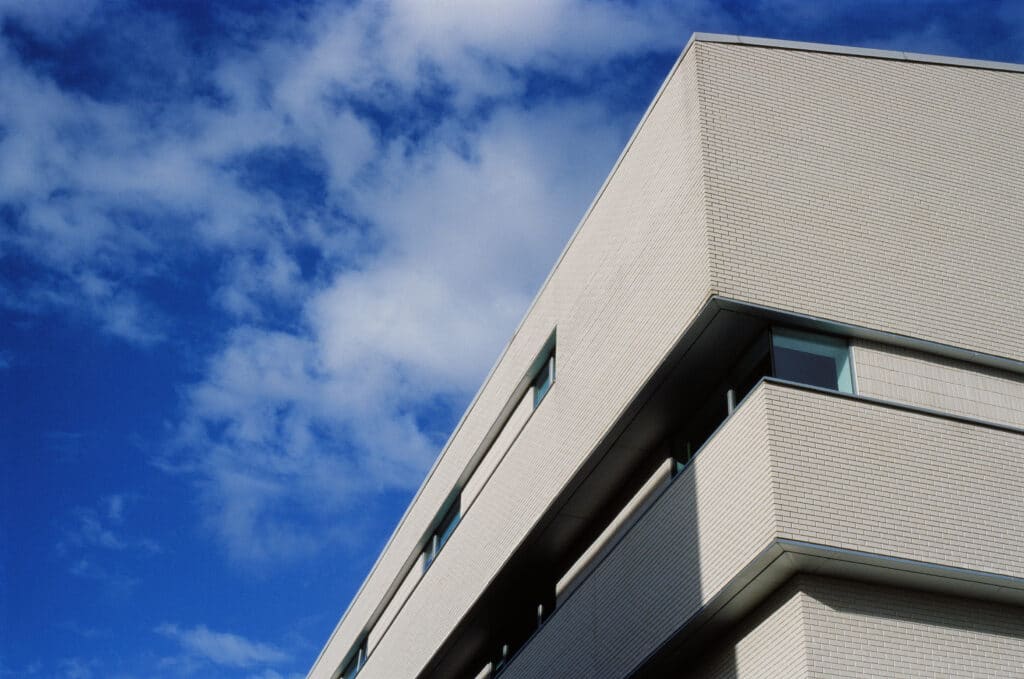
Lincoln University 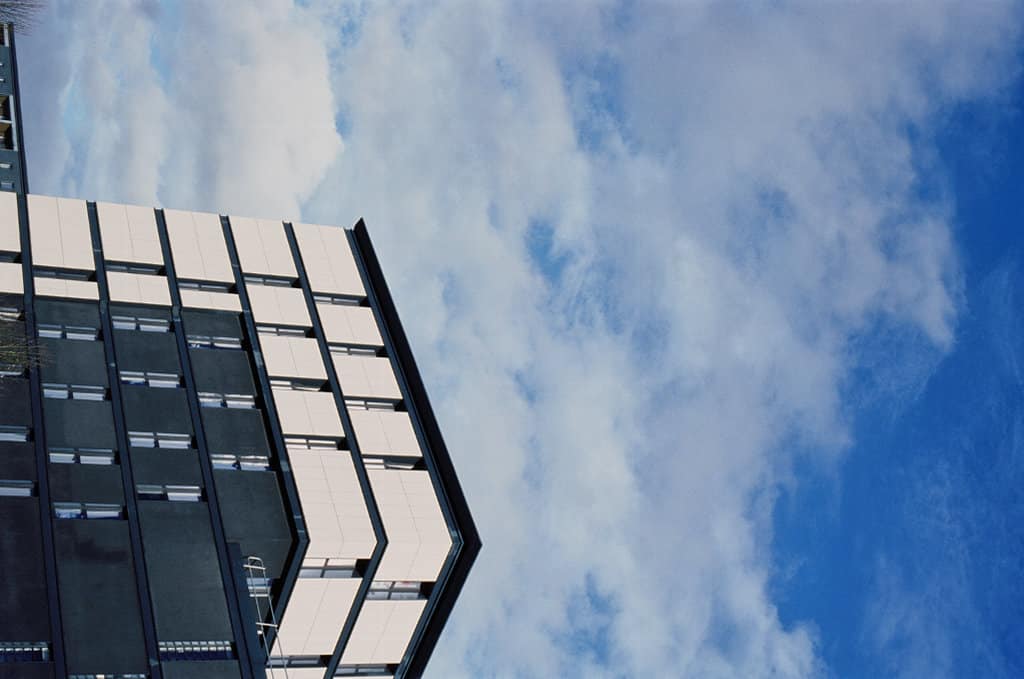
Lincoln architecture
The third roll is from a trip to Blackpool, it holds a special place in my memory banks from my childhood (not so much as an adult). The sun was definately testing me on this day and not very forgiving, but still managed enough.
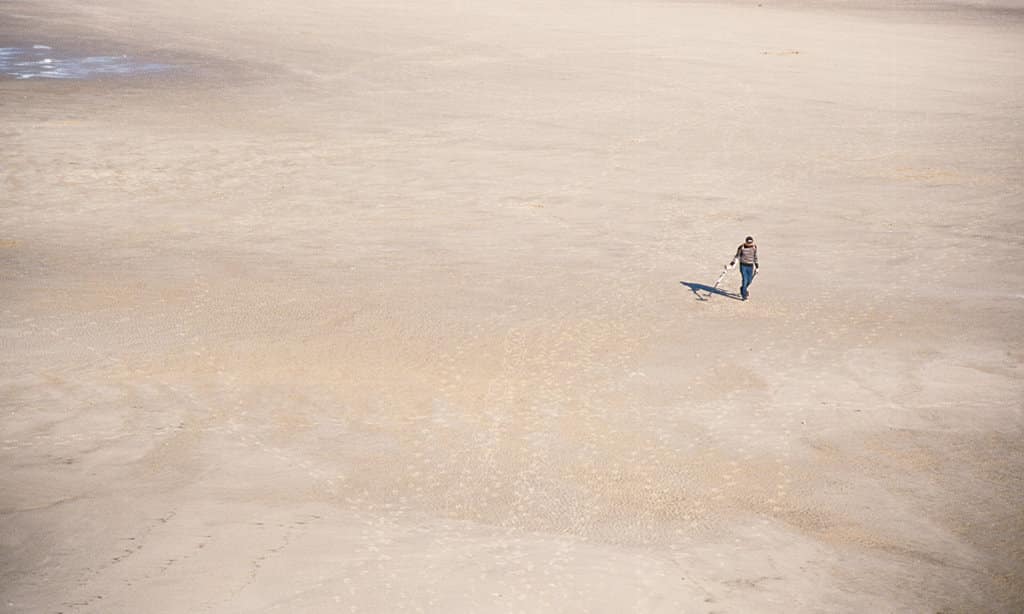

Negative space on Blackpool beach (2019) 
Blackpool scene from 2019
Printing
So of course, i just jump on board with stuff and see what happens. Then I realised once I had the negatives, oh crap I can’t print them (or enlarge them so to speak). I have a few lovely images and of course if I use my enlarger and b&w chemicals I will make a negative again!!!
This made me research and look at options, because as the decades move on old methods die out (usually for good reasons like health and safety). The main option is really colour printing, but that means buying a drum of some description (costing me more money). Then I would have to completely make my room light tight, which is possible. Lastly I would have to practise working in my new space in the dark. I had tried working without a light before (my bulb died) and it was easy as I had a long bench and everything was lined up next to each other. My new space is totally different and I’ve put my hands in the trays a few times and tripped on stuff (it’s also too convenient for the beer fridge too).
Conclusion
So what did I think? Well I have to say I loved it, I don’t know if technically it has a better resolution than negative film but the colours seemed very saturated and lovely.
Having a real positive image in front of you is pretty amazing and bit like seeing a print appear before your eyes. I would love to try it again and be interesting in medium format since I shoot a lot of that.
The real stumbling block for myself is the print, since my workflow is only set for negative paper. This would mean a bit of work, investment and time to learn yet another element. For me it’s simply not worth the extra money – the films are considerably more (if sticking with the major brands), it costs more to develop and a lot more work in the print stage too. Obviously this may be different for some of you, especially those with colour printing experience. After working with negatives for a few years, I have got used to that. Temperature in the darkroom or having it completely light tight is not essential so it’s pretty easy to get up and printing. I’m not saying I don’t want to try printing colour anyway, because I do – i’m just not ready yet.
I’m so pleased I tried the slide film and can’t thank Kodak Alaris enough for the film. The films were developed and scanned by Kirklees, who are another great company. Taimoor from Kirklees is someone who is trying to help people and offers very reasonable prices so do check him out. If you fancy trying out slide them then check out Analogue Wonderland and use my link here.
Like what you see?
If you liked this content, then please help me. Choose from below and help support my work:
- use my referral link for Analogue Wonderland – here
- sign up for my weekly newsletter (left hand side menu)
- leave me a review on Facebook – here
- If your feeling extra generous provide a one off donation – here