
A darkroom session with Jay and Paul
A darkroom session is all about the experiences of trying a darkroom for the first time with friends.
In the past I have written a series called “a walk with” which have been about meeting friends in different places with our cameras. Because of covid that sort of went out the window, but now its coming to the end of May 2021 I needed to do something. So why not do something indoors with something i love – the darkroom. My friends know about the pleasure the darkroom brings to me and how I enjoy playing. The work is not always about something perfect and beautiful, it’s about fun, experimenting and learning.
Now this article will be a brief look at our session, but will be written from both sides – Jay and myself! So read on and enjoy.
The precursor
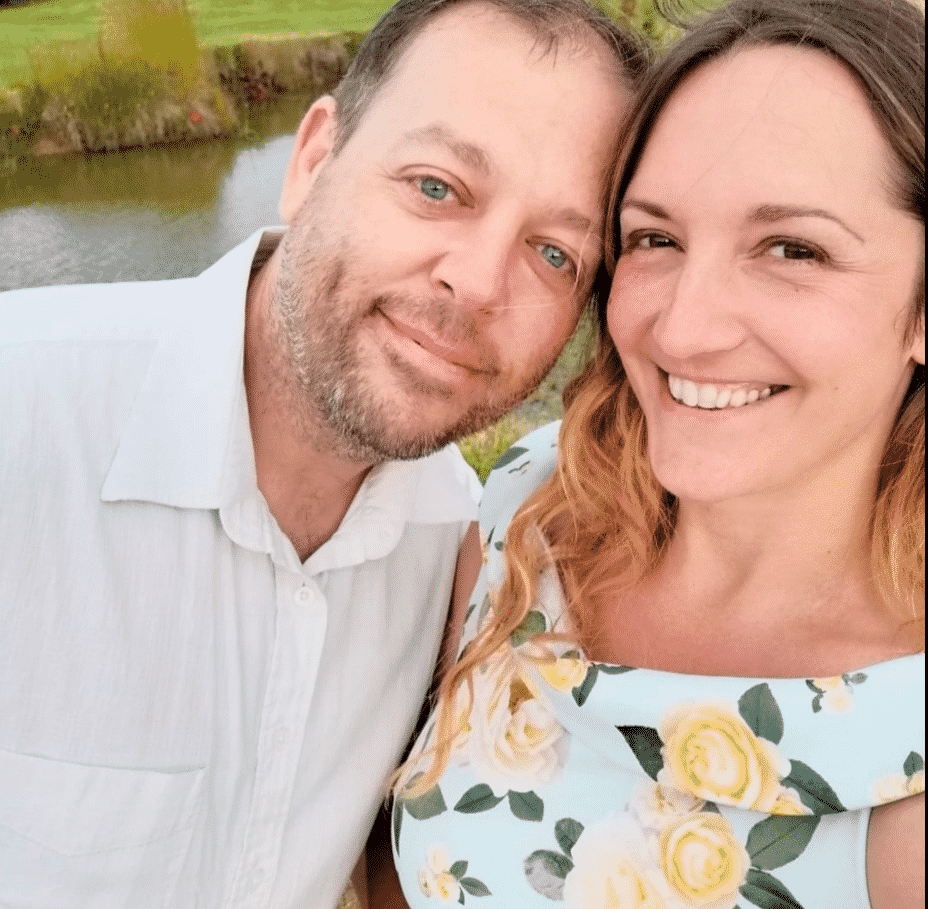
Jay Good – you might remember that name from a prior interview and mentions in previous articles. Jay is a good friend of mine and runs a great Facebook group for those interested – link here. Paul is another good friend whose recently took up shooting film and likes working with models.
Let’s discuss Jay’s experience firstly.
Normally i only use my trust Sony a68, the SLT precursor to mirrorless cameras in the Sony range. i have used film cameras many years ago, but not really done anything with film for decades. My father was a film photographer, and i remember the red bulbs and trays of chemicals on the kitchen surfaces.
All of my processing nowadays is done digitally, and I’ve been using Photoshop, Luminar, & Capture One as my go to suite of editing tools most recently. Retouching and photo manipulation is as much of a passion for me as the taking of the images.
Jay Good
Paul Ottley is another friend I got to know through our local group model shoots. He’s always had a great attitude and survived with simple gear. I think it’s why I steered to Paul in the first place as I know from personal experience it makes you work harder. We have carried out chatting about gear, film and he’s always happy to learn. I’m grateful to Paul as he helped me find some of the locations for my Desolation project.
In Paul’s own words:
I’ve been interested in film photography for 18 months or more, Andrew always managed to peak my interest with the different cameras he uses, no checking the back of camera to see how your shot looks, working off of his knowledge to know what settings to shoot. I myself started with a bridge, eventually saving up for DSLR, before I could start shooting Polaroid and 35mm myself. I’ve still only had one roll developed because of the pandemic I’ve barely been out with my camera.
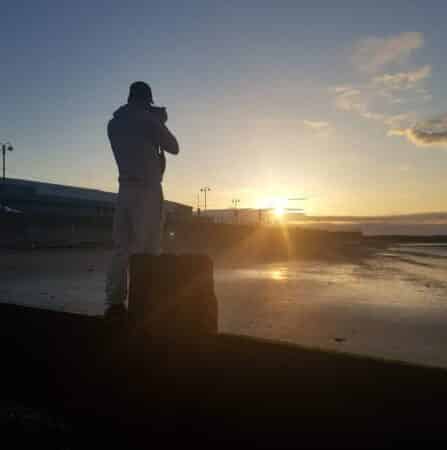
Paul Ottley
With regards my own experience, you’ve probably seen my attempts on my social feedfeed. But in essence I’ve had my own darkroom for a couple of years. A friend showed me how to make a straight print, by going through the process of using chemicals and an enlarger.
In the last year I have experimented a lot with split grade printing and mainly work on colour negatives but with black & white paper. Recently I’ve re-arranged our outbuildings and now have a shared room that’s slightly warmer and has electrical sockets! Because of the change I have upgraded to a very solid enlarger (Agfa c66) and now have everything on hand and can setup very quickly. My experience is now all about playing with equipment, techniques and items in and around my house or darkroom.
The session
From my point of view, I had the room ready and chemicals in the trays, so we could start when Jay arrived. There was no real plan other than let Jay see what the fuss is about. However, I’m not one for just doing to show some one, i wanted Jay to take charge. So we discussed the equipment and how it worked briefly. We talked about timings for chemicals and let him loose with a negative.
Like anyone who has gone through the print process there were of course errors. Some of the stuff ain’t easy, like trying to find grain through a small magnifying device (called a focus finder) when there isn’t much grain and a colour negative. In the end we settled by judging by eyesight and went from there. My enlarger doesn’t have an in built timer which makes it a little harder at the beginning. But I will let Jay explain more on this and what he thought.
“Ok so coming at this with zero experience it was a very steep learning curve. but it was interesting to try and find the correct focus with the focus finder. it’s not easy, there’s so much to consider, exposing for highlights and shadows separately, trying to set the timer correctly, by touch.
Jay Good
during one exposure , i nudged the negative, which gave us an unintentional double exposure which was interesting.
In an effort to keep the session as interesting as possible we did an exposure “brushing” on the developer with a kitchen washing up sponge, to give a mottled look to the edges of the image.“
Jay’s session
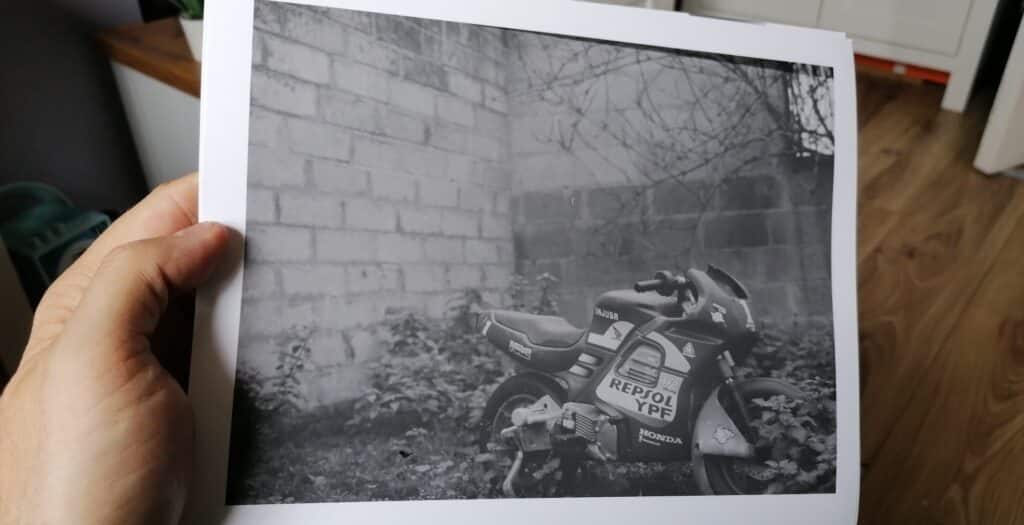
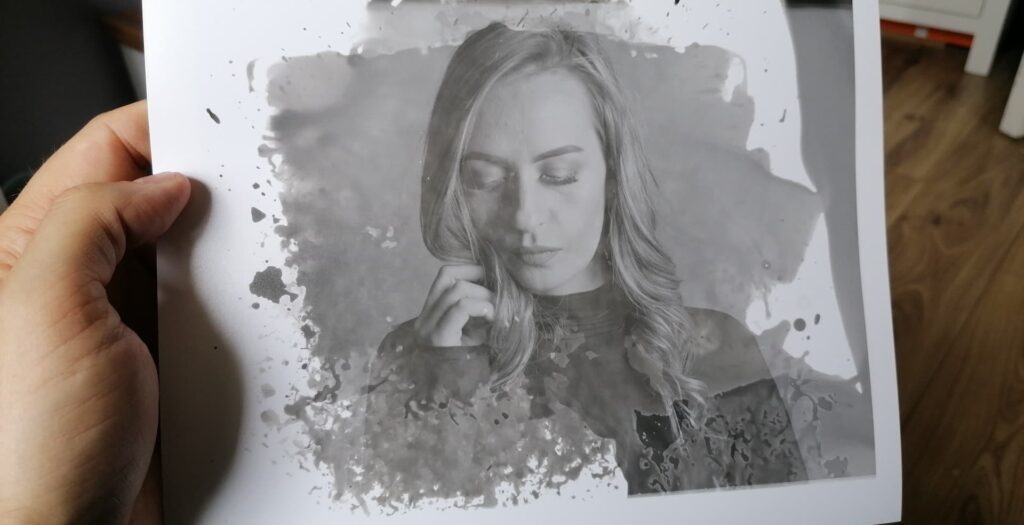
So here are a few of the prints we made (captured on my mobile phone).
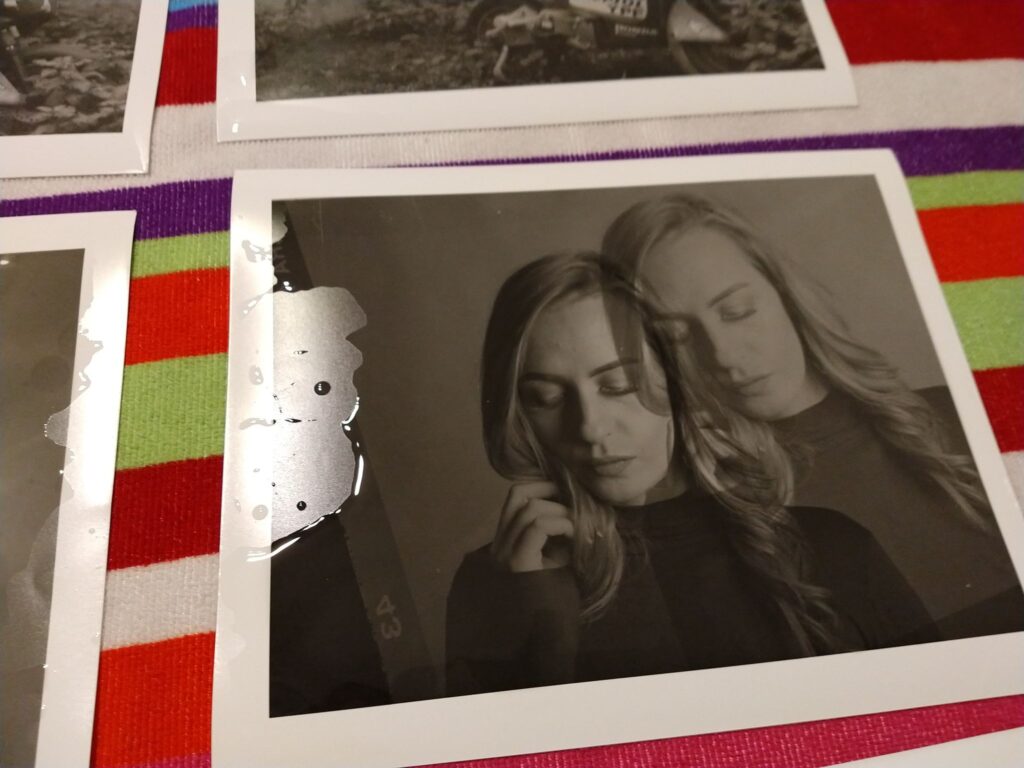
This first one was a colour negative, so we did split grade printing to show bring out the highlights and black shadow areas.
The whole point of this print was to experiment and show Jay there are no rules. That the paintbrush in photoshop, is just similar to what we use in the darkroom. In this example we used a sponge in developer and smeared in on to the paper.
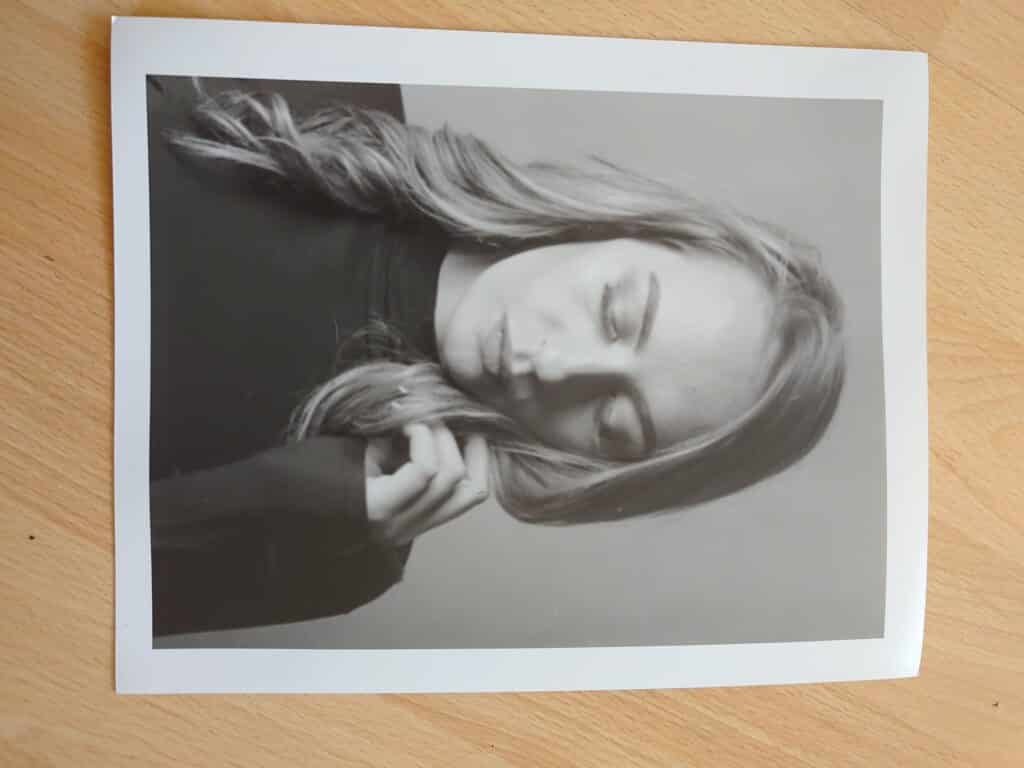
This one is an accidental double exposure, like any person there will be accidents. I knew straight away what had happened as I had done the same myself! When you reach to the top of the enlarger to control your contract, it’s easy to catch the negatives! Again, it’s something you know and learn to be careful of once you keep doing this – practise,practise,practise
Paul’s session 2
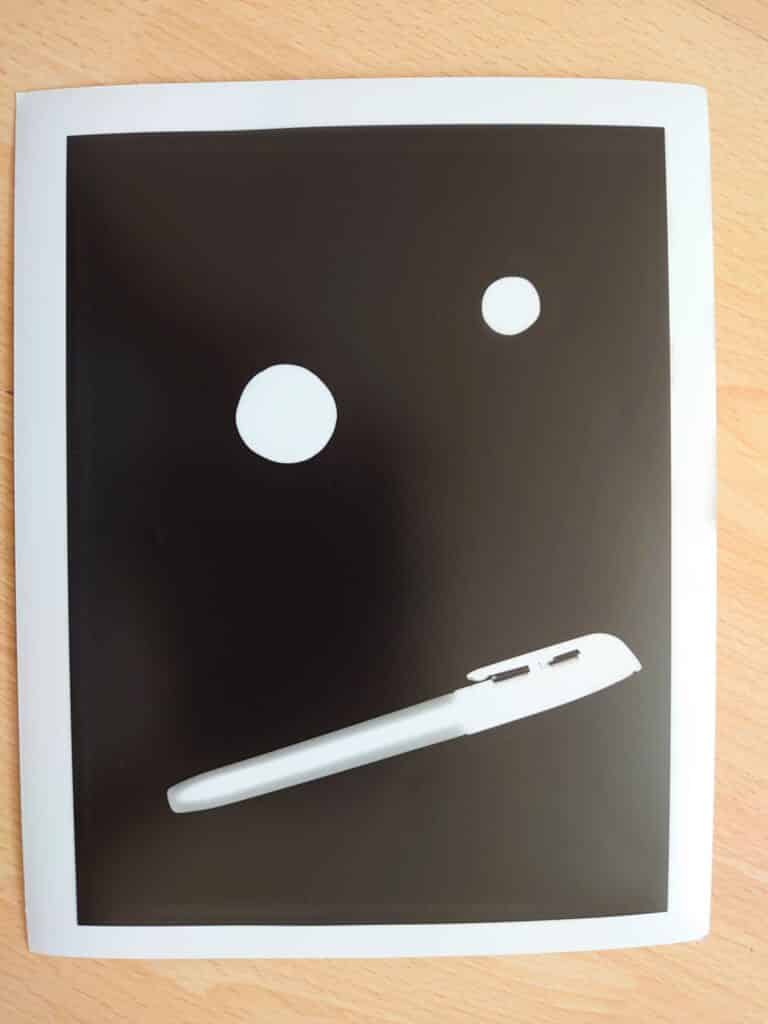
During my session with Paul I wanted to show him some things he could soon do at home with his own children. I went with one of the simple techniques you can do – photograms. So I grabbed a few things from my kitchen and asked him what he thought would happen. We used a tomato, blueberry and a pen – can you work out which is what?
Here are Paul’s thoughts:
After finally arranging a visit to the dark room, Andrew showed me around all the little bits and pieces, explaining in detail which each part of development was, I had a rough idea through different Facebook groups, and himself, but to see it all in person was amazing. He ran me through the process and then gave me the chance to develop prints myself using a selection of his negatives, the first photo came out almost perfect.
Paul Ottley
I decided to try a harder negative for the second shot meaning I had to expose the paper twice for highlights and blacks, after a bit of trial and error with exposure times we managed a decent print. Once that was done Andrew also showed me how to create a black border using a quick flash of light during developing.
Paul Ottley

You can see from the pictures it’s all about what you like, what you prefer and how you frame! It’s everyone’s first time so it’s exciting to realise it doesn’t just end with the image,there is cropping and borders to think about.
Mistakes
It is inevitable we will make mistakes, some are accidental which lead to new discoveries and some are not good. Here are a few from our sessions:
- additional light source
- moving negative
- wrong colour contrast
- contamination
- timing
So when Jay was loading paper in the easel I noticed a small light source in the room. I asked Jay – sure enough he had a smart watch on! Jay was very apologetic but it was fine, it only illuminated a very brief amount of time.
Another problem is that it’s very easy to catch the negative in the holder when working in the dark
During one of the sessions we accidentally adjusted the wrong colour wheel on the enlarger. This meant the image didn’t get the correct contrast.
Contamination is such a common problem, usually when I’m rushing around and trying to save time. Sometimes it’s because your prong catches the chemical. Other times it’s having a small amount on your finger from rocking the trays.
There was a few other times where the timer button stuck too, so exposure times were wrong. This is noone’s fault, the button sometimes jams – it’s old so you have to live with it, it’s no big deal.
Afterthoughts
Personally I think Jay did great, he listened and made some prints! It truly is a magical feeling seeing an image appear in front of you. Even though this happens on the back of a dslr and a mirrorless, you can’t imagine how different it seems when you’re working using your hands and alchemy.
I would like to think during my session I’ve explained the printing process in terms Jay could understand. The idea was to talk in photoshop and light, not just do this. I wanted Jay to experience some of the fun, experimentation and a straight decent image too.
it was quite an eye opener to see the intricate process of developing film, the struggle finding your way around the equipment in low level red light, the timings required, and watching the image magically appear before your eyes. it was a fascinating session, and i think we could have done a lot more had we not lost track of time.
Jay Good
One thing that i wasn’t expecting was the physical fatigue setting in after a couple of hours in the darkroom.
It’s not something you do sat down, you’re stood for a long time, sometimes leaning over to investigate focus through the magnifier, and then twisting to take developed paper to the developing trays. it was a mini workout as well as a fascinating learning experience, for which I’m very grateful.
It was a challenge to teach Paul as my second week, as you don’t want to get bored yourself with going through the same techniques. But because Paul is genuinely getting in to film and wanting to print, I took a different approach. Paul is another family man and he’s sorting out a place to act as a darkroom. So my idea was to showcase some ideas he could do with his children – like lumen prints and photograms. After all I’ve had my 9 and 10 year old in my darkroom, shooting large format (I wrote about it here)!
All in all it was a great evening, spent with a great knowledgeable guy. Would 100% recommend a darkroom visit to anyone even remotely interested in film photography.
Paul Ottley
So in the end I am very proud of both Jay and Paul, they both created something. Letting them take something home I believe is important, it’s what the darkroom is all about. I believe in learning through trying and letting people ask questions. Sure we went through sensible stuff before hand as it’s important to consider health and safety. It is also funny from working with Jay he added a few seconds to the timer which then gave him 2 seconds to get his hand ready over the enlarger power. This was such a great idea, i’ve adopted this myself so I don’t have to have one hand on the timer and the other on the enlarger power!
Book a session!
If you want to try this get in touch with your friends or if your local to me, let me know. I love exposing (good pun I know) to this alternative world of creativity. You can have so much fun and learn that there are so many options – get out your paint, cardboard, scissors and create something!
email me – mraiwalmsley@gmail.com
Instagram – @phlogger.co.uk
Info
You can find out more about Jay and Paul here:
Jay Instagram – https://www.instagram.com/2021sonyshooter/
Paul Instagram – https://www.instagram.com/paul_ottley_photography/