Shooting abandoned buildings – without a meter
Shooting abandoned buildings is ofen called urbexing, but this place has a different approach. There comes a time in every shooters experience when they want to try something new. Sometimes its down to a new interest, a friend or even a new challenge. Maybe it’s a genre you have shot with digital in the past and want to push yourself with film.
Well this article is about that hybrid experience of using both – so hope this appeals. As we will talk about how I walked around a local part of our history and used both digital and film. What was interesting was the different lighting and not having time to meter.
On this day I had arranged to tour a local building and its grounds in the heart of Lincolnshire. It’s a property full of history, but left to ruin for one reason or another. It’s a genre of photography I love shooting too, so was really excited. More importantly I was interested to see how I would cope with using flash, film and being part of a group tour.
The location
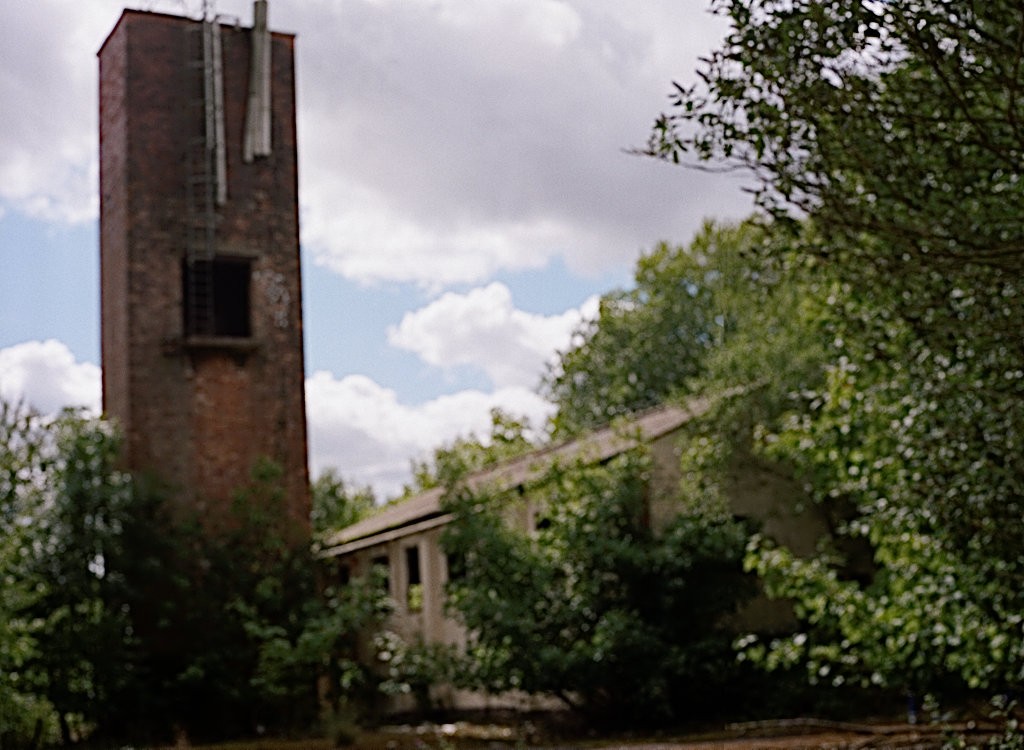
The place is called Nocton Hall – well thats the name of the house. But this old mansion (there is a fireplace from 1588) and grounds was also used as a RAF hospital from 1947 until 1983. Then again in the 80’s and 90’s the American military used the site too. It has a long history of being destroyed and rebuilt a few times, but now just the outer walls stand, looming dangerously over the estate but fenced off for safety.
The RAF hospital is a separate section at the back of the manor house containing some of the buildings left over. Most are in a state of disrepair but some rooms and corridors remain and provide a glimpse of the past.
The site currently has a lady called Mary and her husband who are building their home on the grounds. Mary is providing guided walking tours around the site with permission of the land owners. It’s very reasonably priced and totally worth the experience. Each time Mary goes round she learns more about the place from the public. It’s amazing how many people were born or treated on this site and want to come back for remembrance.
Choosing the gear
Let’s get something clear – use whatever camera you need to and that suits you. Don’t ever let anyone tell you what you should be using. Using my digital camera on this session was about having a practical element to my shooting. Digital gives you that sense of security and backup, but achieves a different look to film. The camera I took with me was my little Olympus om-d em10 mirrorless as its small, has a wider focal length (28mm) and provides a useful sense of what’s happening.
Choosing the gear was easy for me, as I had the idea to build in film to go along with Desolation project. However I knew this would not be easy to work out exposures since I don’t own a flash meter. The gear included:
- Olympus OM-D EM10
- 1 x flash (with wireless trigger)
- tripod
- shutter release (for Bronica)
- Bronica ETRS (75mm lens)
- Kodak Portra 160 & 400
Using the digital would provide some guide for metering but there is a massive difference between a base of iso 200 on the Olympus and a medium format film camera! As it was August 2020, there was plenty of light but I was just concerned about the dark corridors sort of thing.
The site
Man was I surprised how big the site was (the tour took nearly 4 hours) and because it was on foot this posed a problem. You did not have time really to hang around and take your time with your framing, metering and setup etc. Luckily I adopted quickly to this and didn’t want to annoy our friendly host by getting lost and leaving me trailing at the back. You see it was important to stay with the group as their are dangers like any site (like asbestos) so I ensured I listened first before taking any shots.
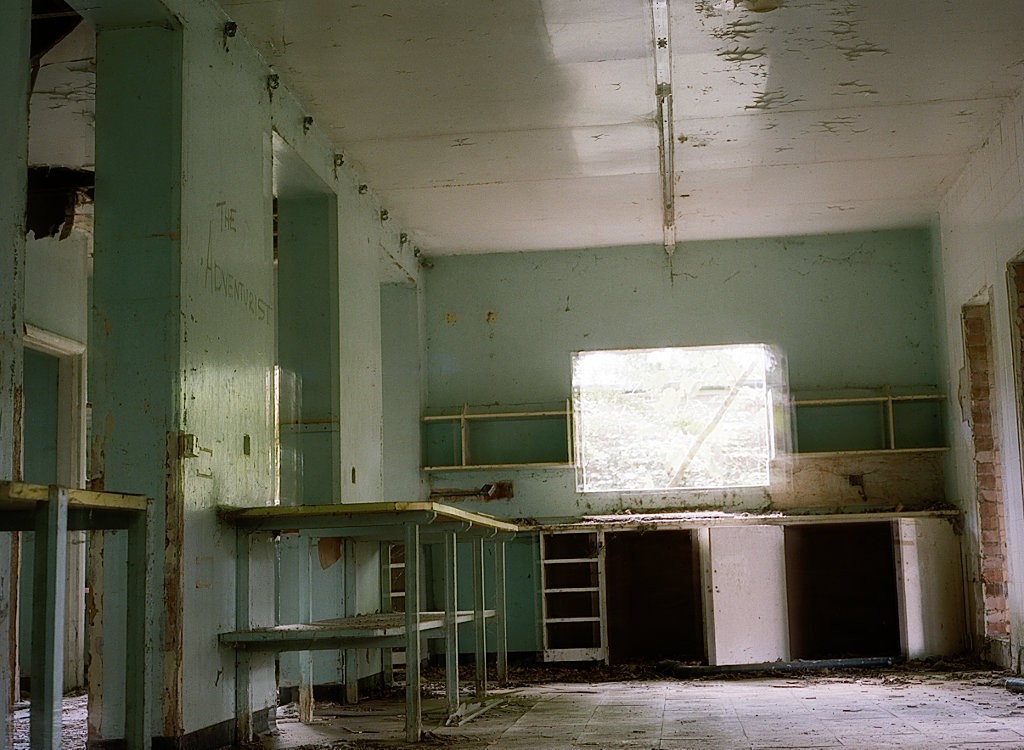
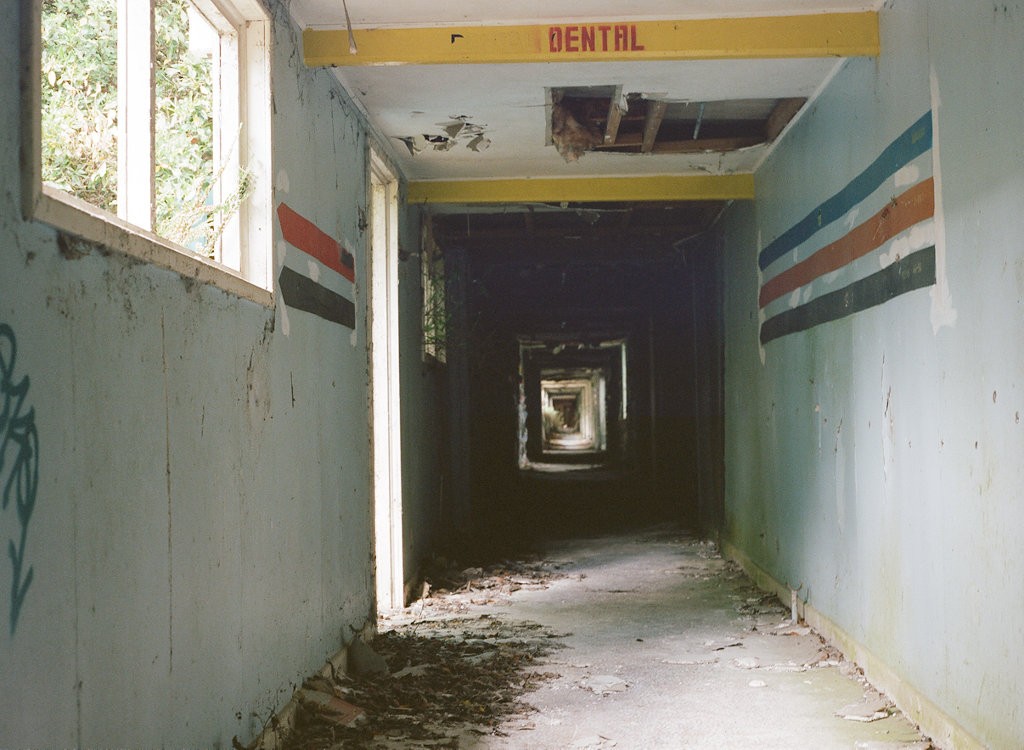
There were a few shots I really wanted as I had seen pictures before hand. One of these was the corridor to the surgery. Even shots like these pose a problem with the others on the walk too – so you had to be patient.
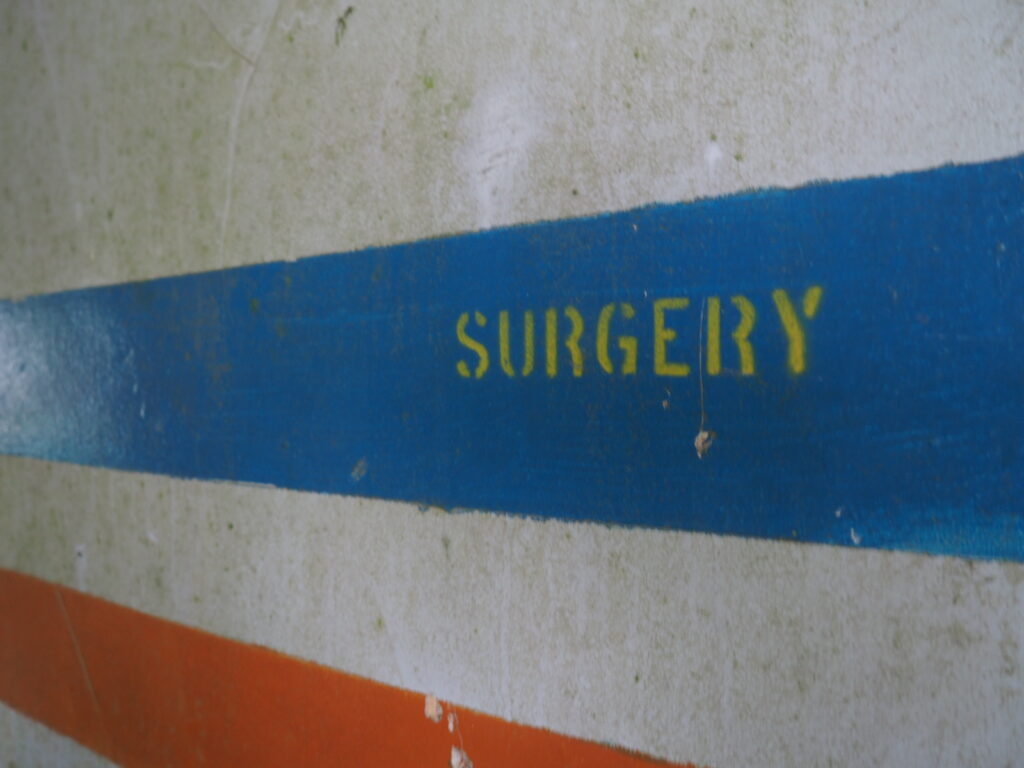
Everyone wanted to take these shots as they are reminiscent of the colour codings used in hospitals. It’s also refreshing to see colour amongst the monotony of a hospital environment.
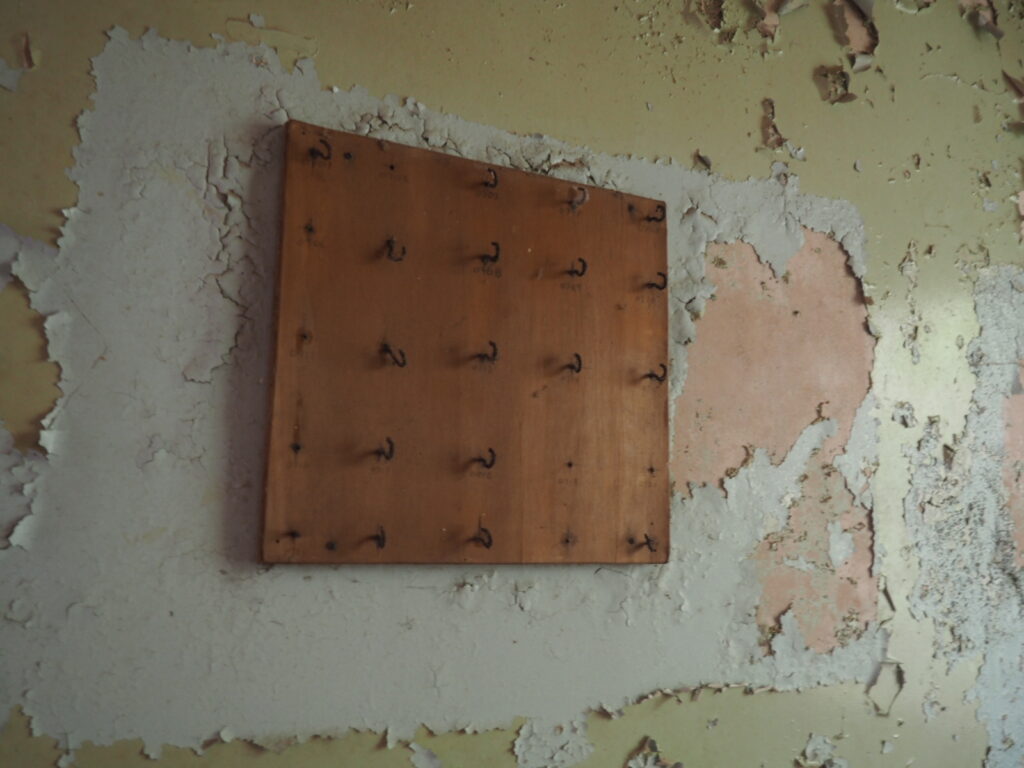
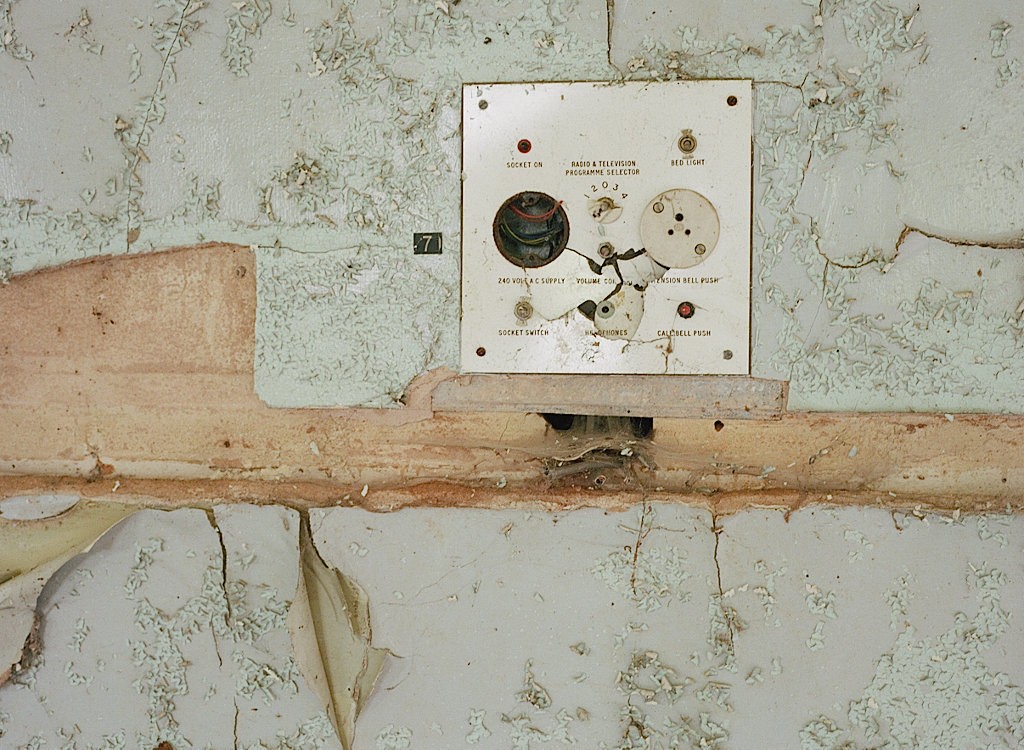
I was very keen on capturing little snippets of detail more than anything. As it was quite clear there was lots of damage in most rooms. But this little bit of the past I just had to shoot. I wanted to show you some of these on film and digital so you can see the difference. The film was harder to control and often mis-judged the exposure required, but no-one is perfect and I had to rush!
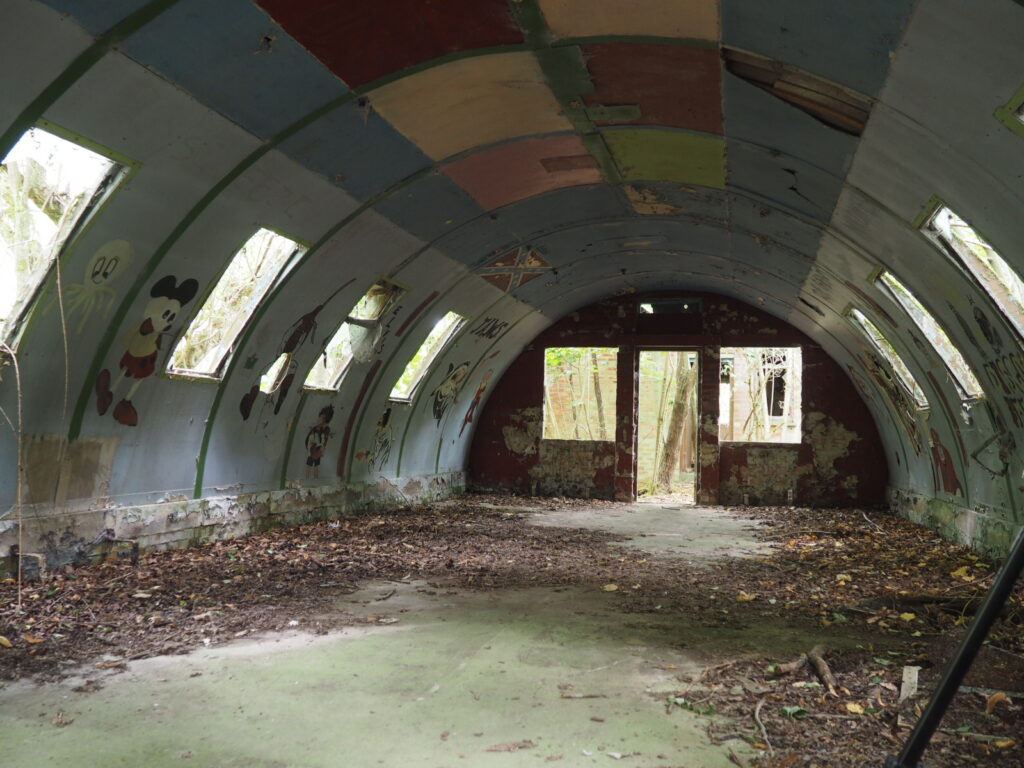
Seeing the children’s wing was both interesting and sad. It looked like a small tin barrack buildings that you see all the time. This room was dark, so I managed to place the camera on the floor and just quickly shoot a longer exposure to show you some of the colour (1/8th second at iso 500).
Shooting film
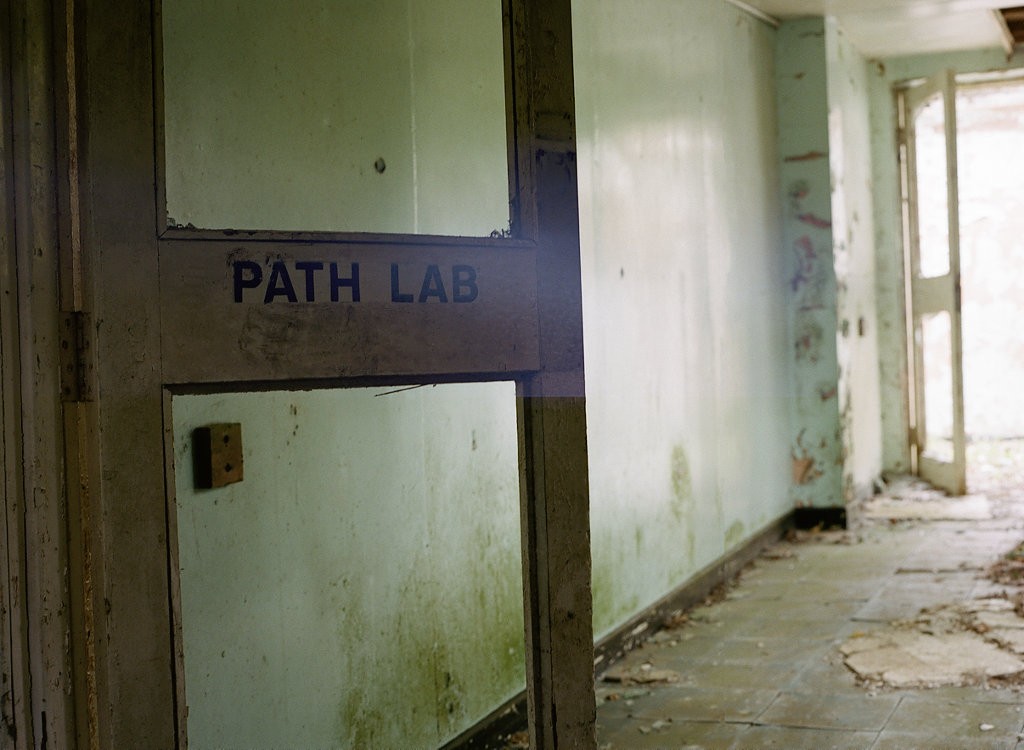
Like I said choosing film was never going to be easy. Knowing your film and camera is a good start but looking at the light is everything. Even with my modest experience I failed at times, but they were are guesses really due to rushing around. I personally like the challenge of shooting under pressure.
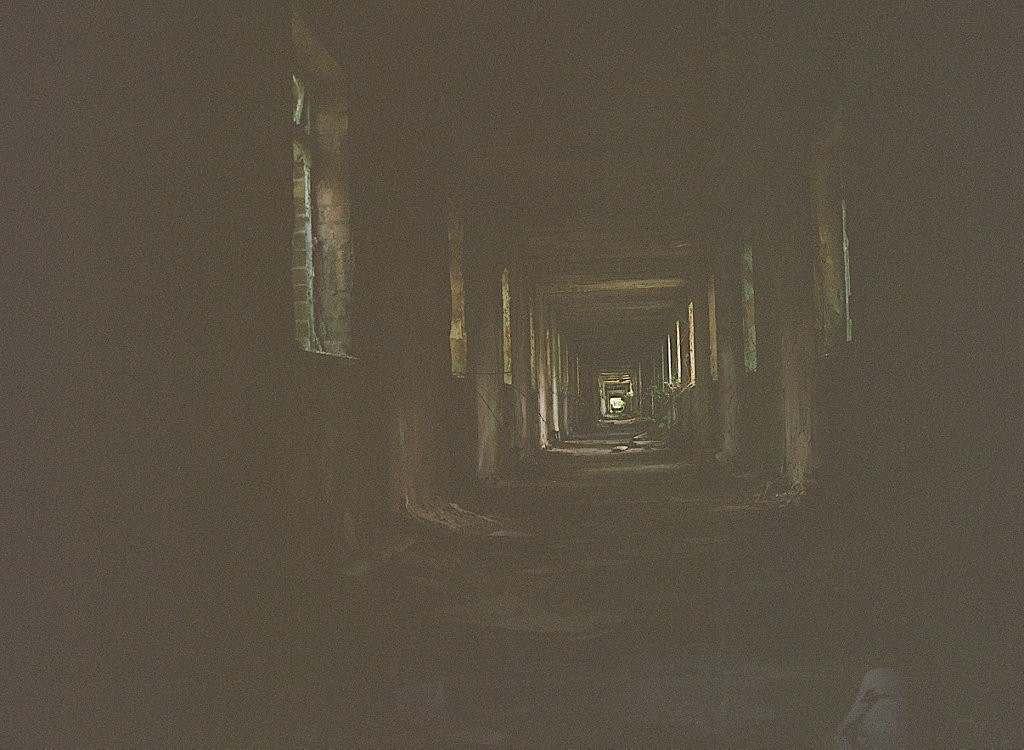
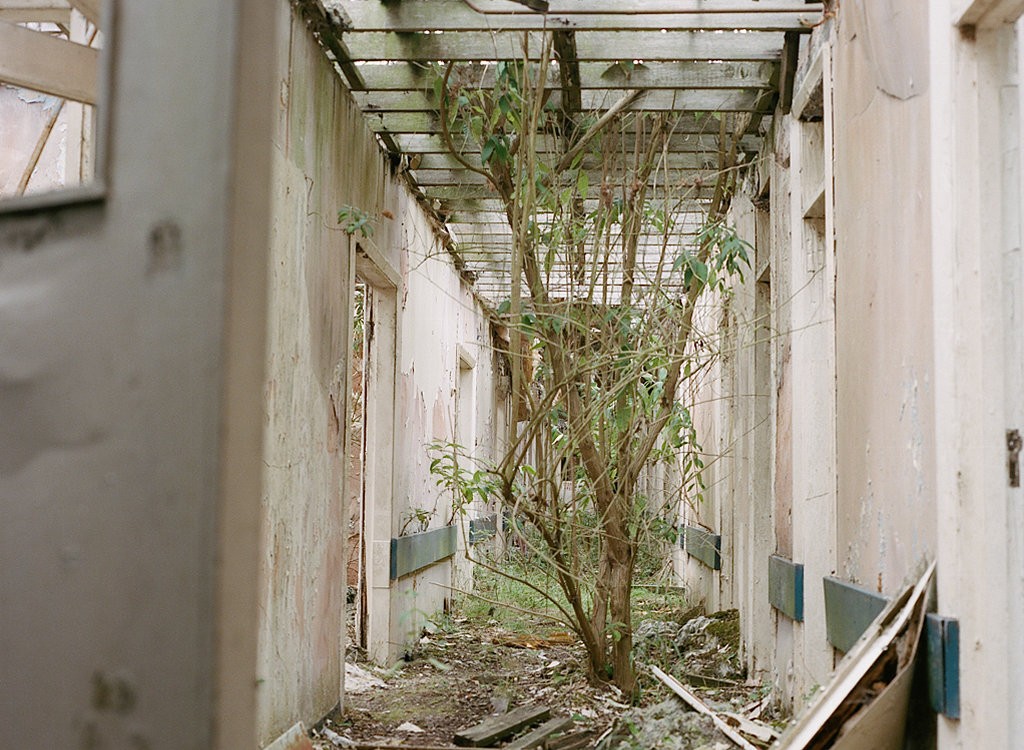
One of my favourites came to me after walking through a wing of the hospital. The floor was covered in decay and damage, but there was rooms and doors still. After moving out of this section I turned and realised the scene that appeared before me. I just had to shoot the bush/tree growing in the corridor.
I think it was definitely wise using Portra 400 as much as possible here to be honest (I don’t think 800 would have given me much more). Most of the time I just had to setup quickly with the tripod and some were even hand held. It was hard to keep out of peoples way so we all could enjoy the experience and take photos.
For me the corridors and using the 75mm lens was spot on, it showed enough of the leading line. The line coming in through the rough just helped balance a little contrast against the shadows.
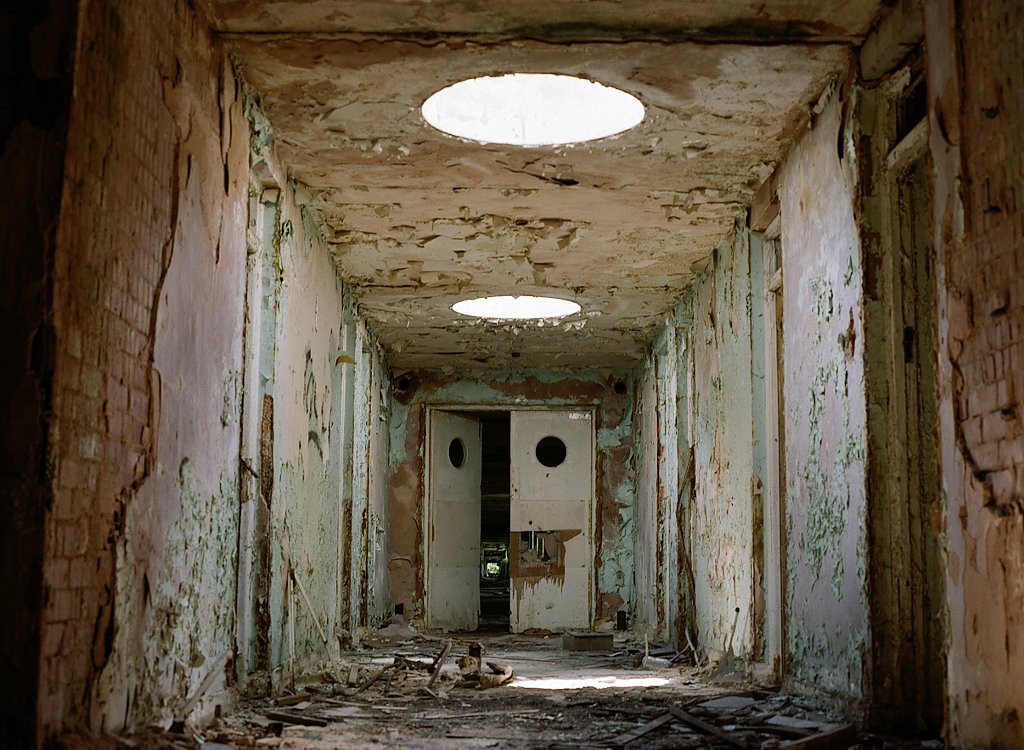
Because there were dark areas it was important to add a little flash, there was no calculation. I dialled in a little power (like 1/32) and just fired with bare bulb. You can get away with this in dark places like large rooms – just be careful in small places as you end up lighting up a small section with a lot of light. It’s all about trying and learning, keep shooting with the same equipment and you will get the hang of it.
When it goes wrong
It’s very easy to get complacent with your shooting – well its something that happens to me. Even though I would call myself competent with metering by site, these were tricky times. I was caught between trying a shot and thinking it would be too dark. The odd time I was correct and the film was underexposed – mainly due to dark corridors. So what I thought I would share is the digital contact sheet in essence, showing each scan straight from the lab.
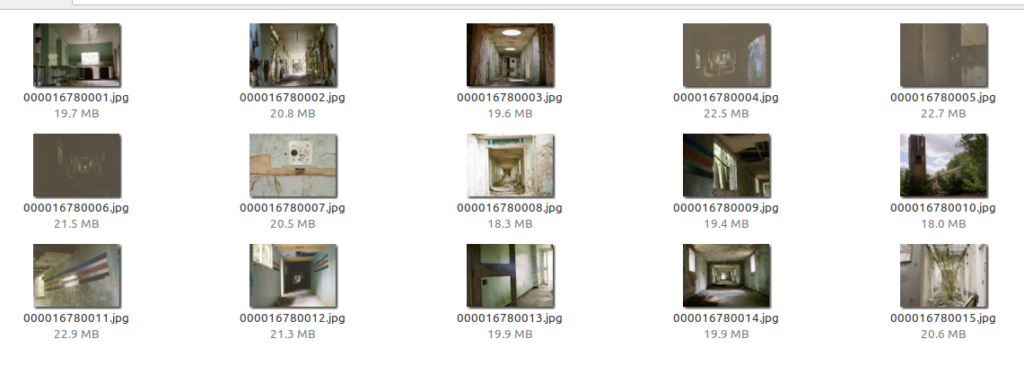
I’m still really pleased and a few great shots I love, the outside one was a total rush. All the people on the tour where in the frame and i had to run back many yards to frame this and only had time to hand hold, which is why its got movement in it.
Ideally I would used the tripod in every shot, but with uneven ground and other people it wasn’t fair. The legs would took up the width of the walkway/corridor so I tried to stay at the back. I did get left behind a few times but Mary was very considerate!
After thoughts
As you can see I had a lot of fun shot a lot of pictures and enjoyed the tales of history. It’s sad to see the state its in especially as the village is a lovely scene of rustic stones and history. The manor house itself is out of bounds for the tour and will collapse at some point, as the price to rebuild would run in to millions.
As far as photography is concerned don’t be afraid to push yourself! I’ve always thought film is something that has importance to me. The digital is there for practise and metering sort of thing but guarantees you a memory you can edit later. It would be nice to take a meter and work slowly around the site so could shoot more film – but the tours sell out so fast I doubt there will be a chance to do this. I’ve tried to provide just scans and just add a little detail back and the same with digital so you get more a natural feel of the place.
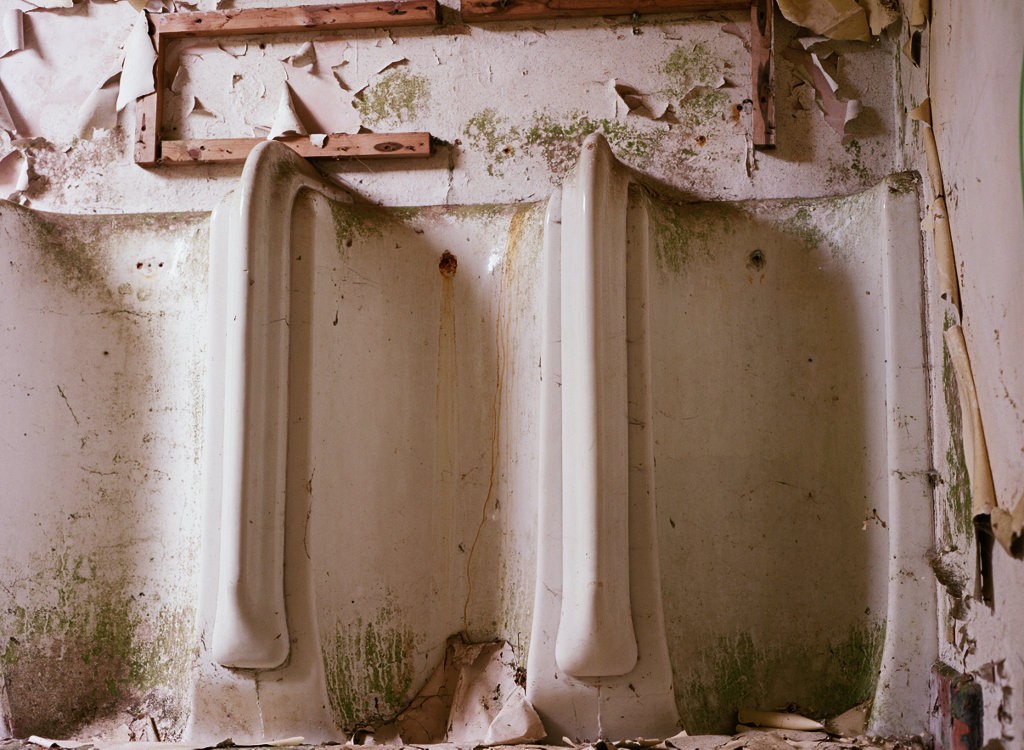
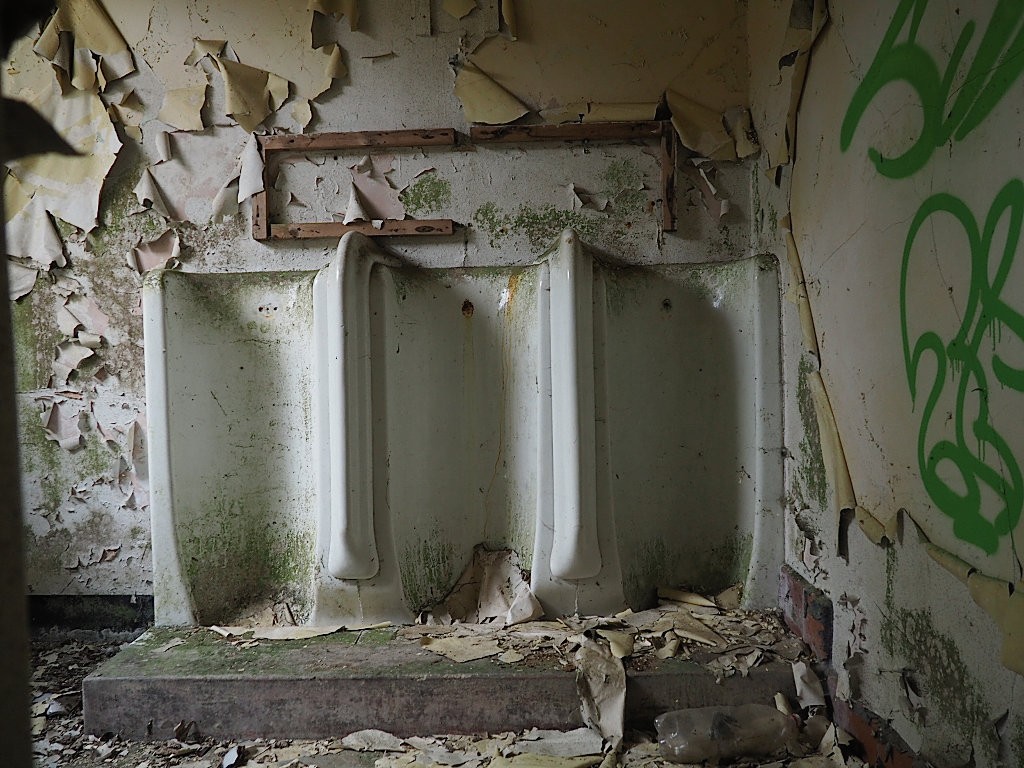
I hope you liked the viewpoint of the opening image of the toilet block. This shows the difference in perspective not just with film, but also 75mm lens (medium format) to 14mm on micro 4/3. Thats approximately a 41mm vs a 28mm if you used 35mm focal lengths. The digital shot provides some depth and background without a doubt, but i enjoy the film process more.
The interesting thing about this place is there are so many other opportunities. What I mean is think about the time of day. Imagine the lighting during different times of the day and let’s not forget the weather. Walking around during rain could bring some lovely effects and drops of water! Honestly I can’t wait to go back!
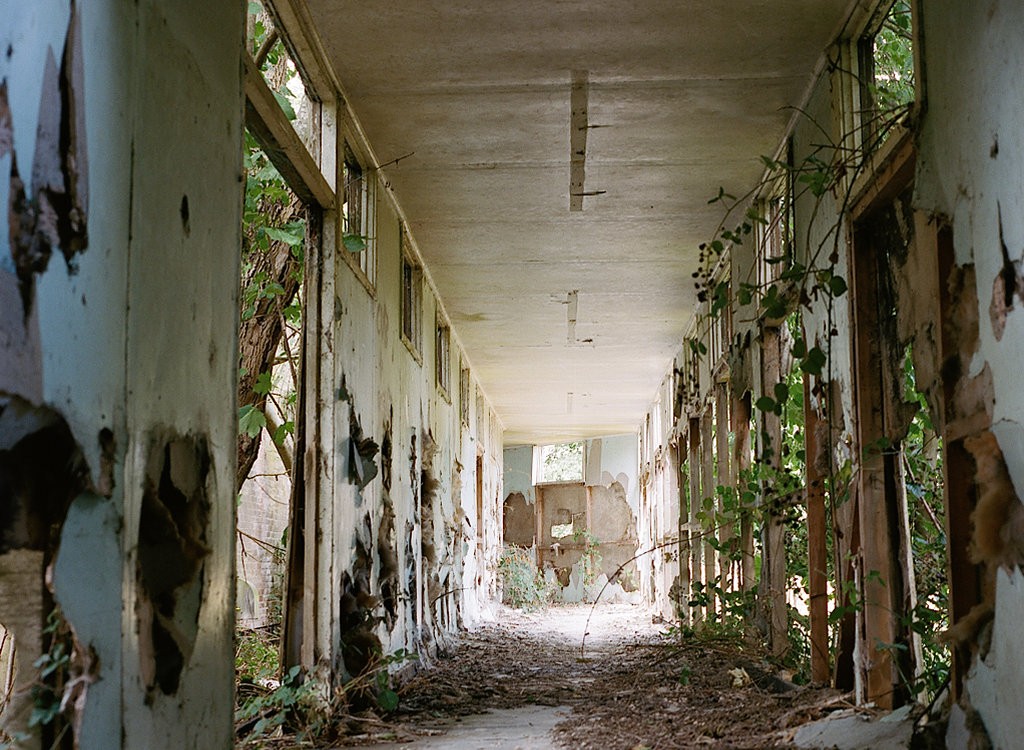
I would like to thank Kodak Alaris for their wonderful films, I love shooting Portra 400! Hopefully these images will be printed in due course and may end up in a future zine/book. Our friends at filmdev always do an outstanding job with the processing and development – check them out here.
If you want to check the tour, talk with Mary now on

