A snapshot into large format
Being friends with talented people like Steve Lloyd has been eye-opening to a simple man like me. Thrust into this world of tinkerers and engineers through my podcast I have met some amazing people. I’m always keen to see the progress of projects like Steve’s “Chroma Camera” range. From one camera back in 2018 with his Kickstarter to now in 2020 with the Snapshot and having his own store with cameras, accessories and inventions. It’s truly aspiring to call him a friend. All you want for your friends is happiness and success and Steve is one person who deserves it. He works tirelessly to fulfil his orders but invent and play too. I can’t tell you how many times we’ve messaged and he’s come up with another idea and in a short period, it’s in his store (wet plate holders)!
When Steve invented the snapshot I was intrigued and started asking him questions – as I’m naturally curious! So what follows now is my experience of using the camera. It’s not a traditional review as I don’t have the experience or technical knowledge to do so.
The snapshot
Steve describes the Snapshot as a multi-format lightweight camera. Well, you can totally understand that weighing only 1kg (without a lens). Bear in mind this is not a small 35mm camera so that is really good!
I had looked at this online and then Steve mentioned the word “120 film” and I was intrigued. Having the ability to shoot different formats like medium format interested me because of its simplistic and affordable solution. After shooting a lot of medium format rolls this year (over 40 rolls I would guess) I wanted to know more.
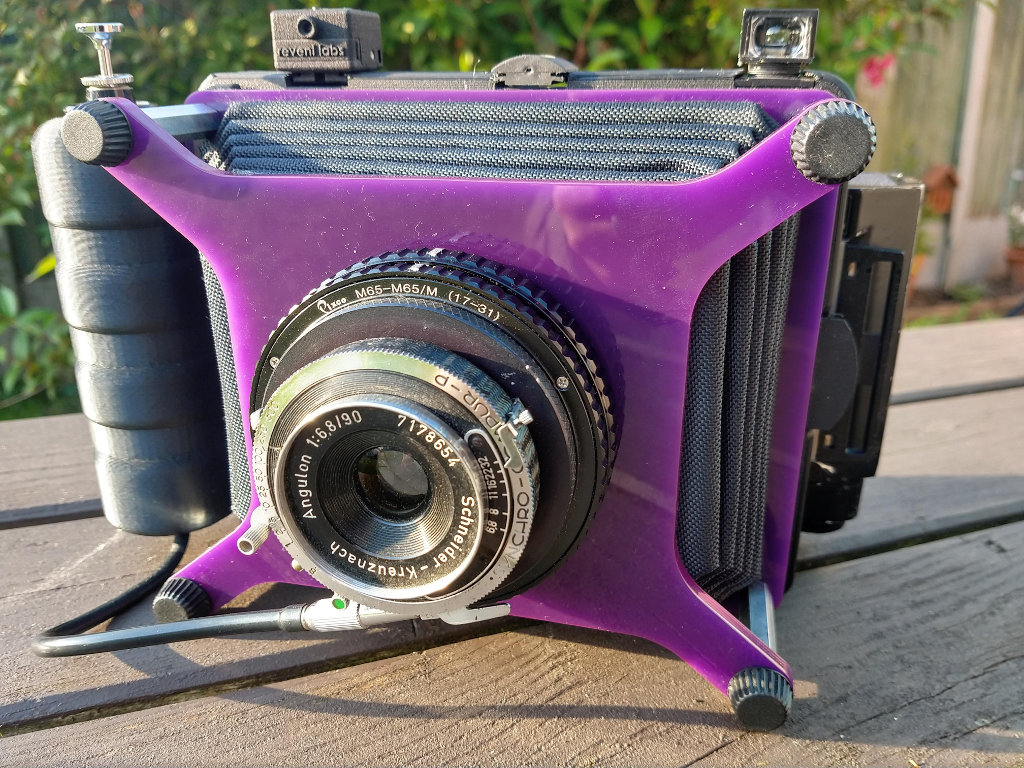
What Steve explained was you could use a medium format back and he had a Toyo 6×9 one I could try with it. He sent this over with a 90mm fixed lens and explained how to use it. The camera works different to most other large format as there is no movement to the front or rear. You can see this by the black rods at the front holding it in a fixed position.
Ease of use
Personally I love the use of modern materials, it keeps the cost down and allows customisation. I don’t come from the old school of metal and wood, i appreciate craftsmanship and materials but they come at a price.
What arrived was a purple coloured plastic-type large camera with a heavy medium format back (it weighed more than the camera!). Steve’s made it simple enough with a few basic controls:
- Built-in shutter release
- Focusing scale
If you have ever worked a large format camera before it will be dead easy since the shutter release is built in. If you haven’t it does take practise, as you have to know how to prepare the shutter to take a shot. Remember unlike most SLR’s everything is set on the lens (shutter and aperture).
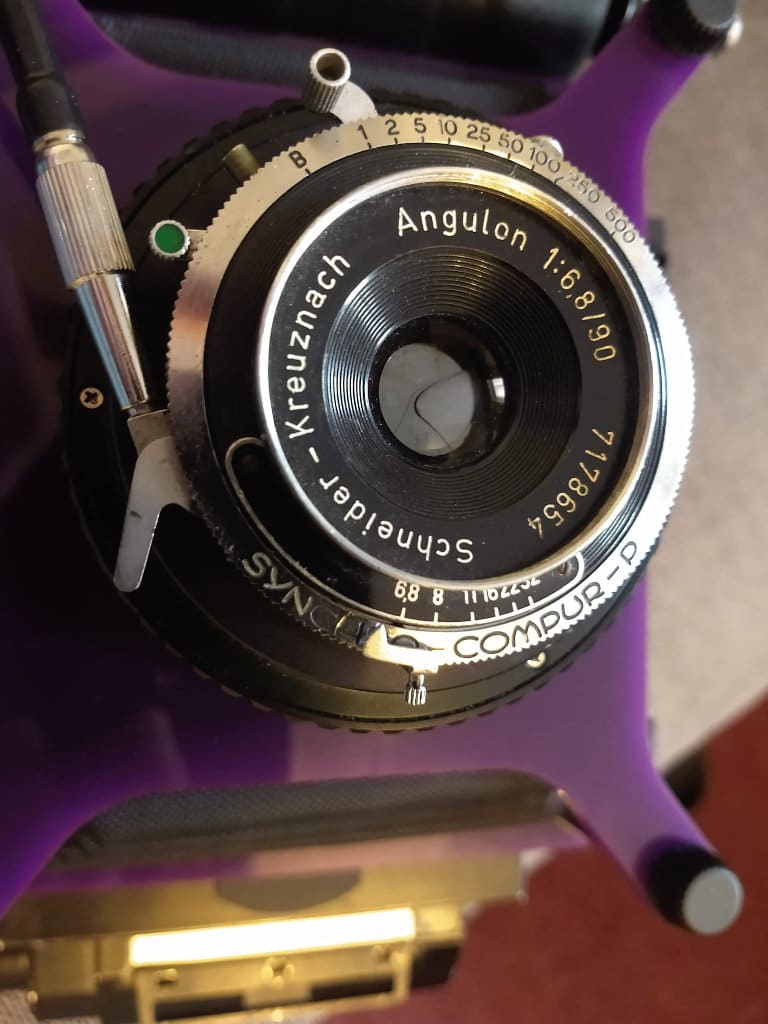
The focusing system was really simple, there are 3 marks to consider, both lines together is infinity. The next line is 10ft, then 6th and 2.5ft at the further. Personally I would be shooting at distance initially just to get used to the system.
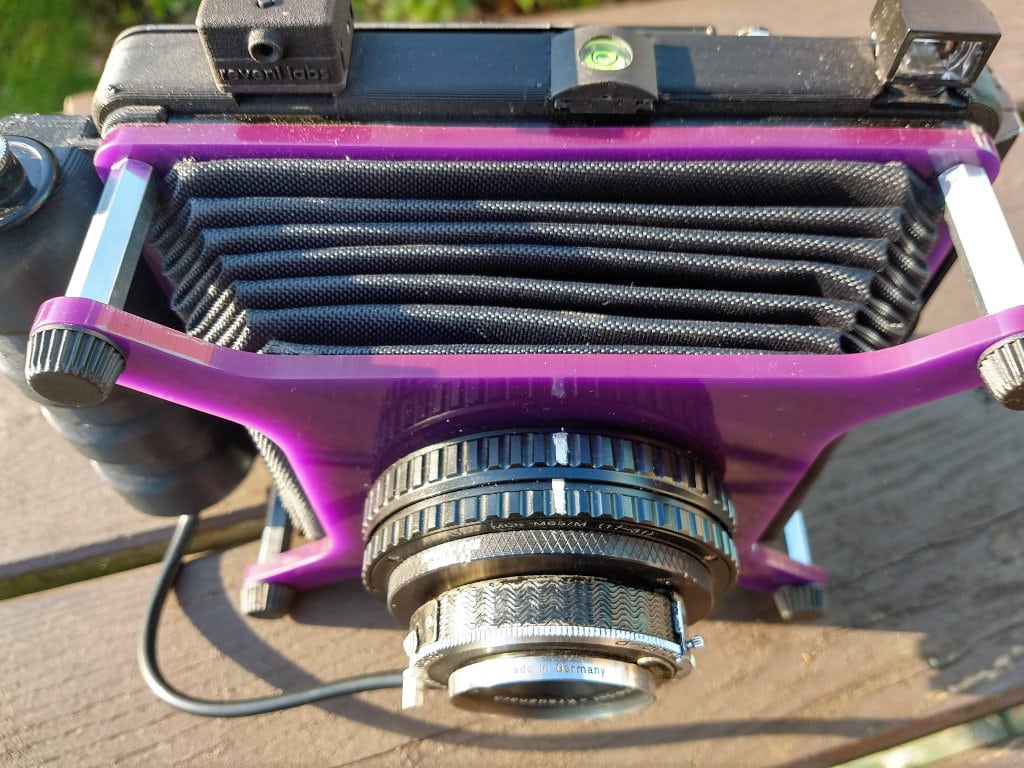
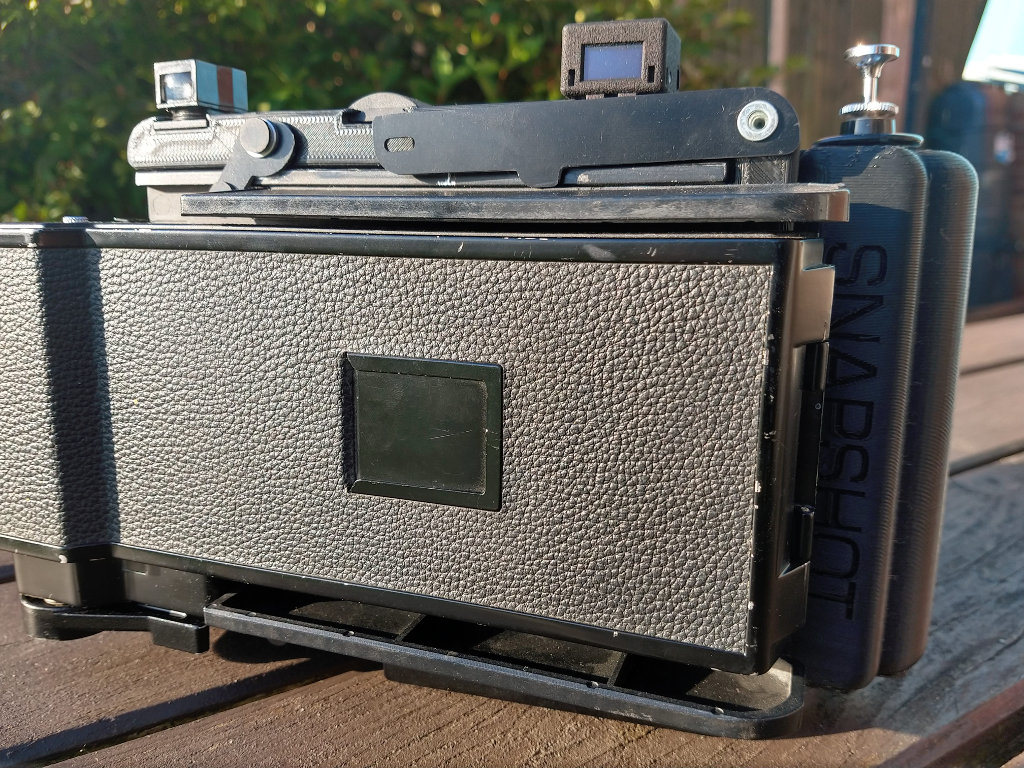
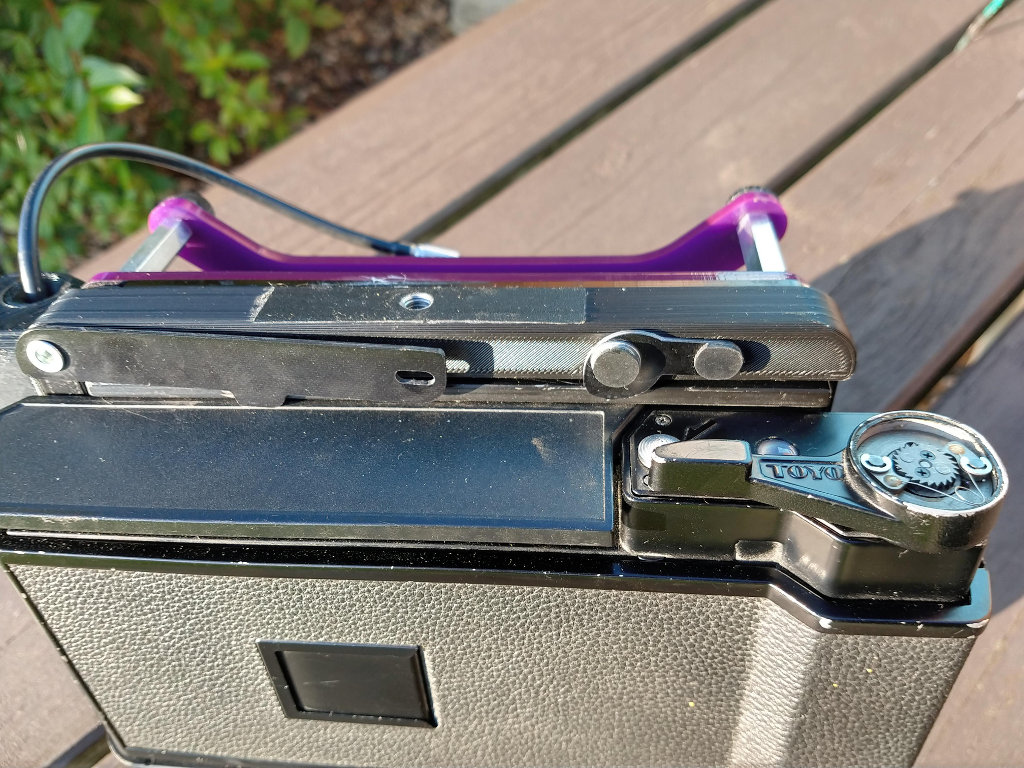
The next part was to understand the film back, as its unlike anything I had used before. It’s basically mounted upside down so remember that when you need to wind on. After a few goes it was simple enough to operate but I couldn’t figure out how to get in it. I wanted to load the film and after a quick call, its a Toyo back thing with a small clip (so nothing to do with the snapshot).
The power of looking
The one difference I see between using my medium format Bronica and a large/multi-format like this is simple – the viewfinder. In reality, there is no such thing as a camera this size, visualising and shooting is a 2 step process. You first put on a “ground glass” where the back goes so you can see down the lens. When you’ve framed the shot you then take the glass out and put the film back on (notice the catch on the screenshot).
In the spirit of the name “Snapshot” I wanted to use it as a large point and shoot camera! Just because it has a tripod mount and the ability to use glass, doesn’t mean you have to use it. This obviously presents you with 2 problems, framing and focusing. I have a relaxed style to framing when shooting anyway and this was designed to be fun. So I just lined up using the square of the camera as a guide and guessed.
Focusing would come down to thinking where your subject was and remembering what Steve has said about the lines. I had to refer back to my notes from my conversation to confirm the distances. Like I say, when you are inexperienced, don’t make it hard on yourself, shoot infinity, or the same distance until you get the hang of it.
The shooting
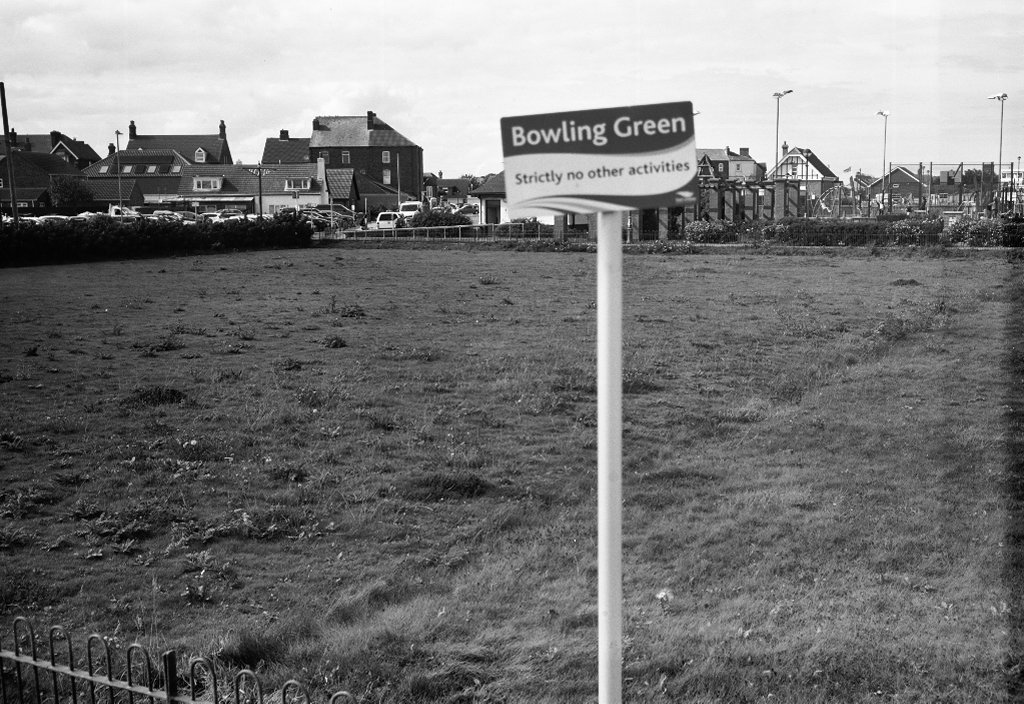
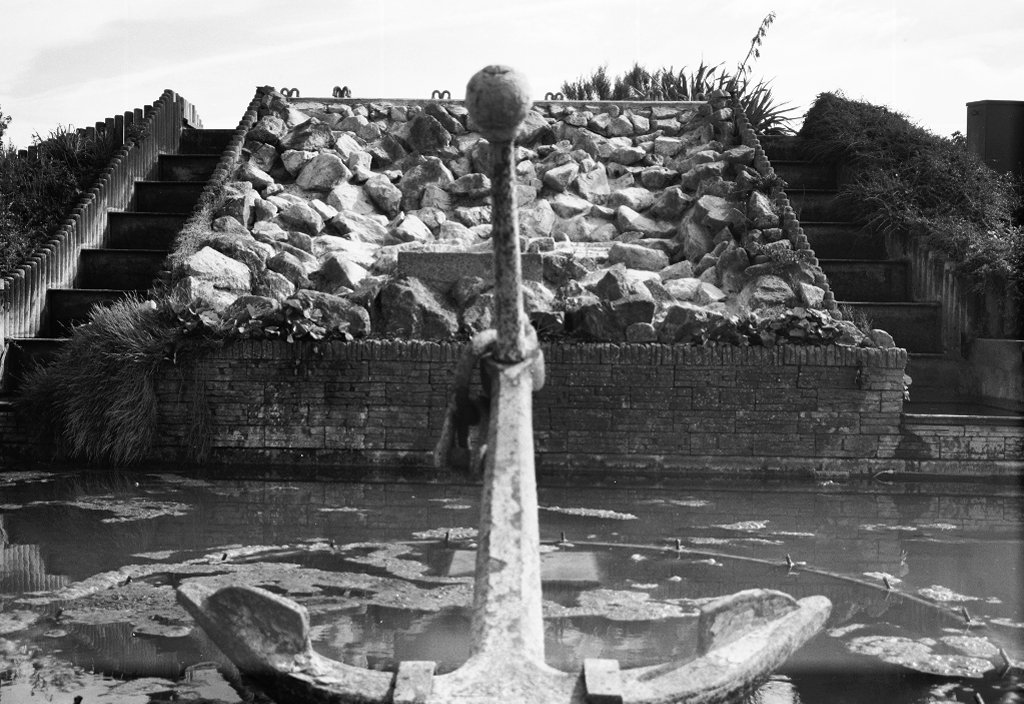
I loaded in a roll of Kodak black & white film so I would be able to develop myself as a test. One early morning I went for a walk when the sun was shining beautifully. Shooting early morning sunrise colours was a lovely experience in learning how to use the camera. After developing this roll I realised a huge mistake I had made – my own fault. I had double exposed every shot so they were completely white or like the image shown next!
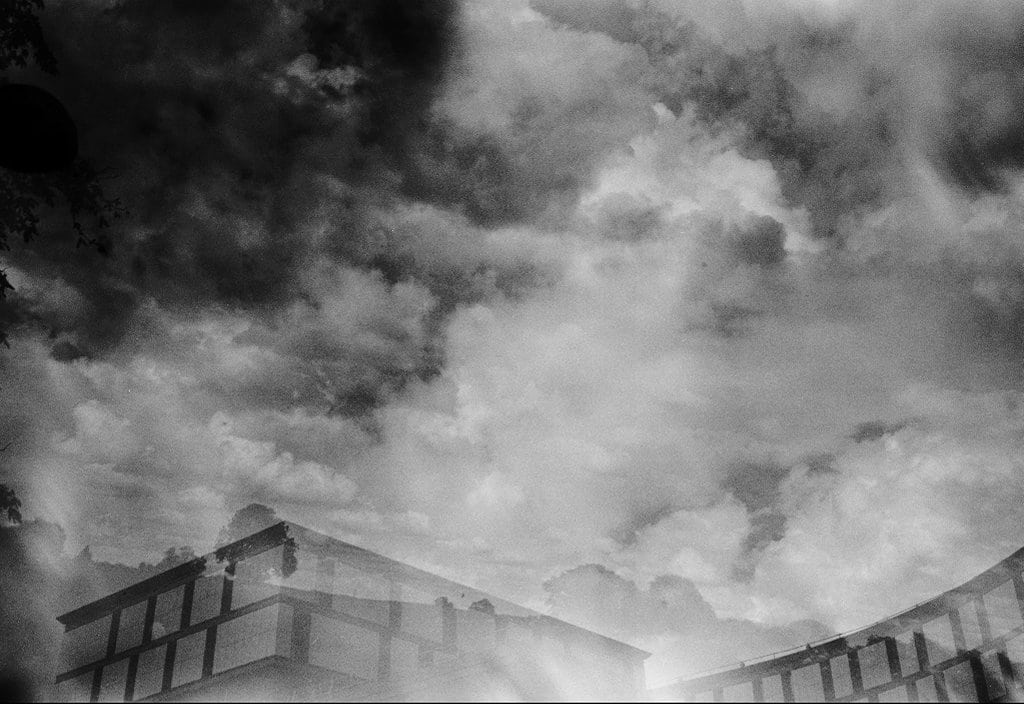
Like I said, I had so little experience with large format it was bound to happen. The next time I thought about my work and used it on a family day out.

Sutton on sea 
Sutton on Sea
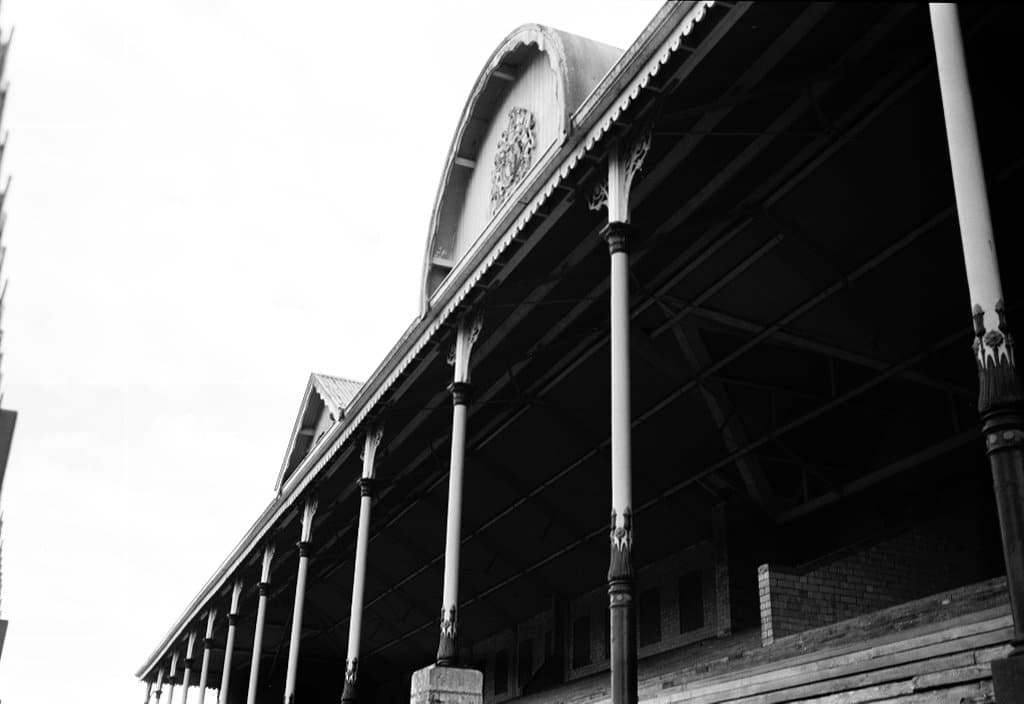
It was nice to try and attempt something involving depth too from my local city.
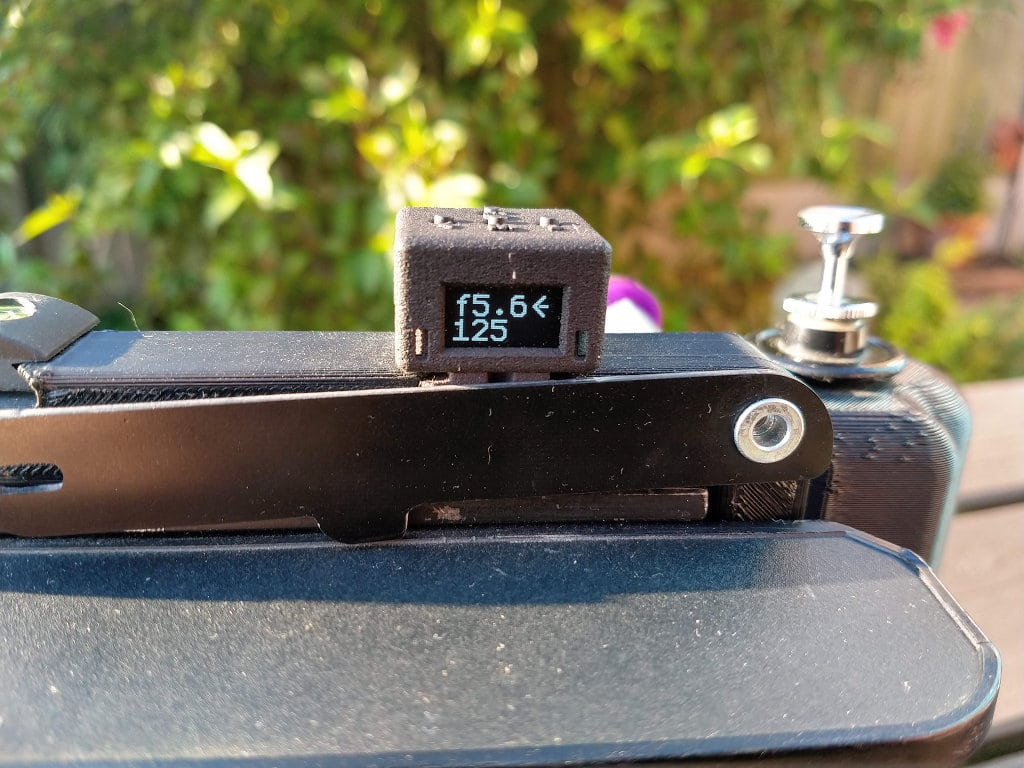
Steve had also sent the camera with the shoe mounted Reveni meter too. This is another great product and a quick guide to help any shooter to be honest. It’s so simple, even a simple minded fool like myself could work it out!
The experience
I like to be honest with my approach, its part of who I am. Any of the problems I have discussed above are mainly my own fault through lack of experience. But to summarise my thoughts:
What I liked:
- Fixed lens
- Simple
- Light
- Focusing system
Any negatives:
- Focusing guidelines
- Hand holding not comfortable
Conclusion
The idea of borrowing the camera and writing an article was to see how it worked, how it fit my style and give some feedback to Steve (which obviously I have already done). My suggestions would be a distance scale in feet might be useful on the focusing knob. However as Steve points out because people will be using lenses of different focal lengths he cannot pre-mark these.
Realistically hand holding the camera for an hour or so was not totally comfy (compared to the speed grip on my Bronica). It’s better than my 35mm though, and I just think a small modification to the handgrip would sort this. Steve could add some holes for fingers, but failing that you could just use a shoulder strap and screw it on ( I do this with my Bronica for comfort).
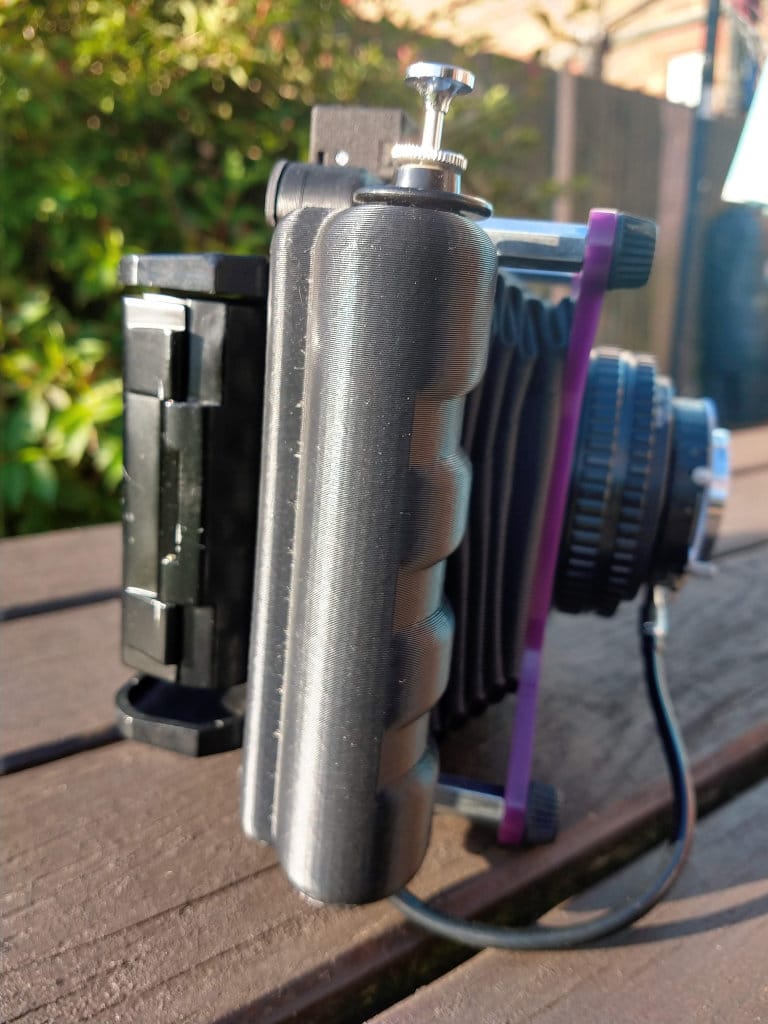
I also mentioned to Steve that a viewfinder would be a fantastic addition, but practically impossible to implement? This is no reflection on the snapshot but more about the practicalities of using large format cameras in this way.
I really have to thank Steve for allowing me to test the camera, It was great to be using a large camera again, it has been too long. The snapshot is a great in between approach to large format as it’s lighter and half the price of the Carbon Adventurer (albeit has limited functionality).
Personally, I would love another go to use for my architecture work but also street photography too. Maybe Steve should create me a custom branded Phlogger piece, what do you think?
Links
If you want to know more please check out Steve’s website and follow his work on Instagram/Facebook. He is always posting and engaging with people!
Website – https://chroma.camera/
Instagram – https://www.instagram.com/chromacamera/
Facebook – https://www.facebook.com/ChromaCamera
Reveni light meter – https://www.reveni-labs.com/
For those who follow the podcast, Steve is a friend of the show. Anyone listening will get to hear any developments too, so stay tuned
Phlogger podcast –
If you want to know more about Steve Lloyd then check out this article I wrote. To listen to his appearance on the show, see here.

