
180 days of film conclusion
180 days shooting film – the results
The idea behind this was to shoot enough film to be confident and see what would happen. There were some constraints for the project, so let’s get started with how it went.
FAILED
- only use 2 cameras
- shoot expired film (where possible)
- shots must include long exposure
- learn how to develop
- figure out how to scan
- learn to use flash
SUCCEEDED
- no buying lenses
- shots must include double exposure
- learn to meter
180 days shooting film – the failures
That is a hell of a lot of failures you are thinking, but, the more important element here is trying!
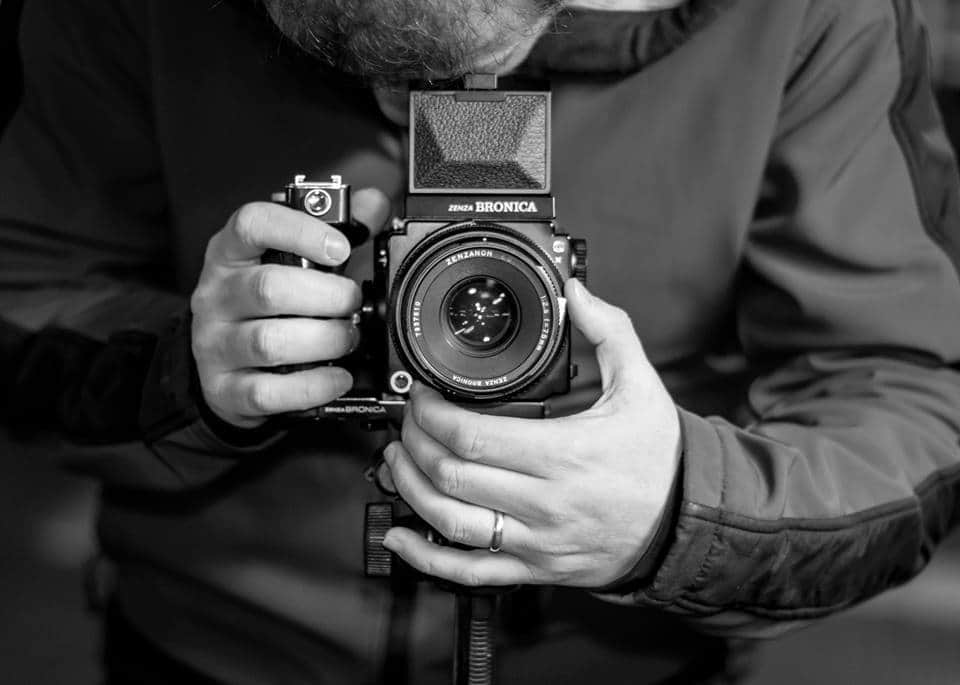
Cameras
At the start of the project, the plan was to only use 2 cameras. This comprised of an Olympus OM10 35mm and a Bronica ETRS medium format. However, by the end of the project, a Canon FTB and a Nikon F90X were added too!
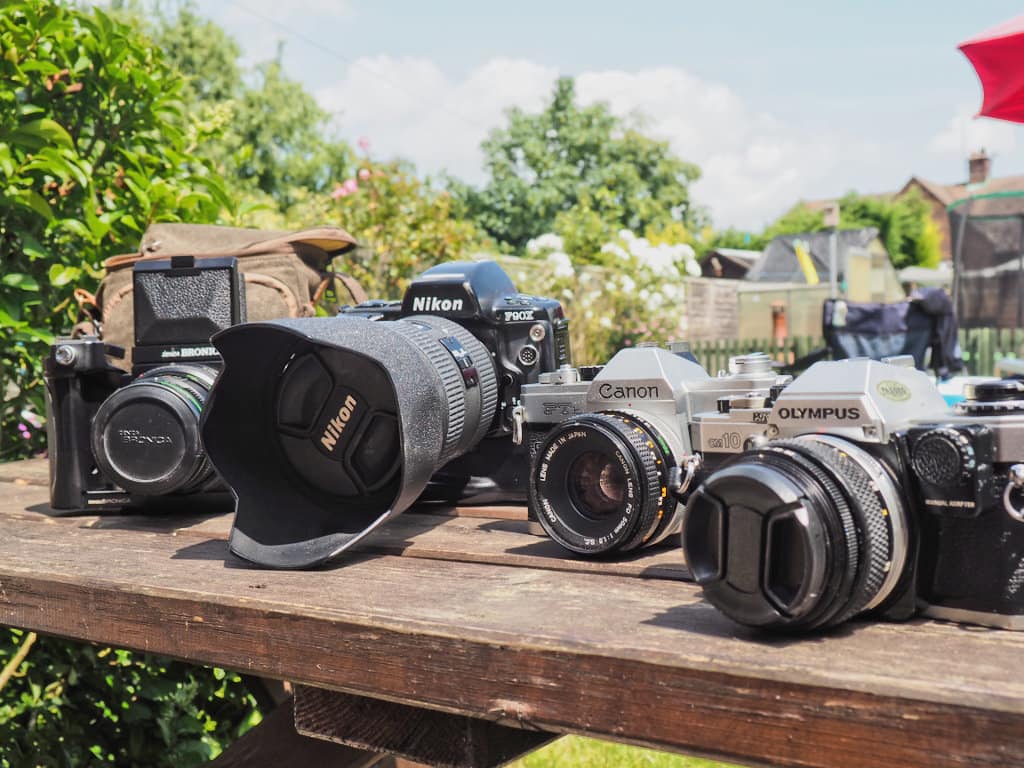
The Canon was a late entry during June 2017 as a friend was offloading all his collection. The Nikon was kindly supplied by a friend on the condition the camera is used and enjoyed. Due to the late timing, only one roll was put through these cameras.
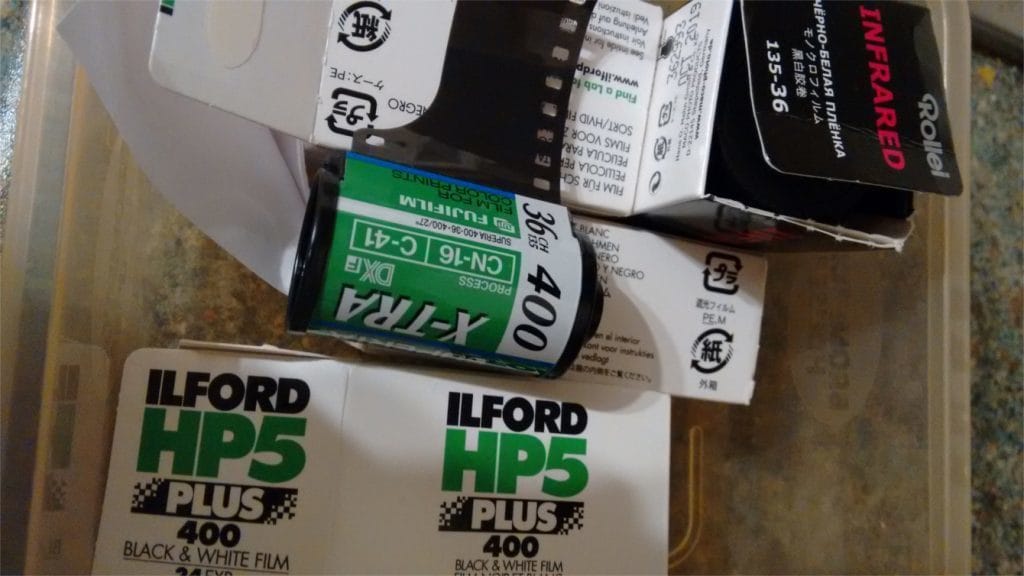
Film
The reason for choosing expired film was a matter of budget. Another friend and fellow photographer Tobias gifted some expired film to try. Shortly into the project, someone told me that Agfa Vista 200 film was available for £1 a roll. Due to this price point, no other film could compete. So this film was used in 90% of the shots and what lovely results.
Long exposure
The project started in winter, which would mean dark nights and shooting high ISO. But because of the film choice, daylight shooting was the main choice. Another stumbling was not owing a shutter release cable. This would have helped with long exposure shots during those late nights.
Developing
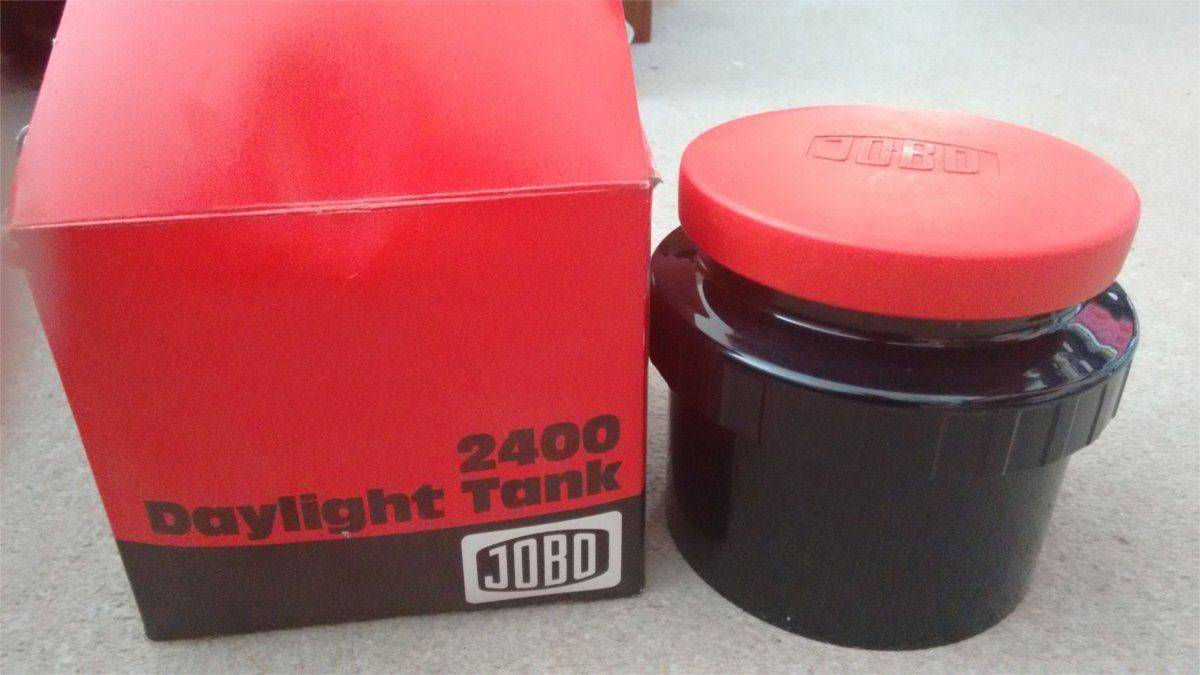
Home development was supposedly an easy task to do according to many people. As it can save you money, allow you to experiment and be creative with timings and chemicals.
This was very easy for an experienced person to say this, but not simple when you are a beginner. After purchasing the necessary chemicals and equipment needed, a trial this went ahead. Unfortunately, the film got stuck in the cassette mechanism of the development tank. The only option was to open up the tank to free it, which meant exposing this to light and thus ruining the film.
This not only ruined the entire roll of film but also wasted chemicals and time. Not wanting to lose any shots in the future, home development was put on hold.
Scanning
After development, the plan was to try and use a DSLR for scanning the negatives. After researching tutorials online such as this example the preparation was done. One huge issue was that some of the photographers were using full 1:1 macro lens to get close to the negative. After trying every lens on hand, none of these could get close enough. As a result, there seemed no option here to be able to self-scan, especially with the cost of a macro lens.
Flash
Learning to use would be useful to help on the sunny days and in a studio environment. No time became available to test this and no-one to ask for help. Not wanting to waste money on shooting the film without the knowledge seemed crazy.
The general consensus was doing some test shots with your digital camera first. This actually seemed counter-productive in one sense. Think about this for a minute, what did the photographers do before digital?
Not having a large number of friends who shot film and use flash, has left this part as work in progress. If you
180 days shooting film – the gallery
The project is nothing without the end result- pictures. The gallery shows examples shots of what was achieved. There is a variety of types included – portraiture, street, architecture and some beautiful vehicles.
THE GALLERY CAN BE FOUND HERE – [metaslider id=9826]
Caption Camera Lens Film
Steps in Lincoln University building Olympus OM10 50mm f1.8 Agfa Vista 200
Ladies talking on Lincoln streets Olympus OM10 50mm f1.8 Agfa Vista 200
Corner shot of Lincoln university building Olympus OM10 50mm f1.8 Agfa Vista 200
Street window of cake shop Olympus OM10 50mm f1.8 Agfa Vista 200
Graffiti on viaduct wall Olympus OM10 50mm f1.8 Agfa Vista 200
The “crying knight” in Lincoln Olympus OM10 50mm f1.8 Agfa Vista 200
Random stranger with his grandchild Olympus OM10 50mm f1.8 Agfa Vista 200
Famous Ford GT in classic blue Olympus OM10 50mm f1.8 Agfa Vista 200
Close up of Harley Davidson forks/wheel Olympus OM10 50mm f1.8 Agfa Vista 200
Rear of Harley Davidson motorbike Olympus OM10 50mm f1.8 Agfa Vista 200
Front view of engine bay grill from a MG TA Olympus OM10 50mm f1.8 Agfa Vista 200
Industrial shop unit minimalism Olympus OM10 50mm f1.8 Agfa Vista 200
Brick archway to old house Olympus OM10 50mm f1.8 Agfa Vista 200
Ping building in Gainsborough, Lincolnshire Olympus OM10 50mm f1.8 Agfa Vista 200
Sunset view of Cottam power station Olympus OM10 50mm f1.8 Agfa Vista 200
Land rover shot from Mablethorpe Olympus OM10 50mm f1.8 Agfa Vista 200
Couple looking down in the streets of Lincoln Olympus OM10 50mm f1.8 Ilford HP5 b&w
Group of men around camera in Lincoln Olympus OM10 50mm f1.8 Ilford HP5 b&w
180 days shooting film – the success
With so few examples of success listed this may look bad on the face of things, but bear with me.
Lenses
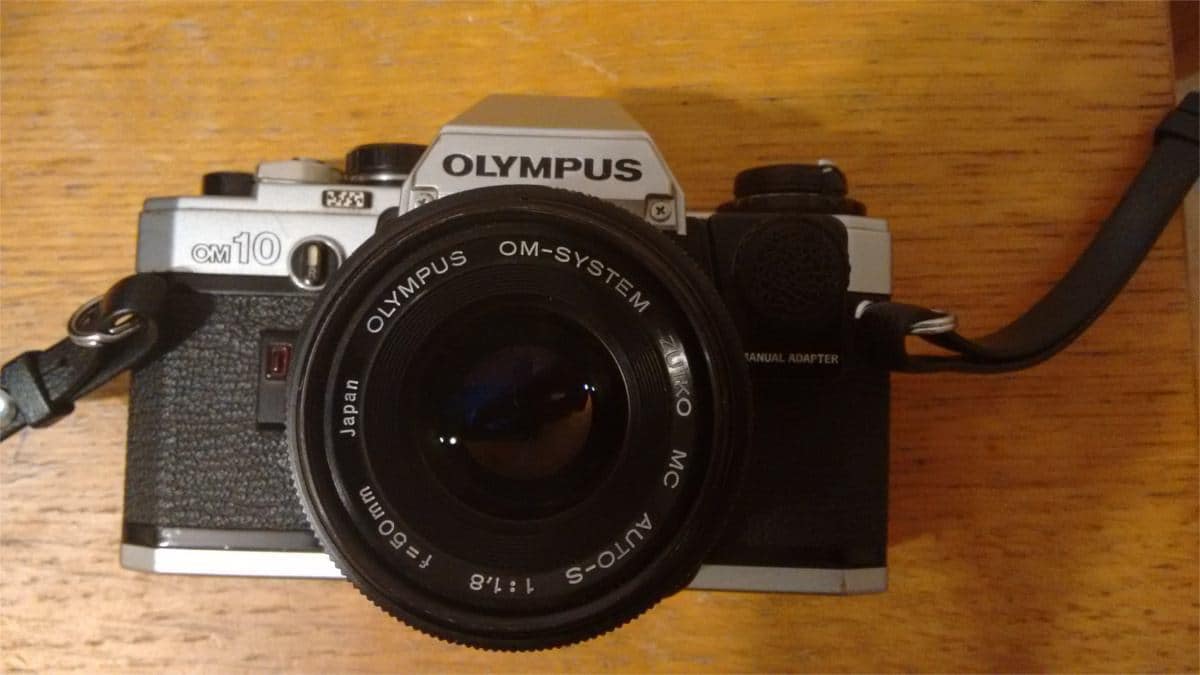
Using so few lenses was one of the absolute reasons for success in this project. By using less kit you to get to know the camera and the lens and work within its limitations. The 50mm f1.8 prime on the Olympus attribute to 90% of the successful pictures.
This form of empirical testing (less equipment) means you concentrate on composition. After all, it’s easier to move your feet than then buy more lenses.
At some point, a “nifty fifty” is not wide enough or long enough. Luckily a 28mm and 135mm prime lens were available, but the results not as sharp and the 135mm seemed very soft.
The 50mm prime lens became the out and out favourite. This meant you had to be creative and work around limitations of the fixed lens. You would then really think and consider shooting or walking away.
Double exposure
Looking through work online (both digital and film) this concept looked interesting.
The simplistic controls of the Olympus OM10 (the main camera used) it was quite clear these would not be easy. To do this you have to rewind to the previous exposure without knowing exactly where it is! This would be something you can achieve through experience and lots of practice.
By accident, a double exposure was taken on a roll of black and white film (Ilford HP5). This was more than likely down to inexperience when loading or winding film!
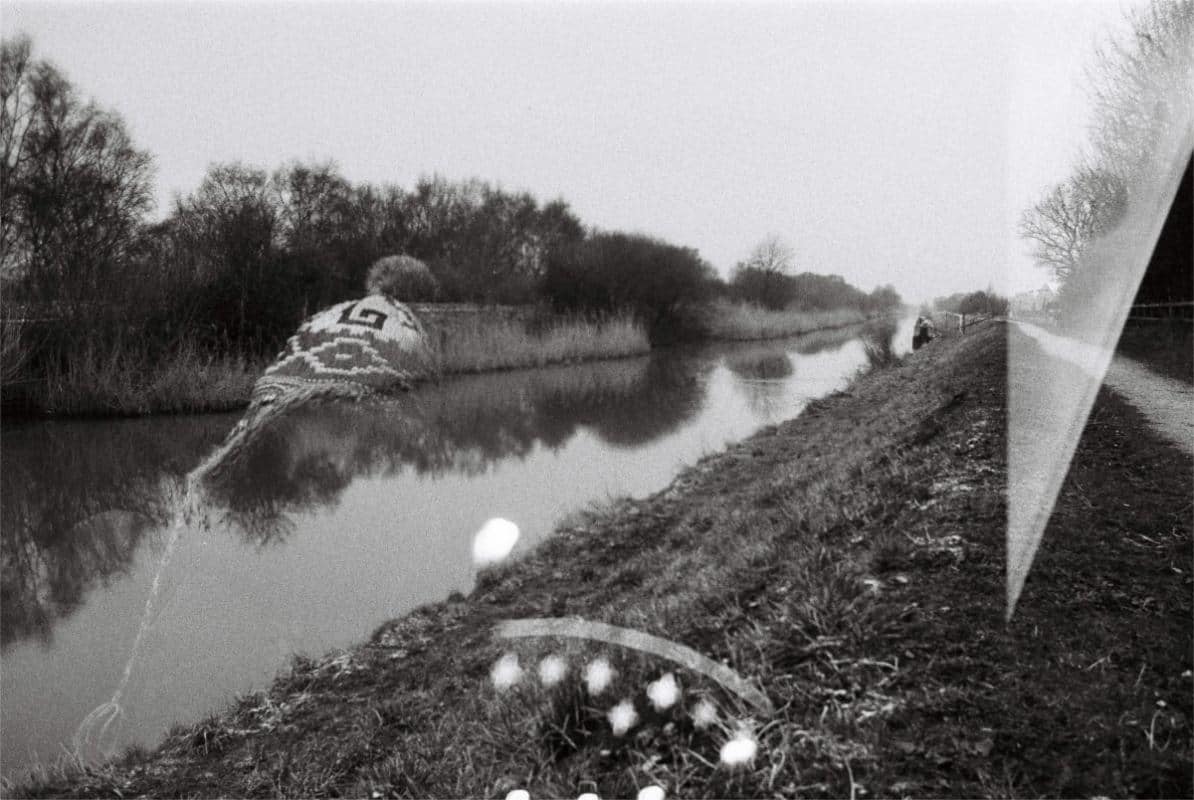
More modern cameras have this ability and strangely enough, the Bronica did. Multi-exposure did happen, however, at this point, they are waiting to be sent off for developing. Of course, these will feature in a future article about medium format photography.
Metering
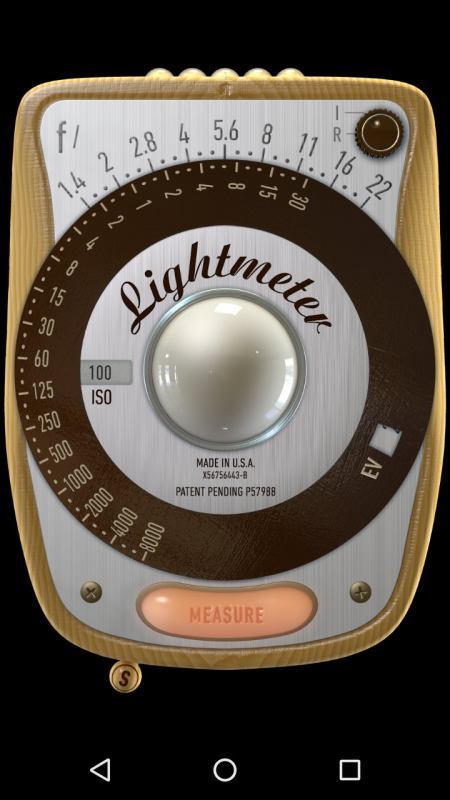
Using old technology means you have to learn to understand light and use your camera to suit. After a couple of rolls in the Olympus, it was clear the camera and light seals were fine. Not only this but the ability of the photographer too (little old me). If you do not wish to use the built in meter you have a choice of original pocket meters or modern equivalents. As a modern photographer who carries a smartphone with them, it is also worth considering using a light metering app too.
Visiting the same areas you learn about light, according to the time of day and season. Each visit provided more confidence, clarity and experience, all helping the photographers knowledge.
Knowing the sunny 16 rule is nice to start off with but pretty useless at night/evening. Because during low light and using a fixed ISO you have to sacrifice depth of field for your work.
Low light
Shooting low light with film, you have 2 real options:
- use high ISO film (800/1600)
- push your film
There are some films designed for low light (high ISO) such as Ilford Delta 3200, which provide more noticeable grain in the image.
The second option is to use your ordinary roll, but “push” it to a higher ISO. There are 2 steps involved with pushing film; the first is change your camera settings. All you do is adjust your ISO setting on the camera to 1 or 2 stops higher (so if shooting 400 ISO film, move it up to 800 or 1600). In essence, this fools your light meter to adjust the aperture/speed to compensate.
Once you have changed your camera settings you need to remember every shot on the roll has to be pushed! Then secondly, you need to adjust your development time of the film roll accordingly. If you are paying for a development service there could be a fee for this.
Most of all, shooting with a higher iso is no different on film or digital. There will be more grain or noise in your shot, but it can suit your subject matter.
180 days shooting film – the conclusion
This 6 months of empirical testing proved failure and success were irrelevant. The greatest lesson you can take from this experiment is learning something new.
Practice does make perfect, each roll of film brought a smile of success and happiness. Sometimes there were errors, that is life, learning from them is more important.
The analogue of time has made its mark, it is rewarding and a fulfilling part of a photographer’s journey.
To summarise why you should use film and what you can learn from this project:
- developing yourself needs careful planning
- develop/scanning companies results differ
- many film choices and uses
- a cheap film does NOT mean cheap results
- using cameras from different eras was useful
- the social aspect of using retro technology
- old technology makes you work harder
Going forward
Although this a closing statement, the journey into film has only just started, 180 days shooting film was the start. Consequently, there are many experiments yet to be conducted with a film. Becoming competent with Flash and medium format technology is on the list.
If you liked this article and think it would benefit a friend, please pass on. Feeling motivated after reading this article, then get there and buy a camera. Please get in touch and let us work together, collaborating is fun and educational.
Further information
Film
The main developing and scanning company was FotoFactory (highly recommended).
Nearly 90% of the images were shot on Agfa Vista 200 film. The black and white images were all taken on Ilford HP5.
Tobias Thompson (check out his light painting) kindly gifted some expired Kodak and Fuji film.
Cameras
The Bronica ETRS medium format camera was purchased from Ffordes.com
Both Olympus OM10 cameras were purchased from Gumtree adverts.
The Canon FTB was a noteworthy purchase, due to its simple metering and more importantly, supplied by the Aerial Photographer (watch out for an interview soon) sold this camera as part of a film clearance.
Finally, the Nikon F90X came from an ex-photographer who worked for the local press in Lincolnshire.
Education
Facebook groups like “35mm film” are friendly, useful for advice and for showing off your work.
Marius Vieth the street photographer is a constant source of learning.
Check out Thomas Leuthards courses and free books, he is very talented.
Chuck Jines is a great documentary photographer who vlogs frequently.