Rear seat shooting
Rear seat shooting was an idea generated by a friend and myself, to combine both our passions. During the month of September, an opportunity to take part in a motorbike event. My friend Andrew Fellows who is a member of one of Harley’s owner’s club groups (H.O.G.) and suggested this was perfect timing to photograph some Hogs.
How did we get on, was there any pictures and what did we learn?
REAR SEAT SHOOTING – THE PREPARATION
During a recent article (shooting a hog with film) you were presented with photographs of motorbikes. However, this day would be very different, as this was an organised drive. Because this involved riding on a motorbike I was very nervous. There were only 2 times in the past that involved riding motorcycles. One of these involved a small moped (in the 1990’s) and my friend rode into a shed. The second time was on a large 1000c Honda Blackbird and that was a very short journey (over 10 years ago).
So, you can understand the nerves were kicking in, as there was never time for a test go.
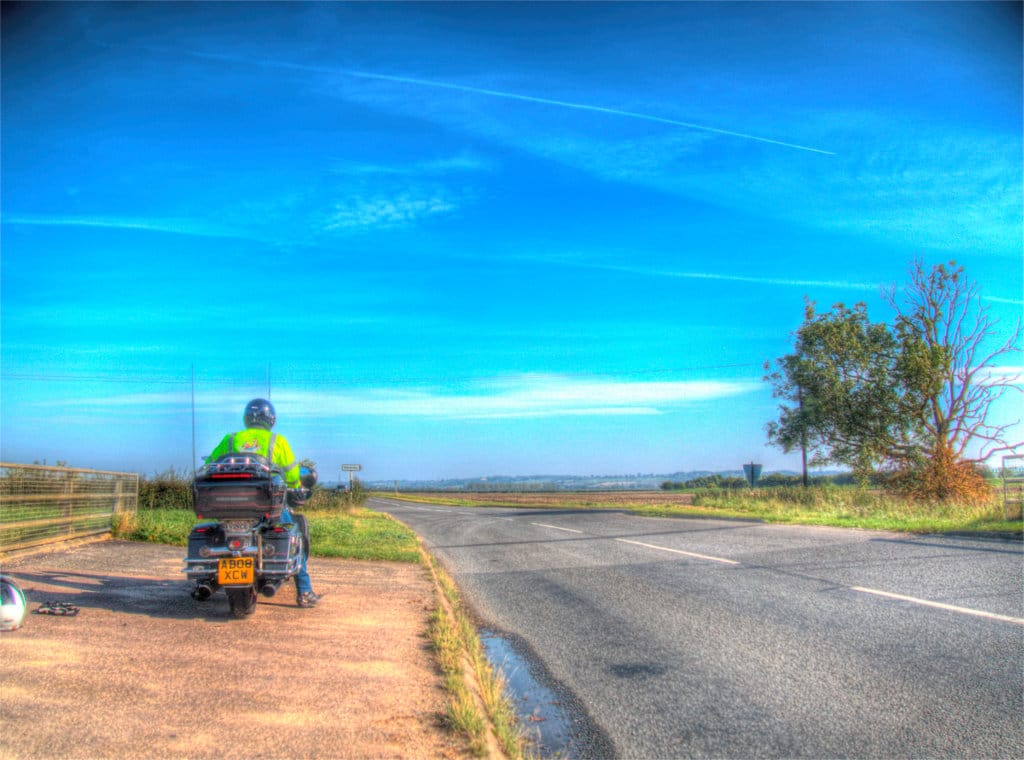
The event
Charity is an essential part of the Sherwood chapter’s work and this was the “Ride to Save Lives“. A chance to meet a bunch of petrol head’s and look at some beautiful motorbikes.
The day was split into 2 rides, one around the Lincoln area and the afternoon around Nottinghamshire. Riding in convoys like this means a lot of stopping at junctions so you get opportunities to shoot fellow riders. Also, during the country roads, you follow in lines, up and down hills which bring different types of shots. One thing I should mention is that the Sherwood chapter of the Harley owners club was in charge of marshalling. Because I was on a members bike this meant I was getting involved from the start too!
The camera
The choice of cameras would come down to simple choices due to:
- weight
- shutter speed
- stabilisation
- space
Weight
After thinking about the subject matter and where the camera would be positioned, the weight had to be considered. The main consideration would be the comfort and where the camera would be positioned on the rear of the motorbike. Choosing a long cord/strap around the shoulders keeps the camera handy and your arms free.
Shutter
Because this shoot involved moving subjects the camera needed to be able to shoot at a quick enough speed. Having no experience and not planning or speaking with other photographers, the speeds were guessed. Some pictures to shoot were drafted and planned in my head.
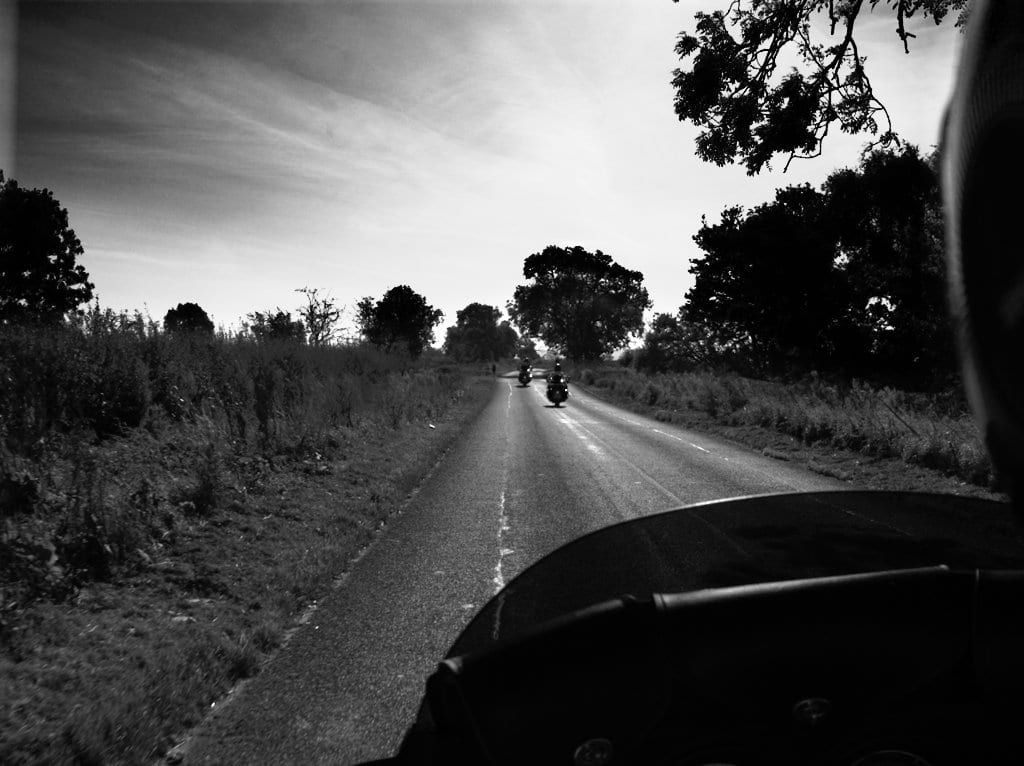
A shutter of 1/500th was set and shutter priority to freeze any motorbike action. Although the film cameras could cope with this, they would have a major problem with stabilisation.
Stabilisation
Riding in any vehicle has its ups and downs but on a motorbike, you are pretty much out in the elements. Not knowing how this would affect the camera itself was going to be a test. As a passenger and inexperienced photographer the wind, noise and vibrations would have to be controlled.
The Olympus EM10 was chosen as it had inbuilt stabilisation. The kit lens would also allow some degree of different focal lengths too.
Space
All motorbikes are designed for different purposes and baggage can be somewhat of a problem. The motorcycle actually had storage room, but this was mainly reserved for helmets, so I was limited to a single bag. Being a film fan, there would have to be hard choices between analogue and digital. So a compromise was taken, one digital from my shoulder and the Bronica in the bag.
REAR SEAT SHOOTING – THE RESULTS
Due to some luck, Andy was able to bring his father’s Harley Davidson – a large Electra Glide. This bike is if I am not mistaken, the largest bike Harley made. So from a passengers point of view, the most comfortable and luxury option (even has a cup holder at the rear)!
On arrival at the initial meet up there was little time to capture the motorbikes. Helmet down and off we went, with hundreds of other motorbikes. Because this was the first ever time, most of the ride was sat grinning and observing the feeling.
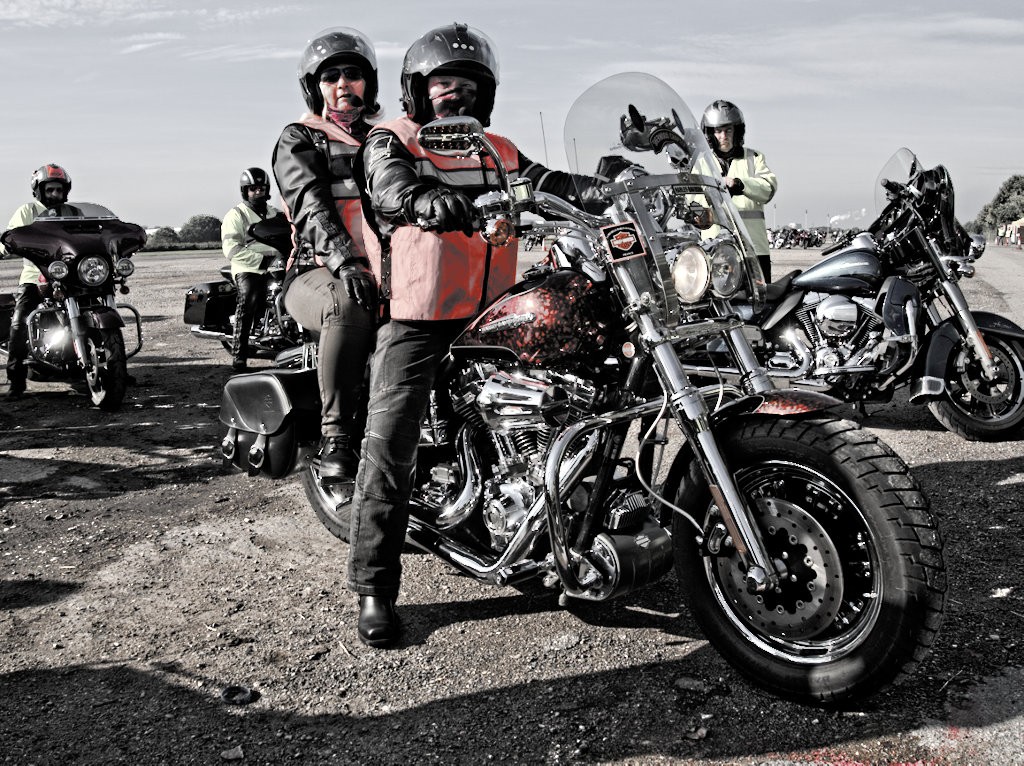
The ride out was amazing and you cannot beat the feeling of mother nature combined with the grunt of a beefy engine. As a passenger, you really can sit back and enjoy your experience, so much you might forget to use the camera. But, there are opportunities that will appear, in this ride it was between rides. Before setting out again there was a few minutes to capture that stunning chrome.
MISTAKES & HOW TO PREVENT THEM
Like any new adventure, there are always elements to learn and great memories. To help other not make the same mistakes you should:
- research the route
- consi depth of field
- low shutter speeds
- trusting the light meter
- communication
- concentration
Plan your route if possible, either speak with the parties involved in the ride and listen to their experience. It could be useful to know the rider too, as they may slow down and adapt to help your photography. It is too late scouting for great backgrounds or situations while on the bike.
By using appropriate depth of fields you should be able to take moving shots and still too. Be careful with the aperture, too wide or small could ruin your shot (like below).
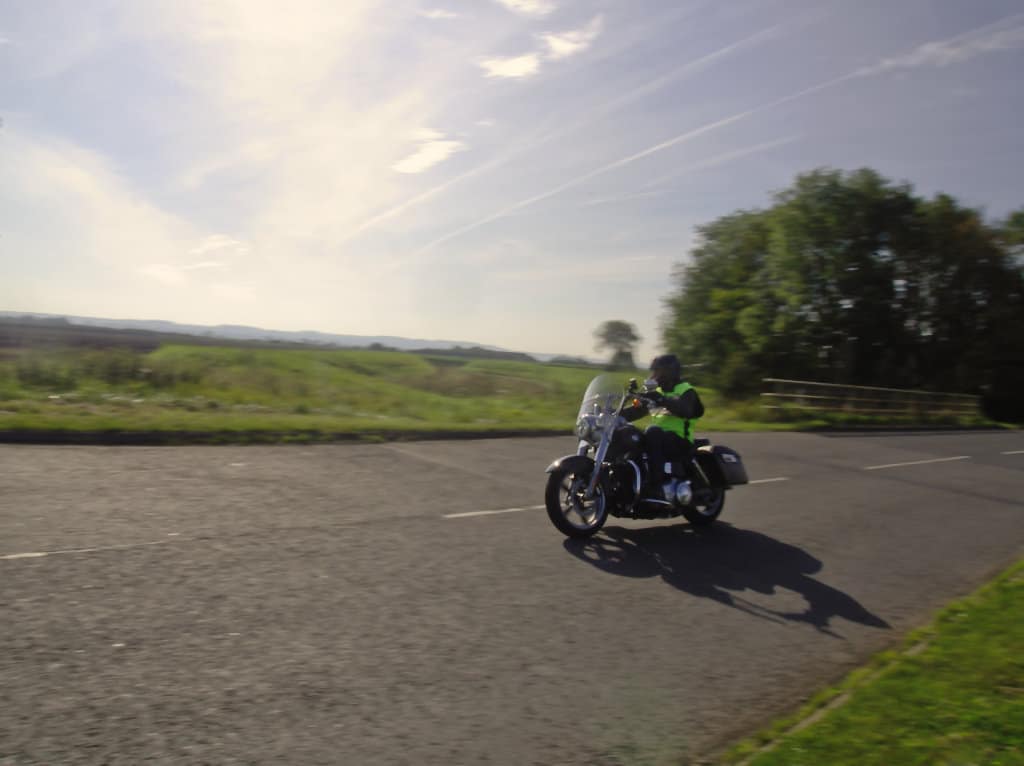
Watching your shutting speed plays an important part of your depth of field and final shot. But for composition sake, the shutter may dictate everything as you bounce around on the back of the bike. If you shoot too low you will see blur in your shots and ruin your creation. You may get a chance to use film too, there could be rest periods, stops or meetups, so don’t assume anything.
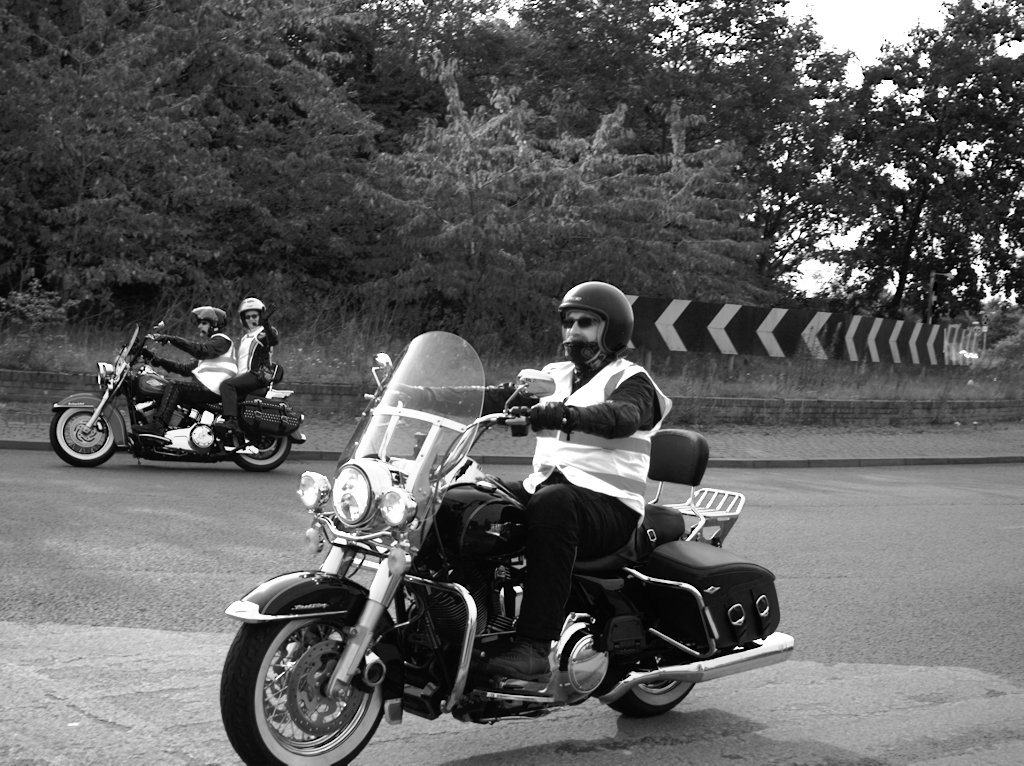
Even using shutter priority you have to be careful, camera’s are dumb devices after all. On a bright sunny day which may be nice for riding, can be hard work with a camera. The exposure difference between the bright and dark areas are huge on these days, so be careful. Remember the digital rule, shoot for highlights as you can bring detail back from the shadows in processing. In the below example you will notice the exposure is slightly out (blown highlights), this was due to shooting one-handed whilst directing traffic.
Communication is important in all walks of life, but useful in this scenario too. By communicating and preparing you can advise the driver you may want to stop for a shot. By practising together you may get used to each other and be comfortable with what you can do from the rear (can you stand up or lean). Talking will help you understand how the ride is going for both parties too.
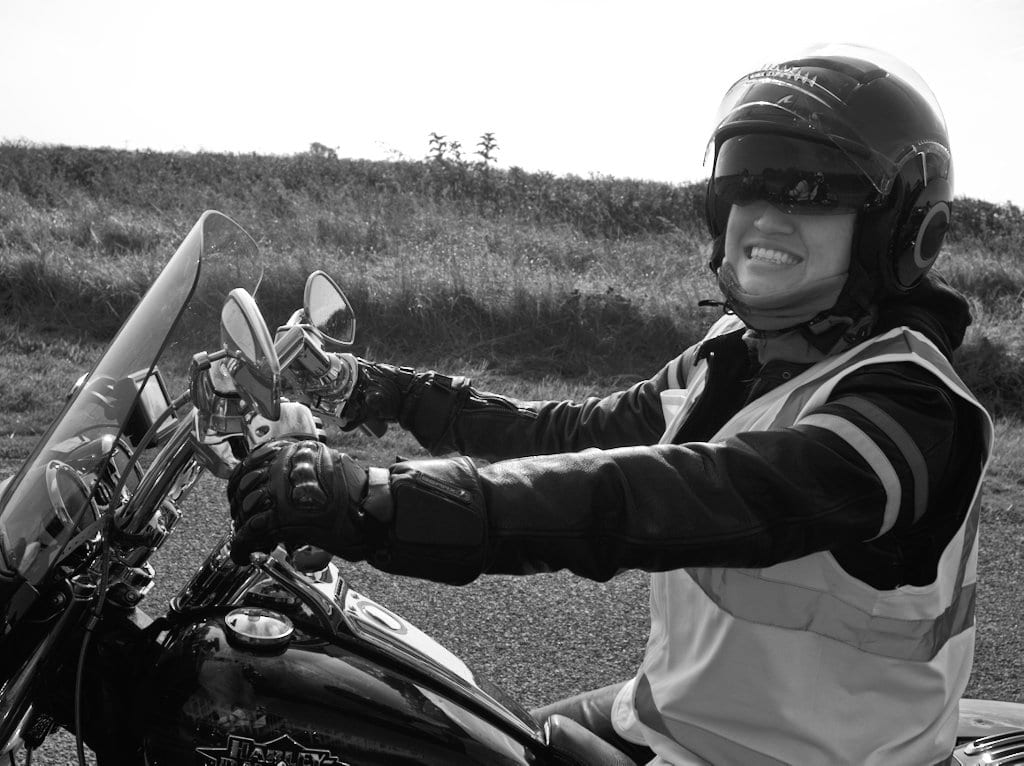
Please remember the event and ride out should be fun, so do not concentrate too much. You are going to be on the back for some time, so you cannot easily change your mind – unless you want to walk home. Again, have some ideas in your head for shots you want to capture will help you. In between your “list”, you can relax and plan the next one, enjoy the weather.
CONCLUSION
The experience of the day was first rate, the Sherwood Chapter were lovely people. They embrace guests like their own and were very honest people. A ride out of 150 miles is some achievement for your first time!
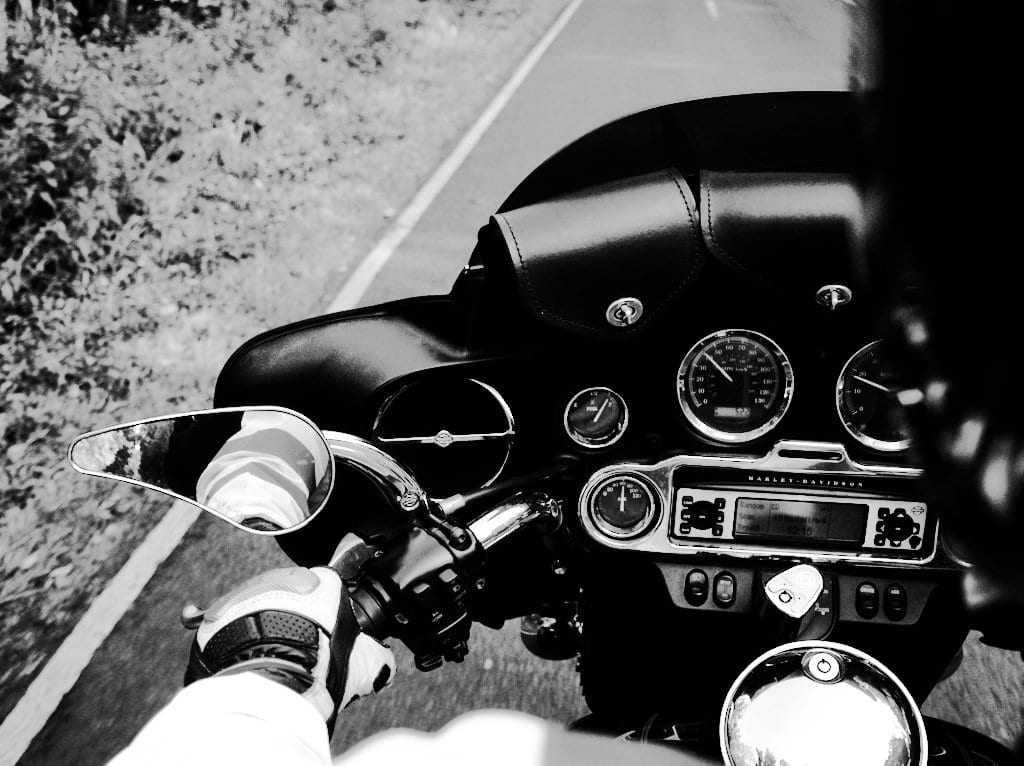
This ride and challenge show there is room for film (will be developed soon) and digital photography. Next time you get an opportunity like this, give it a try. Use the steps above and you will be fine, maybe one day we will be doing the driving!
